Use a Service Tunnel to route to Salesforce
A step-by-step guide on how to use CSE’s Service Tunnel to route to public domains, such as SaaS services
- Updated on
- 5 minutes to read
-
Contributors

Overview
In addition to routing traffic to your private networks, Service Tunnels can route public traffic destined for the internet. Internet traffic routed through your Service Tunnels uses the source IP of a CSE Access Tier. Admins can then IP whitelist to restrict user access on login and throughout a user’s session on a SaaS platform. Here, we show how to use a Service Tunnel to route to multiple Salesforce subdomains.
Prerequisites
- An admin account in Salesforce
- An admin role in a CSE org
- An Access Tier that can be used for the Service Tunnel you register
Steps
Step 1: Register a Service Tunnel for Public Domains
1.1 Register a Service Tunnel.
1.2 Under the Public Network tab of your Service Tunnel configuration, allow access to the required Salesforce domains, based on your specific requirements. In our example, we allow access to both salesforce.com and force.com. For a comprehensive list of Salesforce-managed domains, visit here.

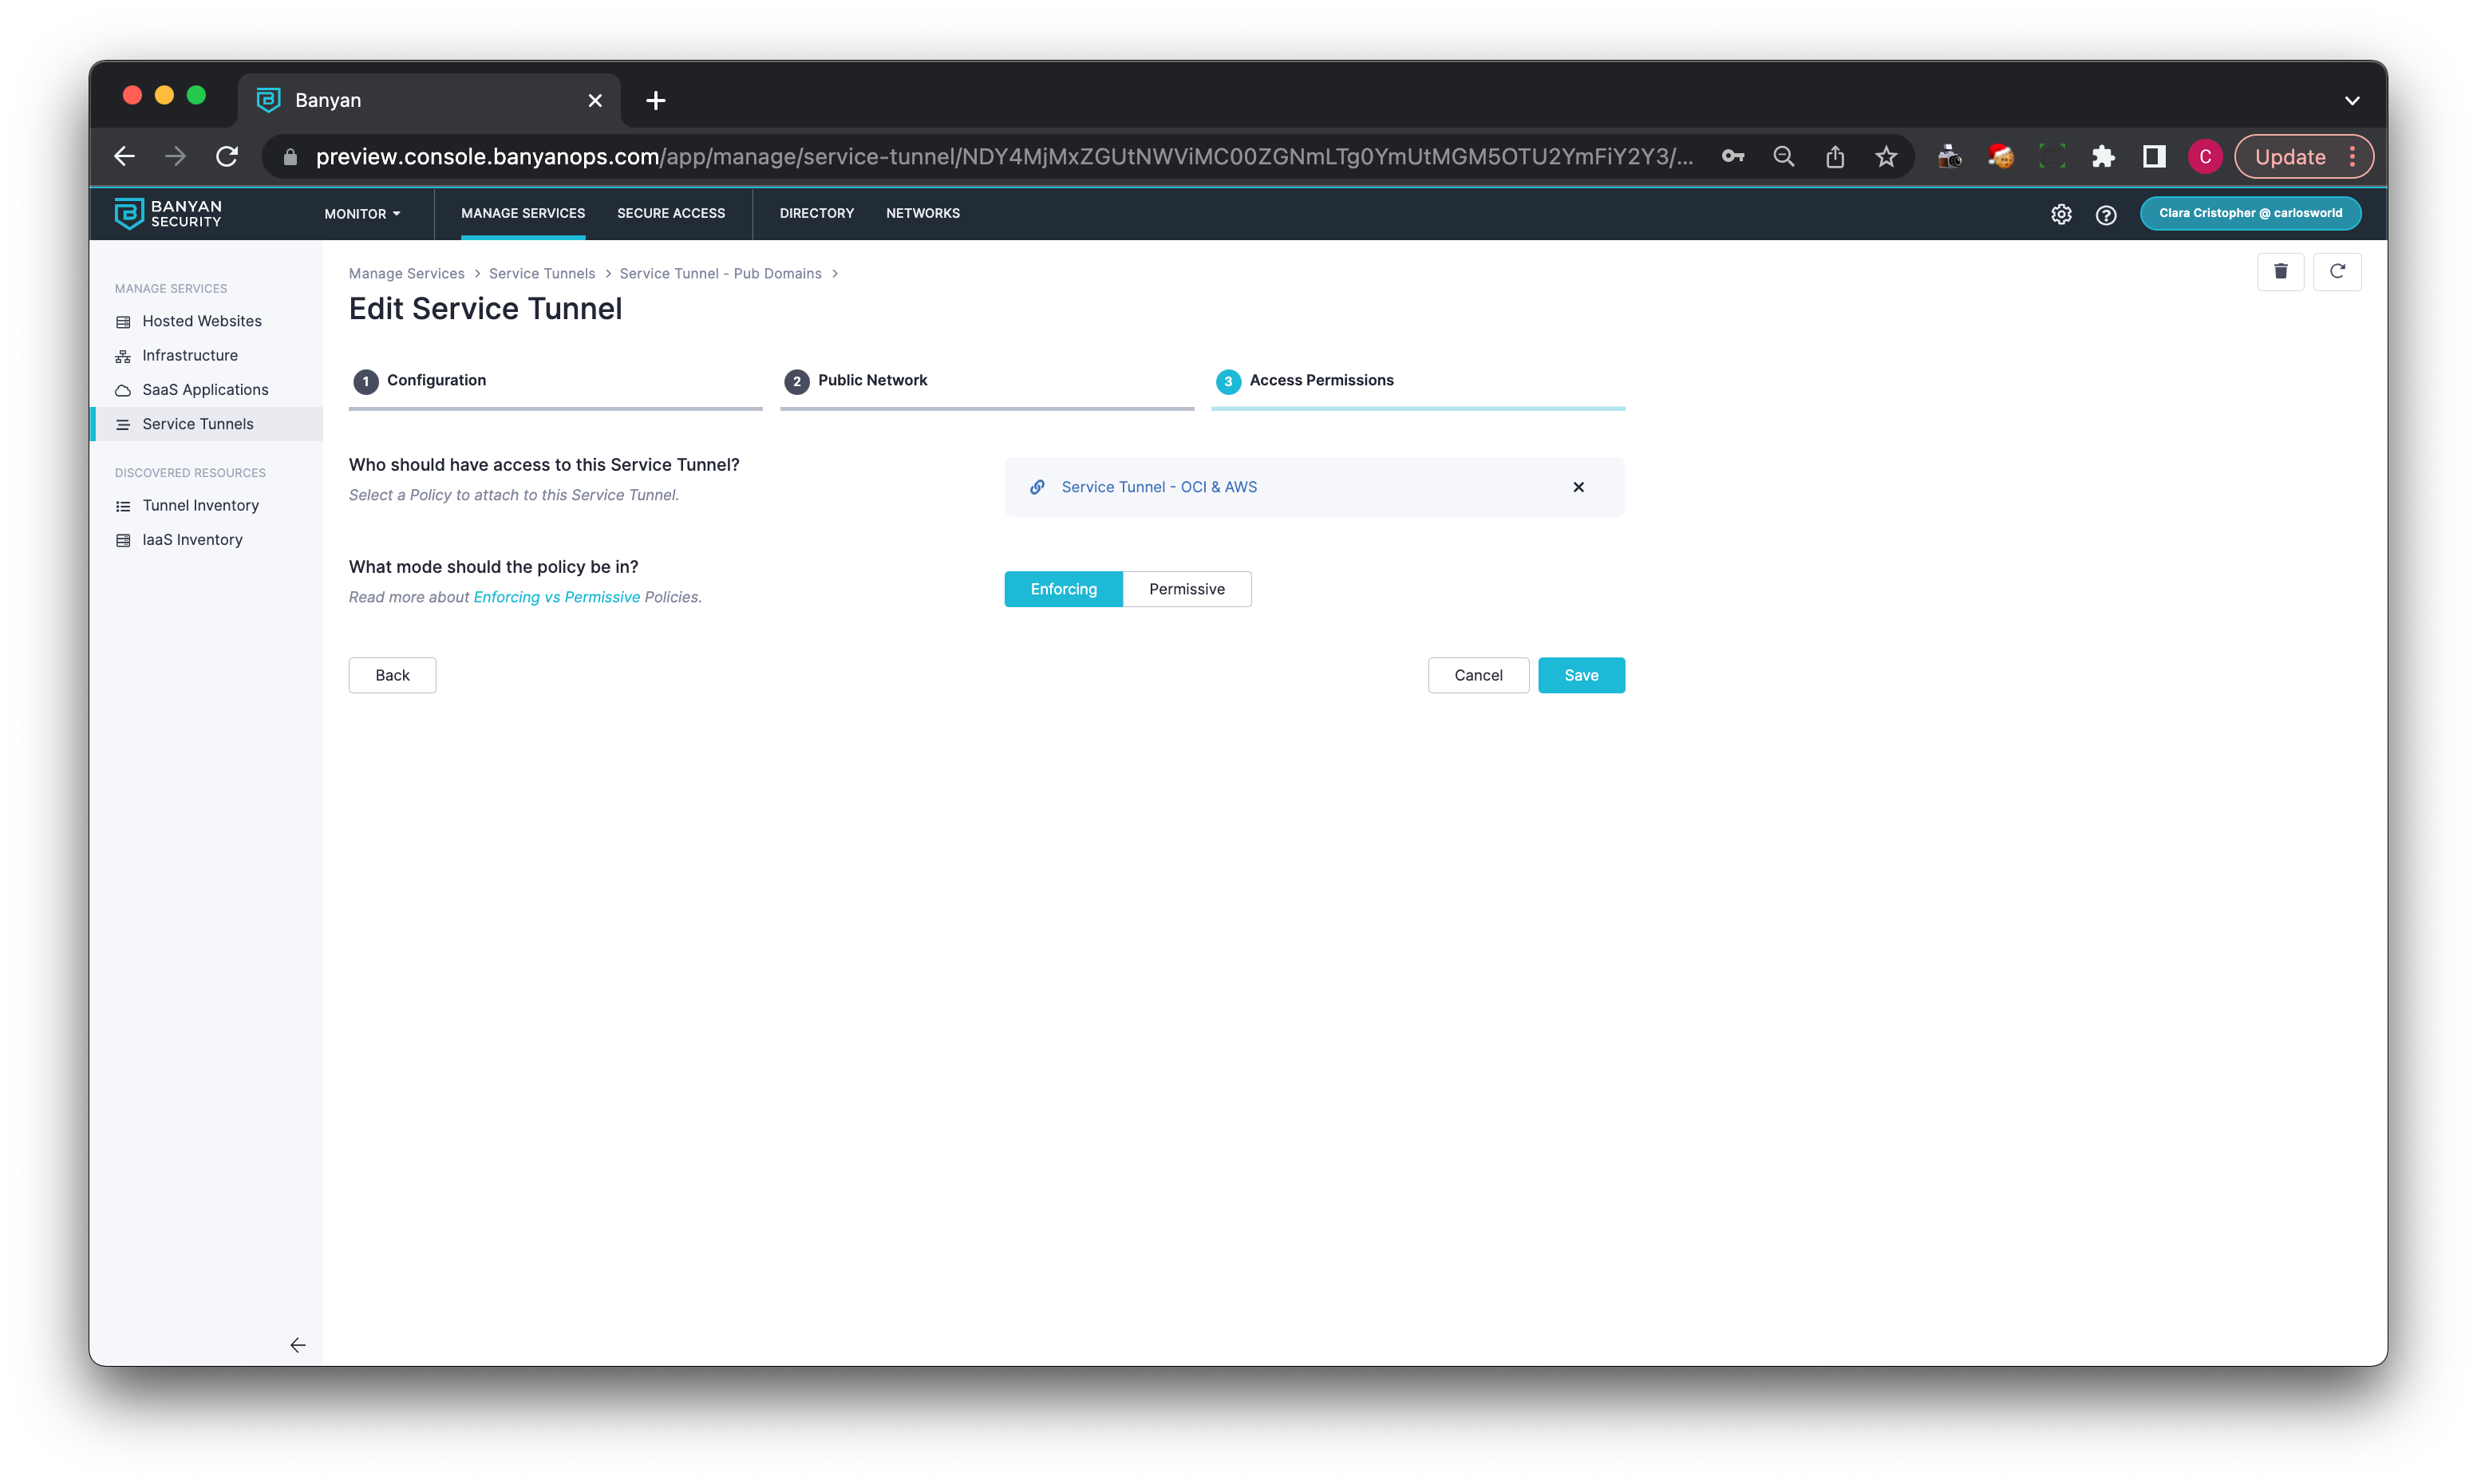
1.3 Add a Policy.
Step 2: In Salesforce, set IP whitelist rules for your users
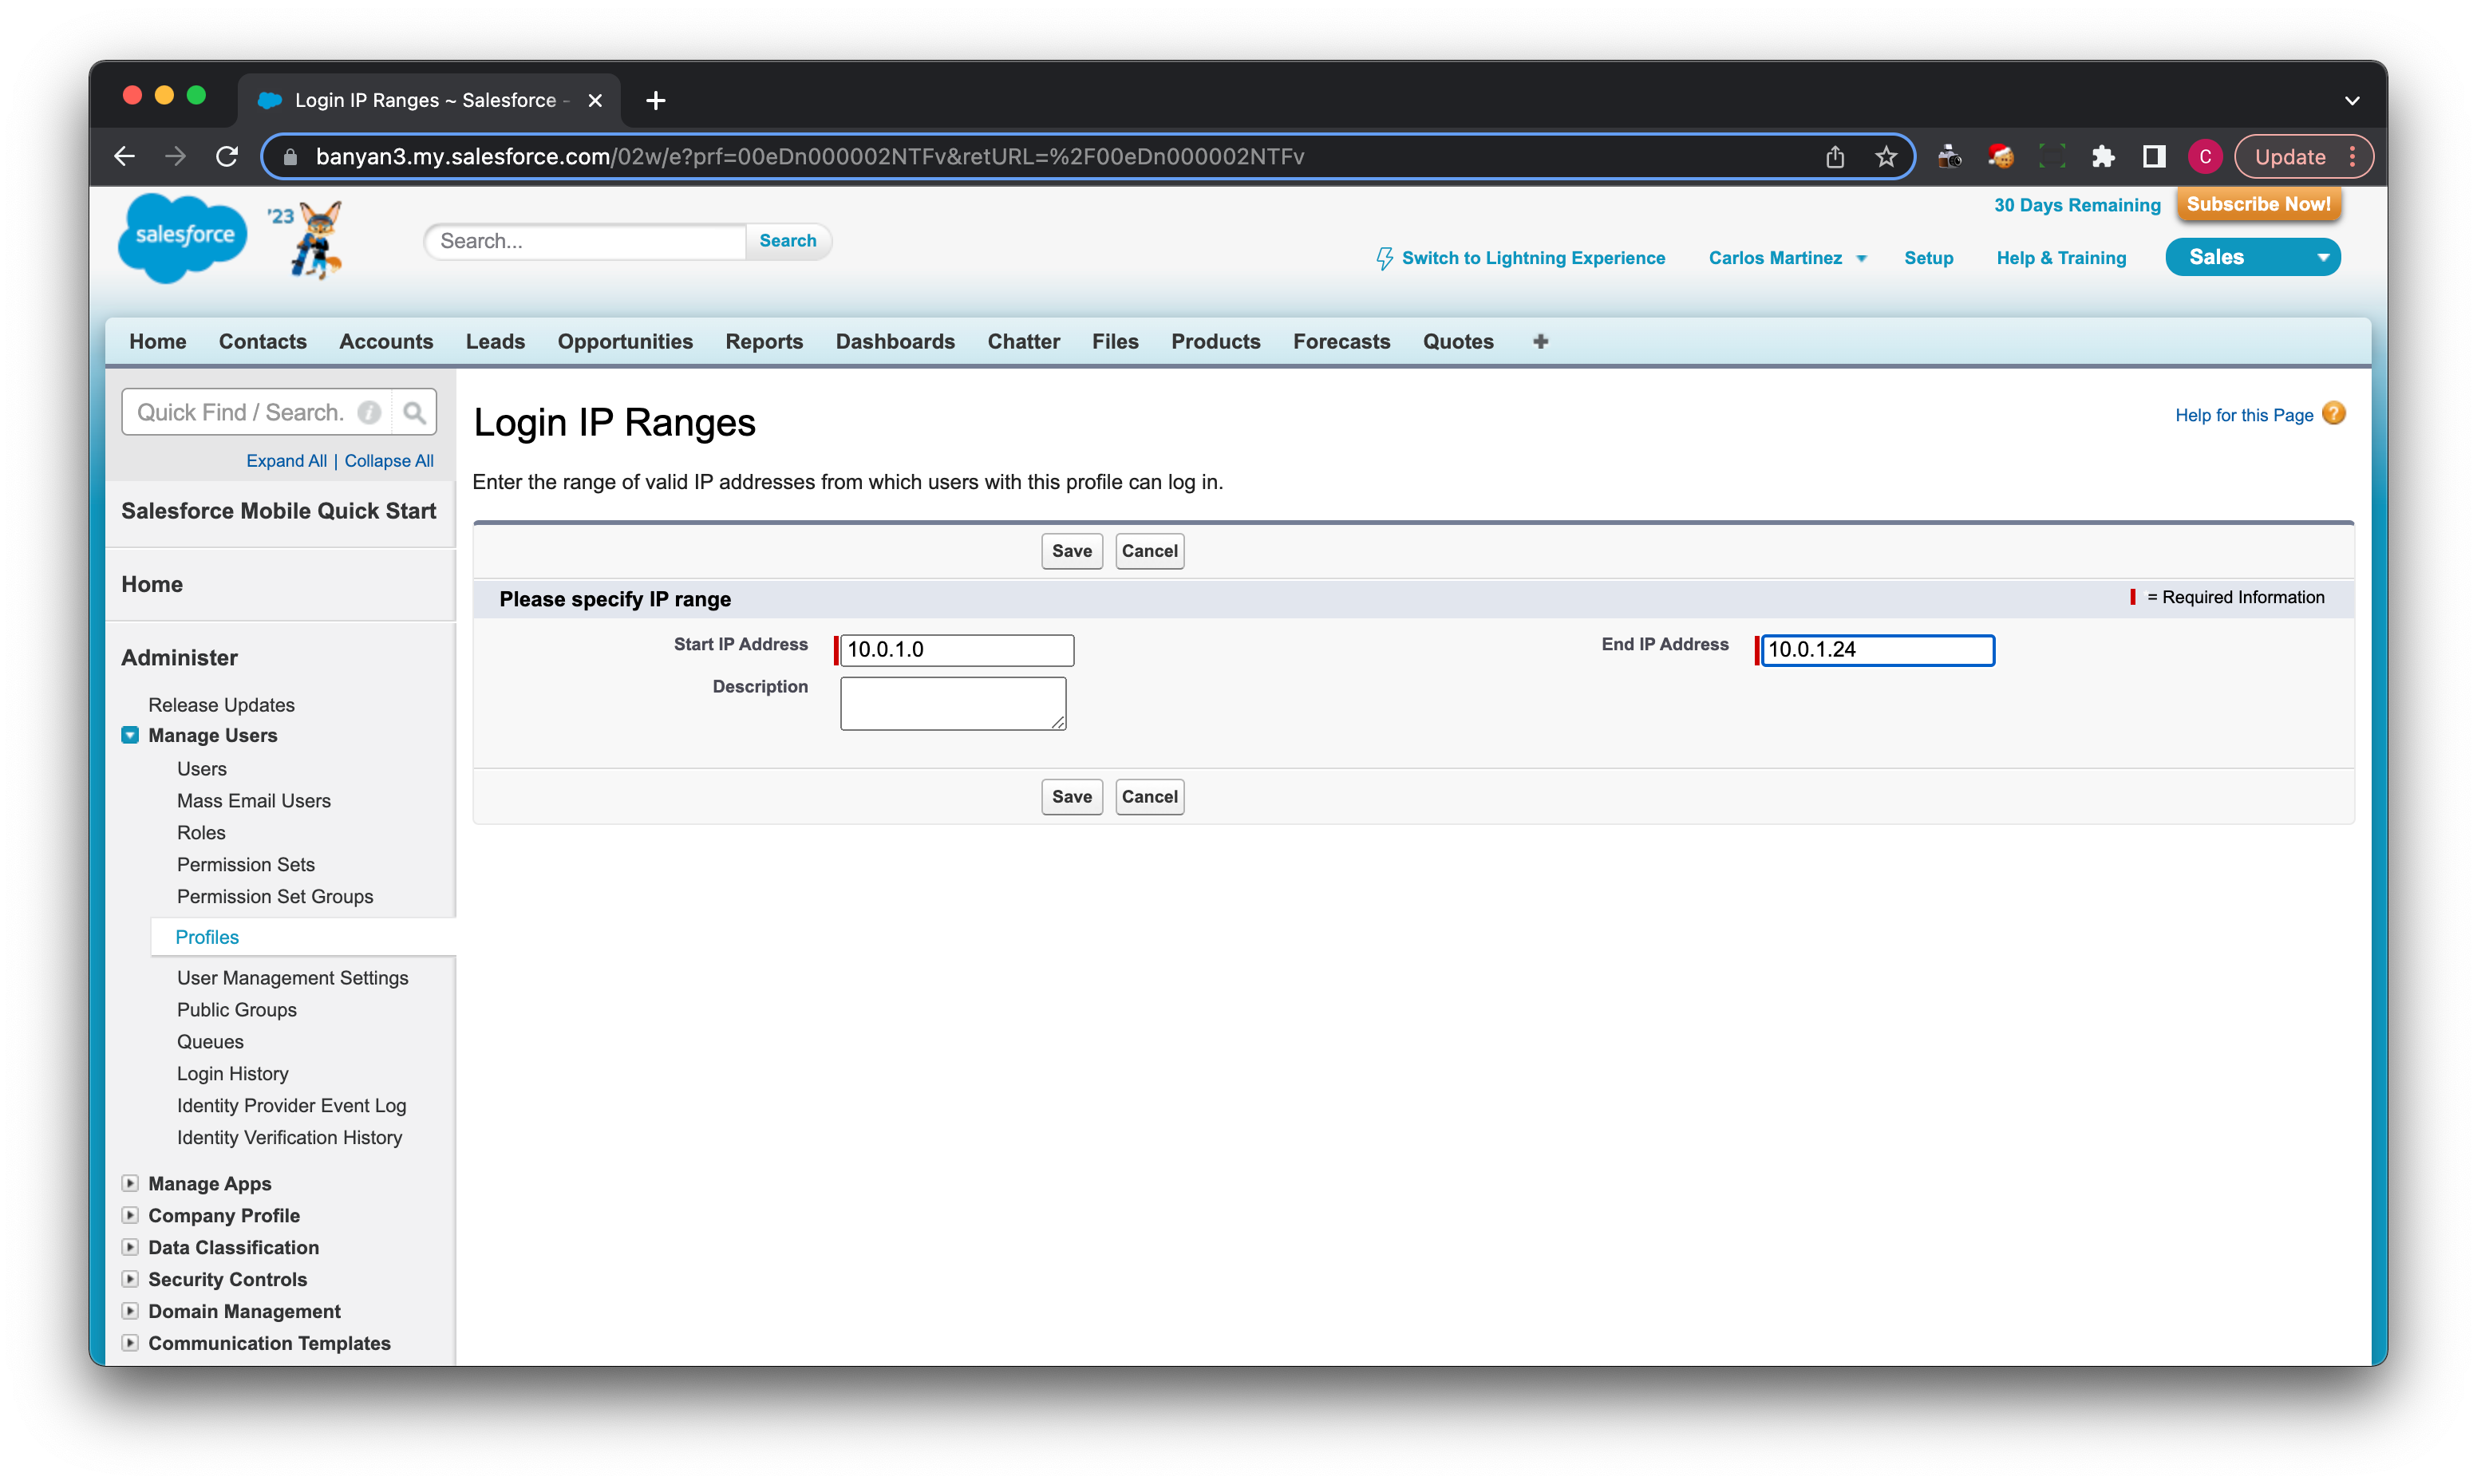
2.1 In the Salesforce admin console, navigate from Setup > Manage Users > Profiles > Login IP Ranges. Add the IP address of the relevant Access Tier (104.198.107.139) to this allow list, and then select Save.
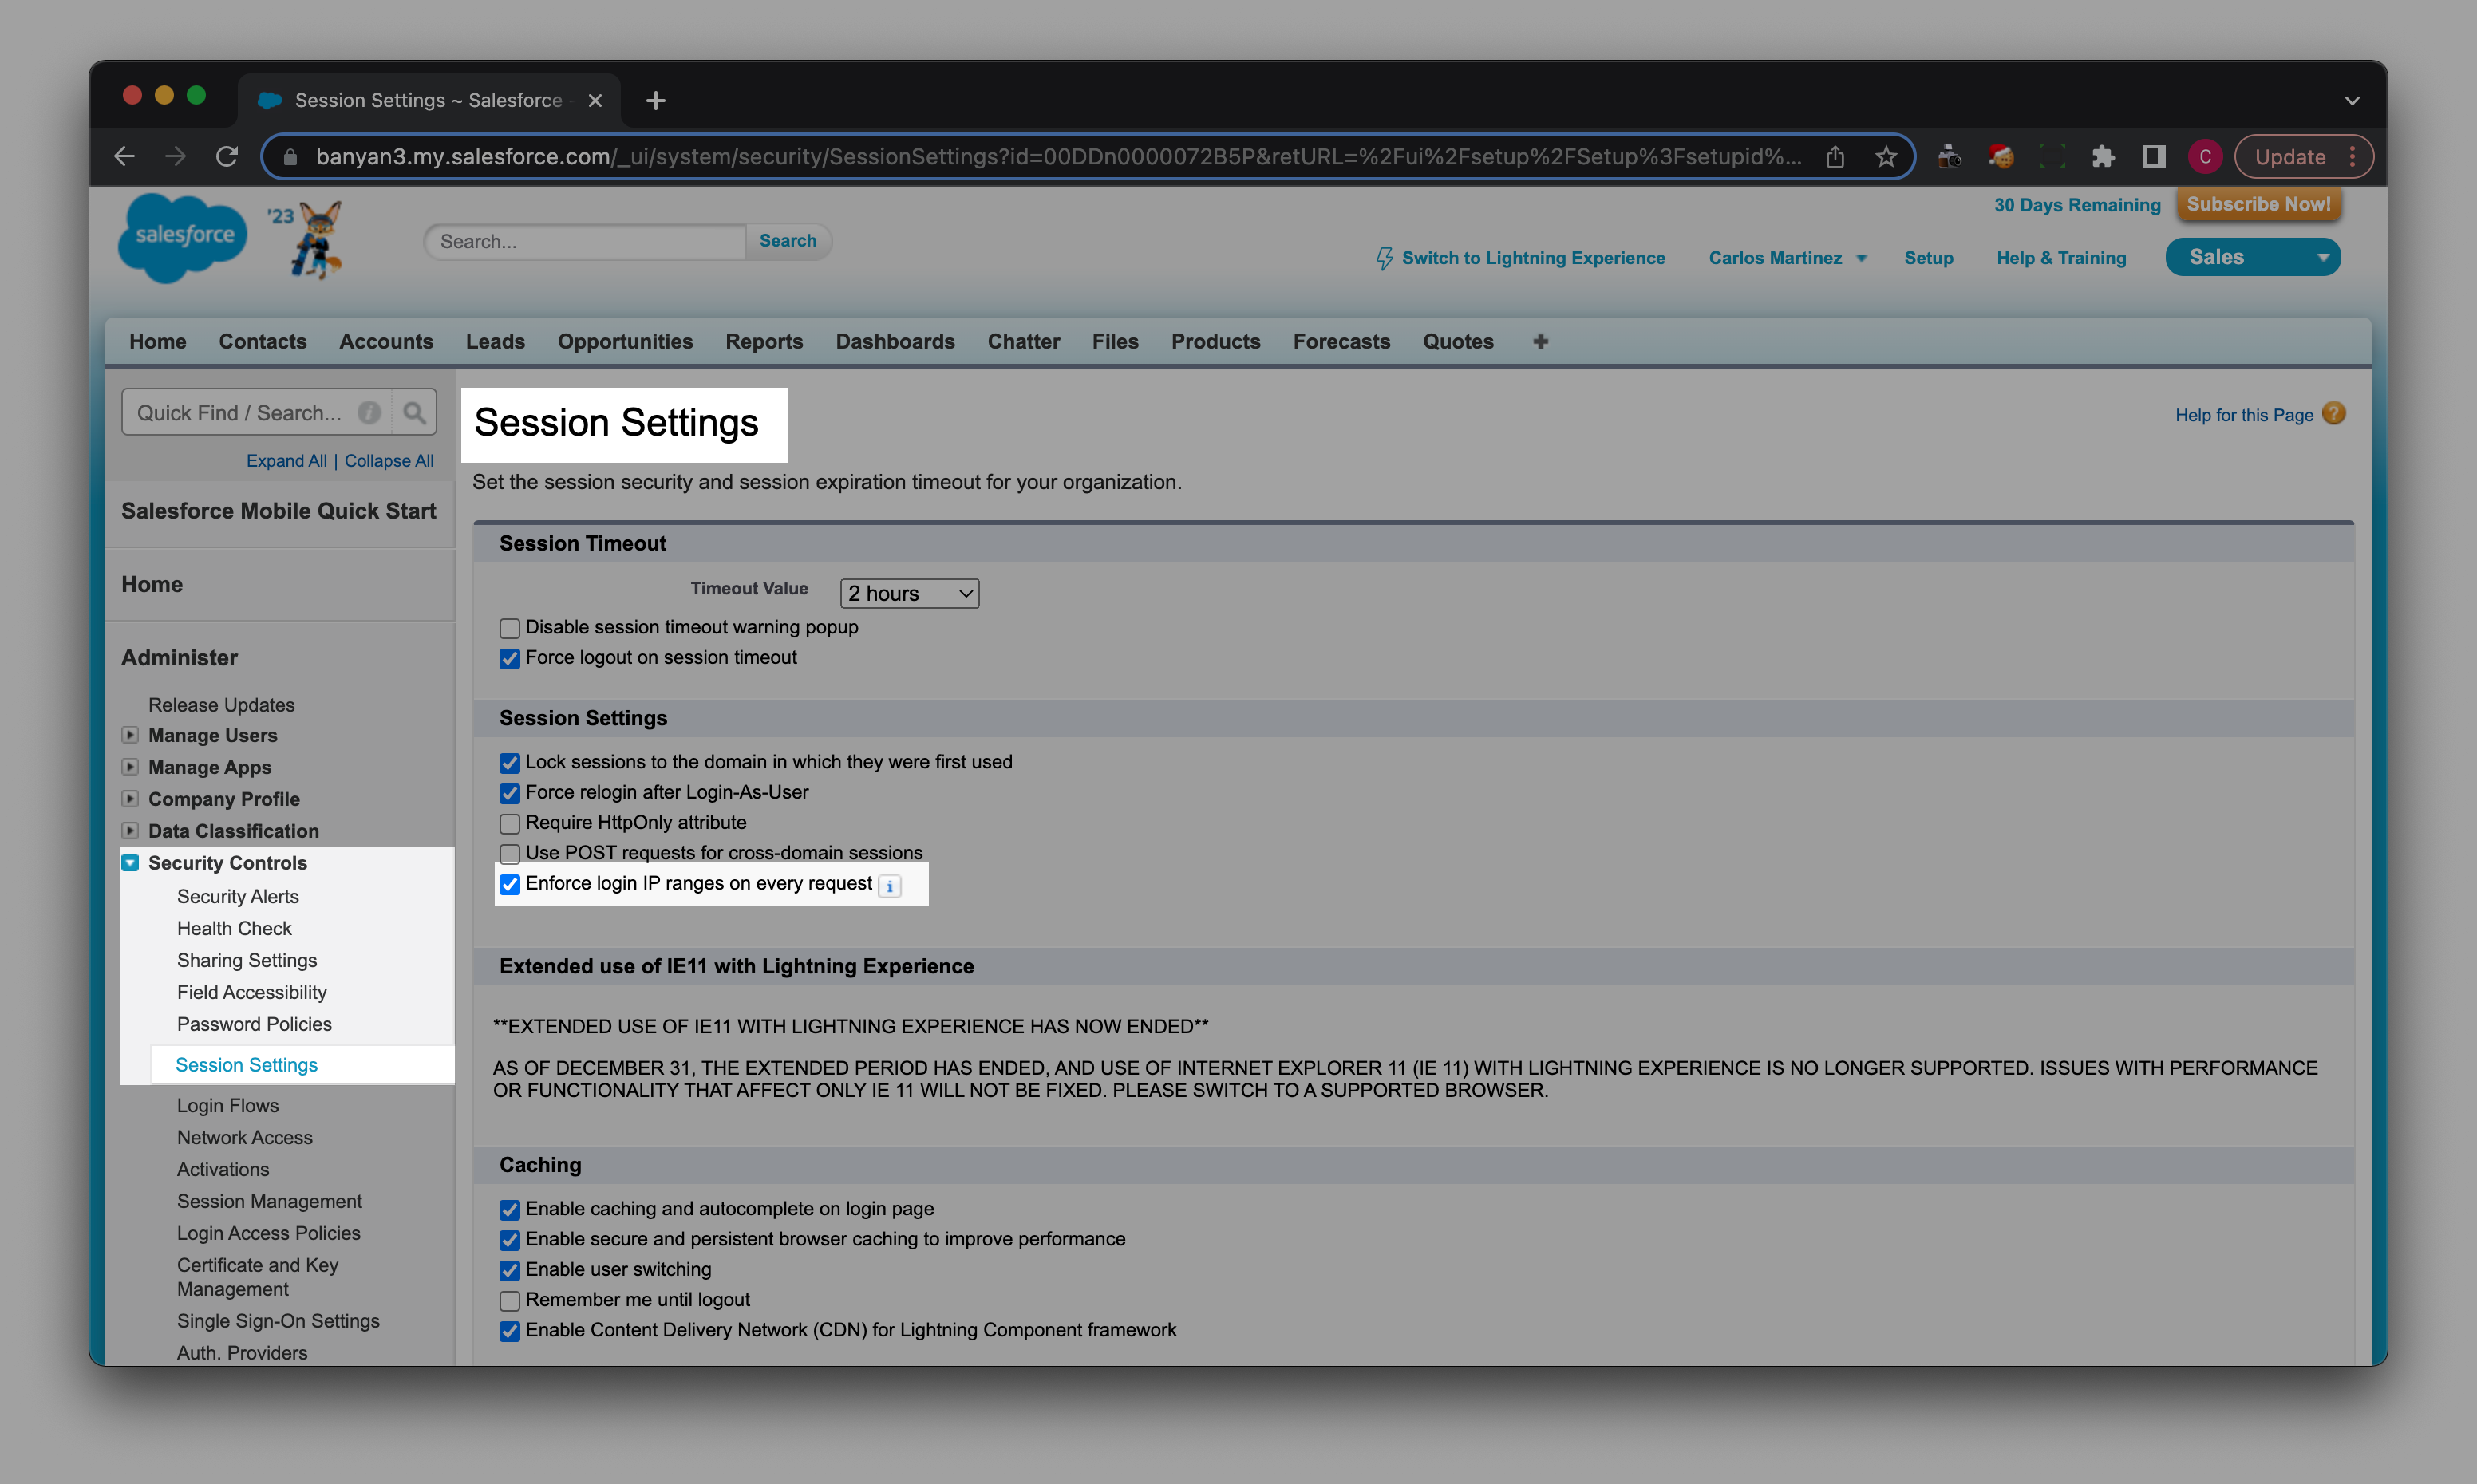
2.2 Navigate from Setup > Security Controls > Session Settings, and select Enforce login IP ranges on every request. This will continuously verify that the IP is allowed throughout a user session.
Step 3: Connect to your Service Tunnel in the CSE app
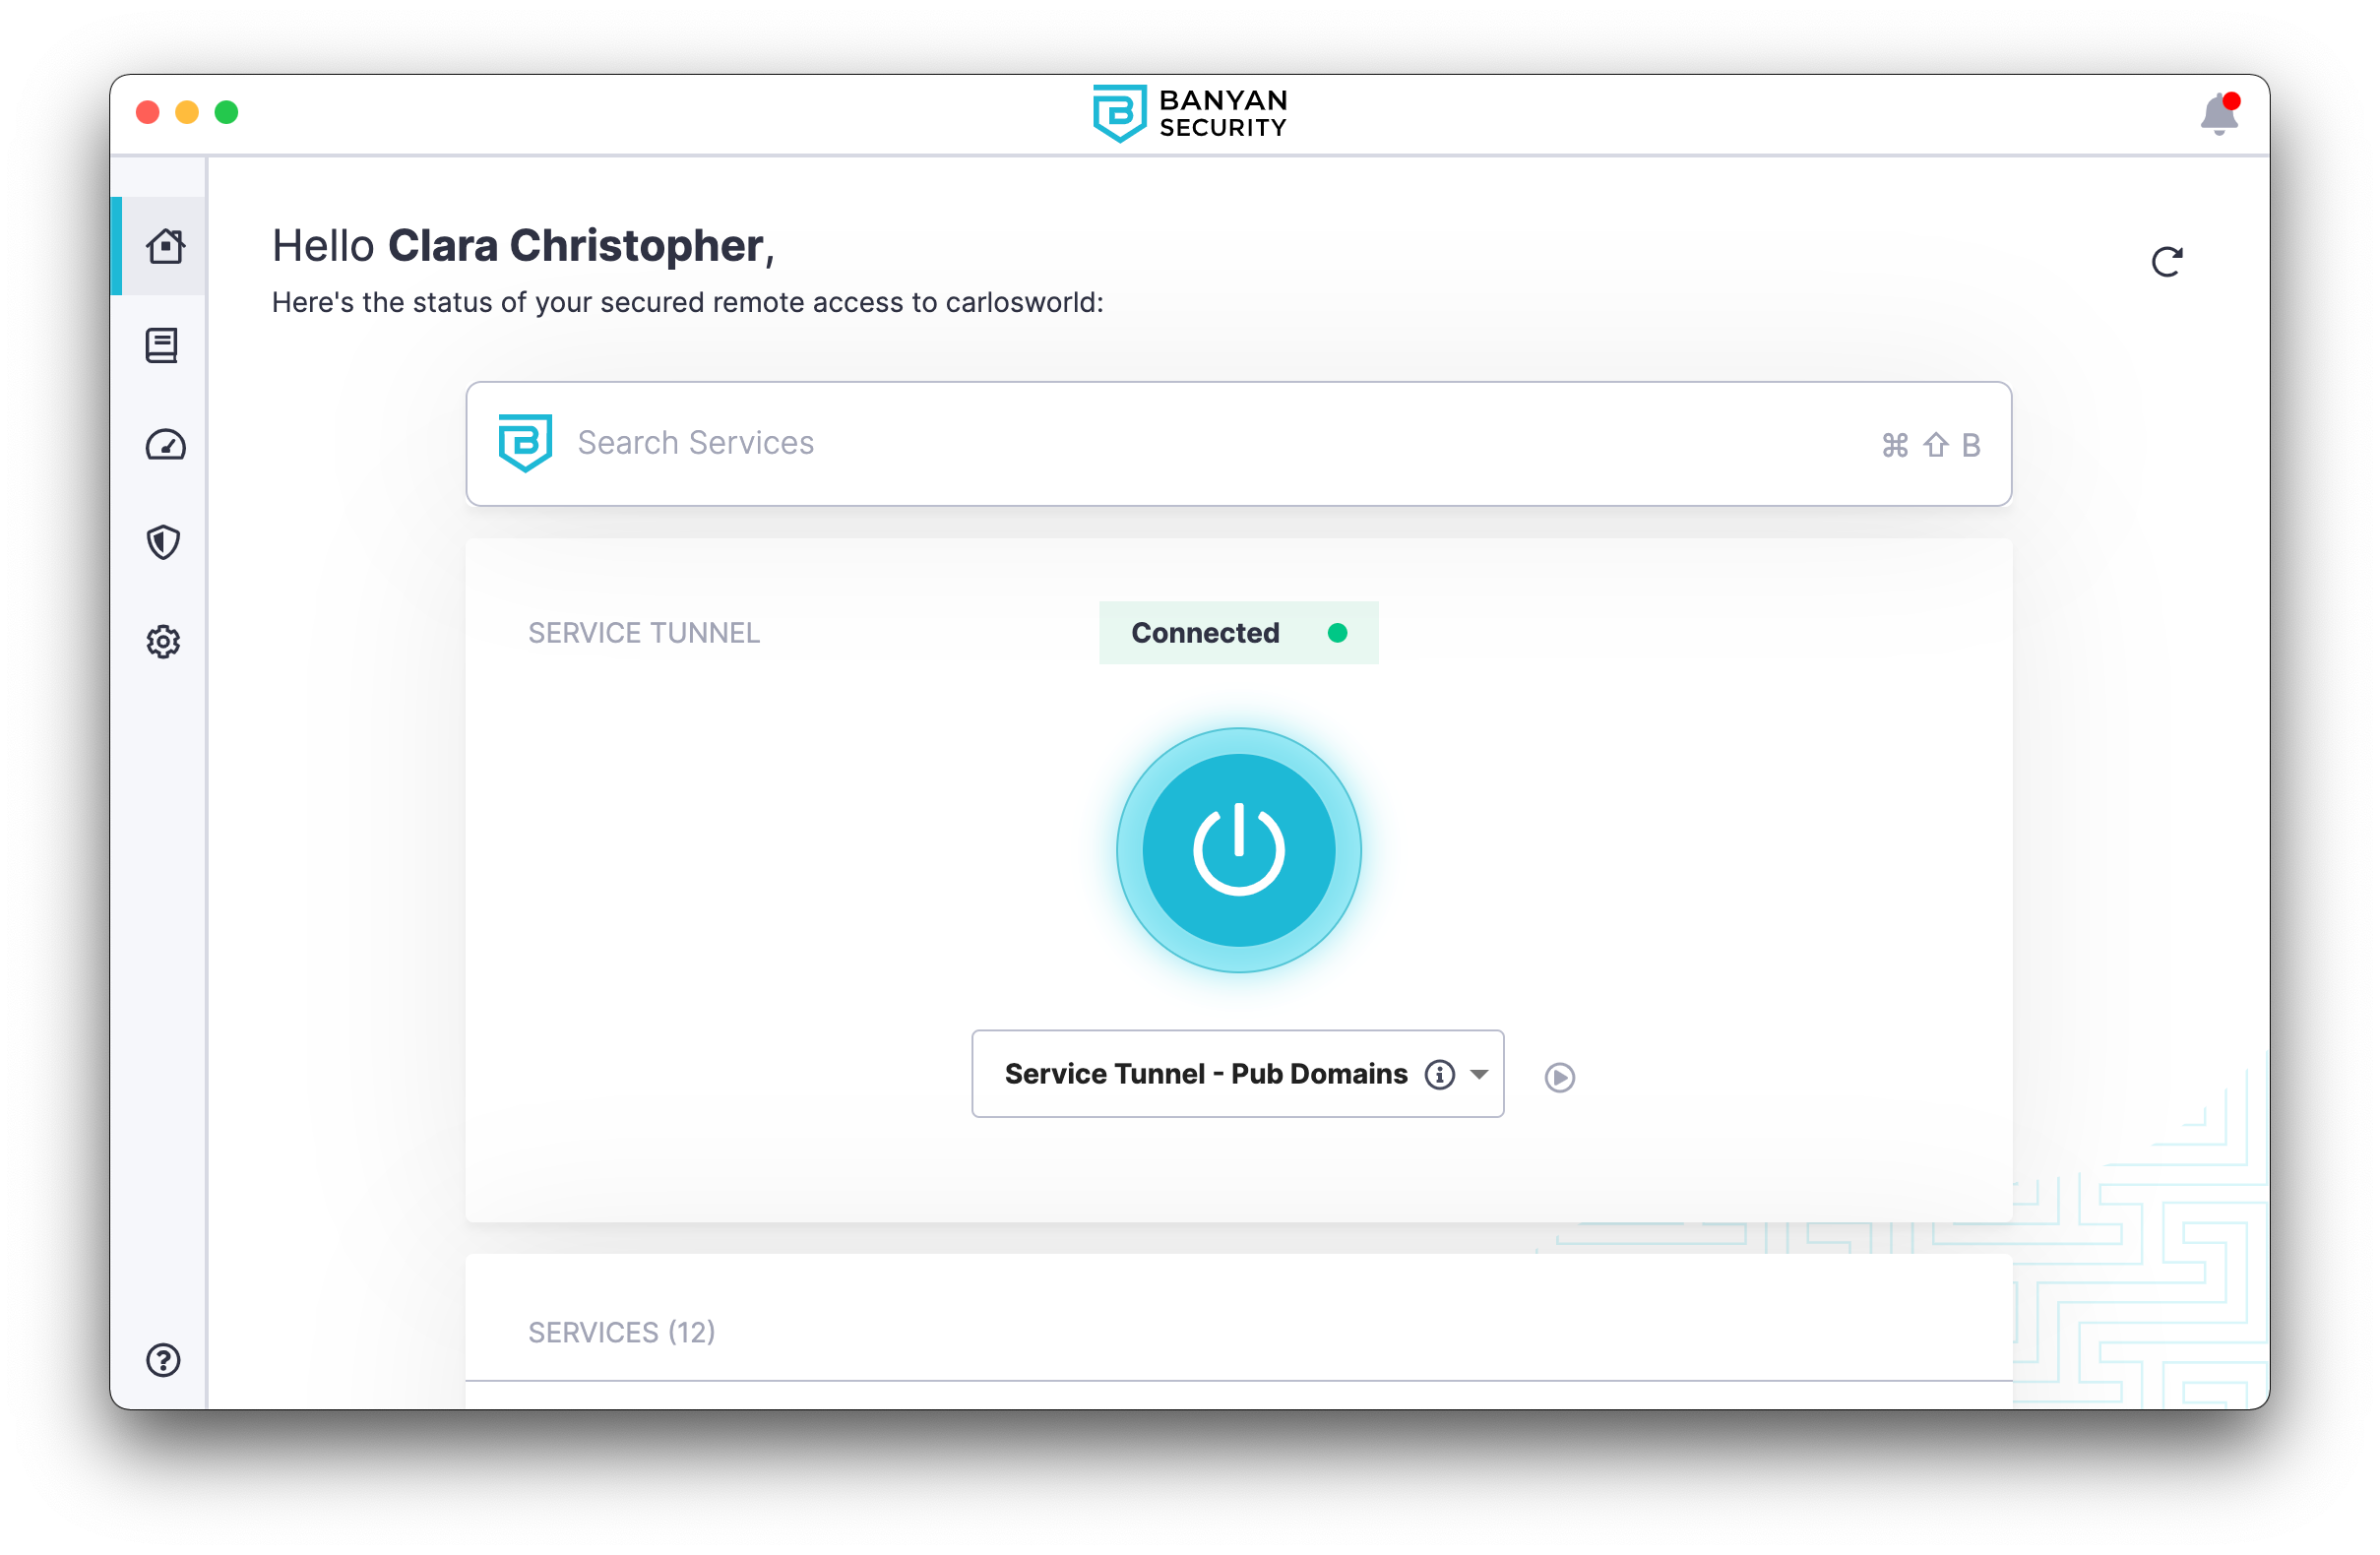
3.1 Log into the CSE app, and connect to the relevant Service Tunnel (the one configured in Step 1) on the homepage of the app.
Step 4: Verify access to your configured Salesforce domains
4.1 Log into your Salesforce account.
4.2 Disconnect from your Service Tunnel in the CSE app, and verify that you lose access to your Salesforce account.
