Register an SSH Service for an Individual SSH Server
- Last validated: Jul 15, 2026
Overview
In most environments, SSH servers are not exposed to the public internet. In these instances, you can use SonicWall Cloud Secure Edge (CSE) SSH service to provide your end users with zero-trust access, regardless of their network location. SSH traffic will then flow through an Access Tier.
An Access Tier will check for a TrustCert (in the TLS handshake). Every connection from the user’s device to a CSE-protected service is authenticated and wrapped in Mutual-Auth TLS encryption. The Access Tier then unwraps the encryption, and forwards the connection to the upstream service – your SSH server.
Mutual-Auth TLS requires both parties to provide certificates as proof of identity - the desktop app procures the TrustCert on behalf of the user.
CSE is agnostic to the underlying SSH authentication method (e.g., password, public-key, host-based, GSSAPI, etc.). If you wish to change how SSH authentication is set up for your organization, review our SSH Certificate Authentication capability.
Prerequisites
- A registered Access Tier or Connector, behind which your SSH server exists
- A registered domain that resolves to this Access Tier
Steps to create an SSH service
Setting up access to an SSH server is the same setup process followed to secure a TCP service, as described in Notes on Securing TCP Services.
In this doc, we lay out how to secure access to an SSH server using the following steps:
Step 1: Create a Role
Step 2. Create a Policy
Step 3. Register a Service
Step 4. Connect to the service through CSE’s desktop app
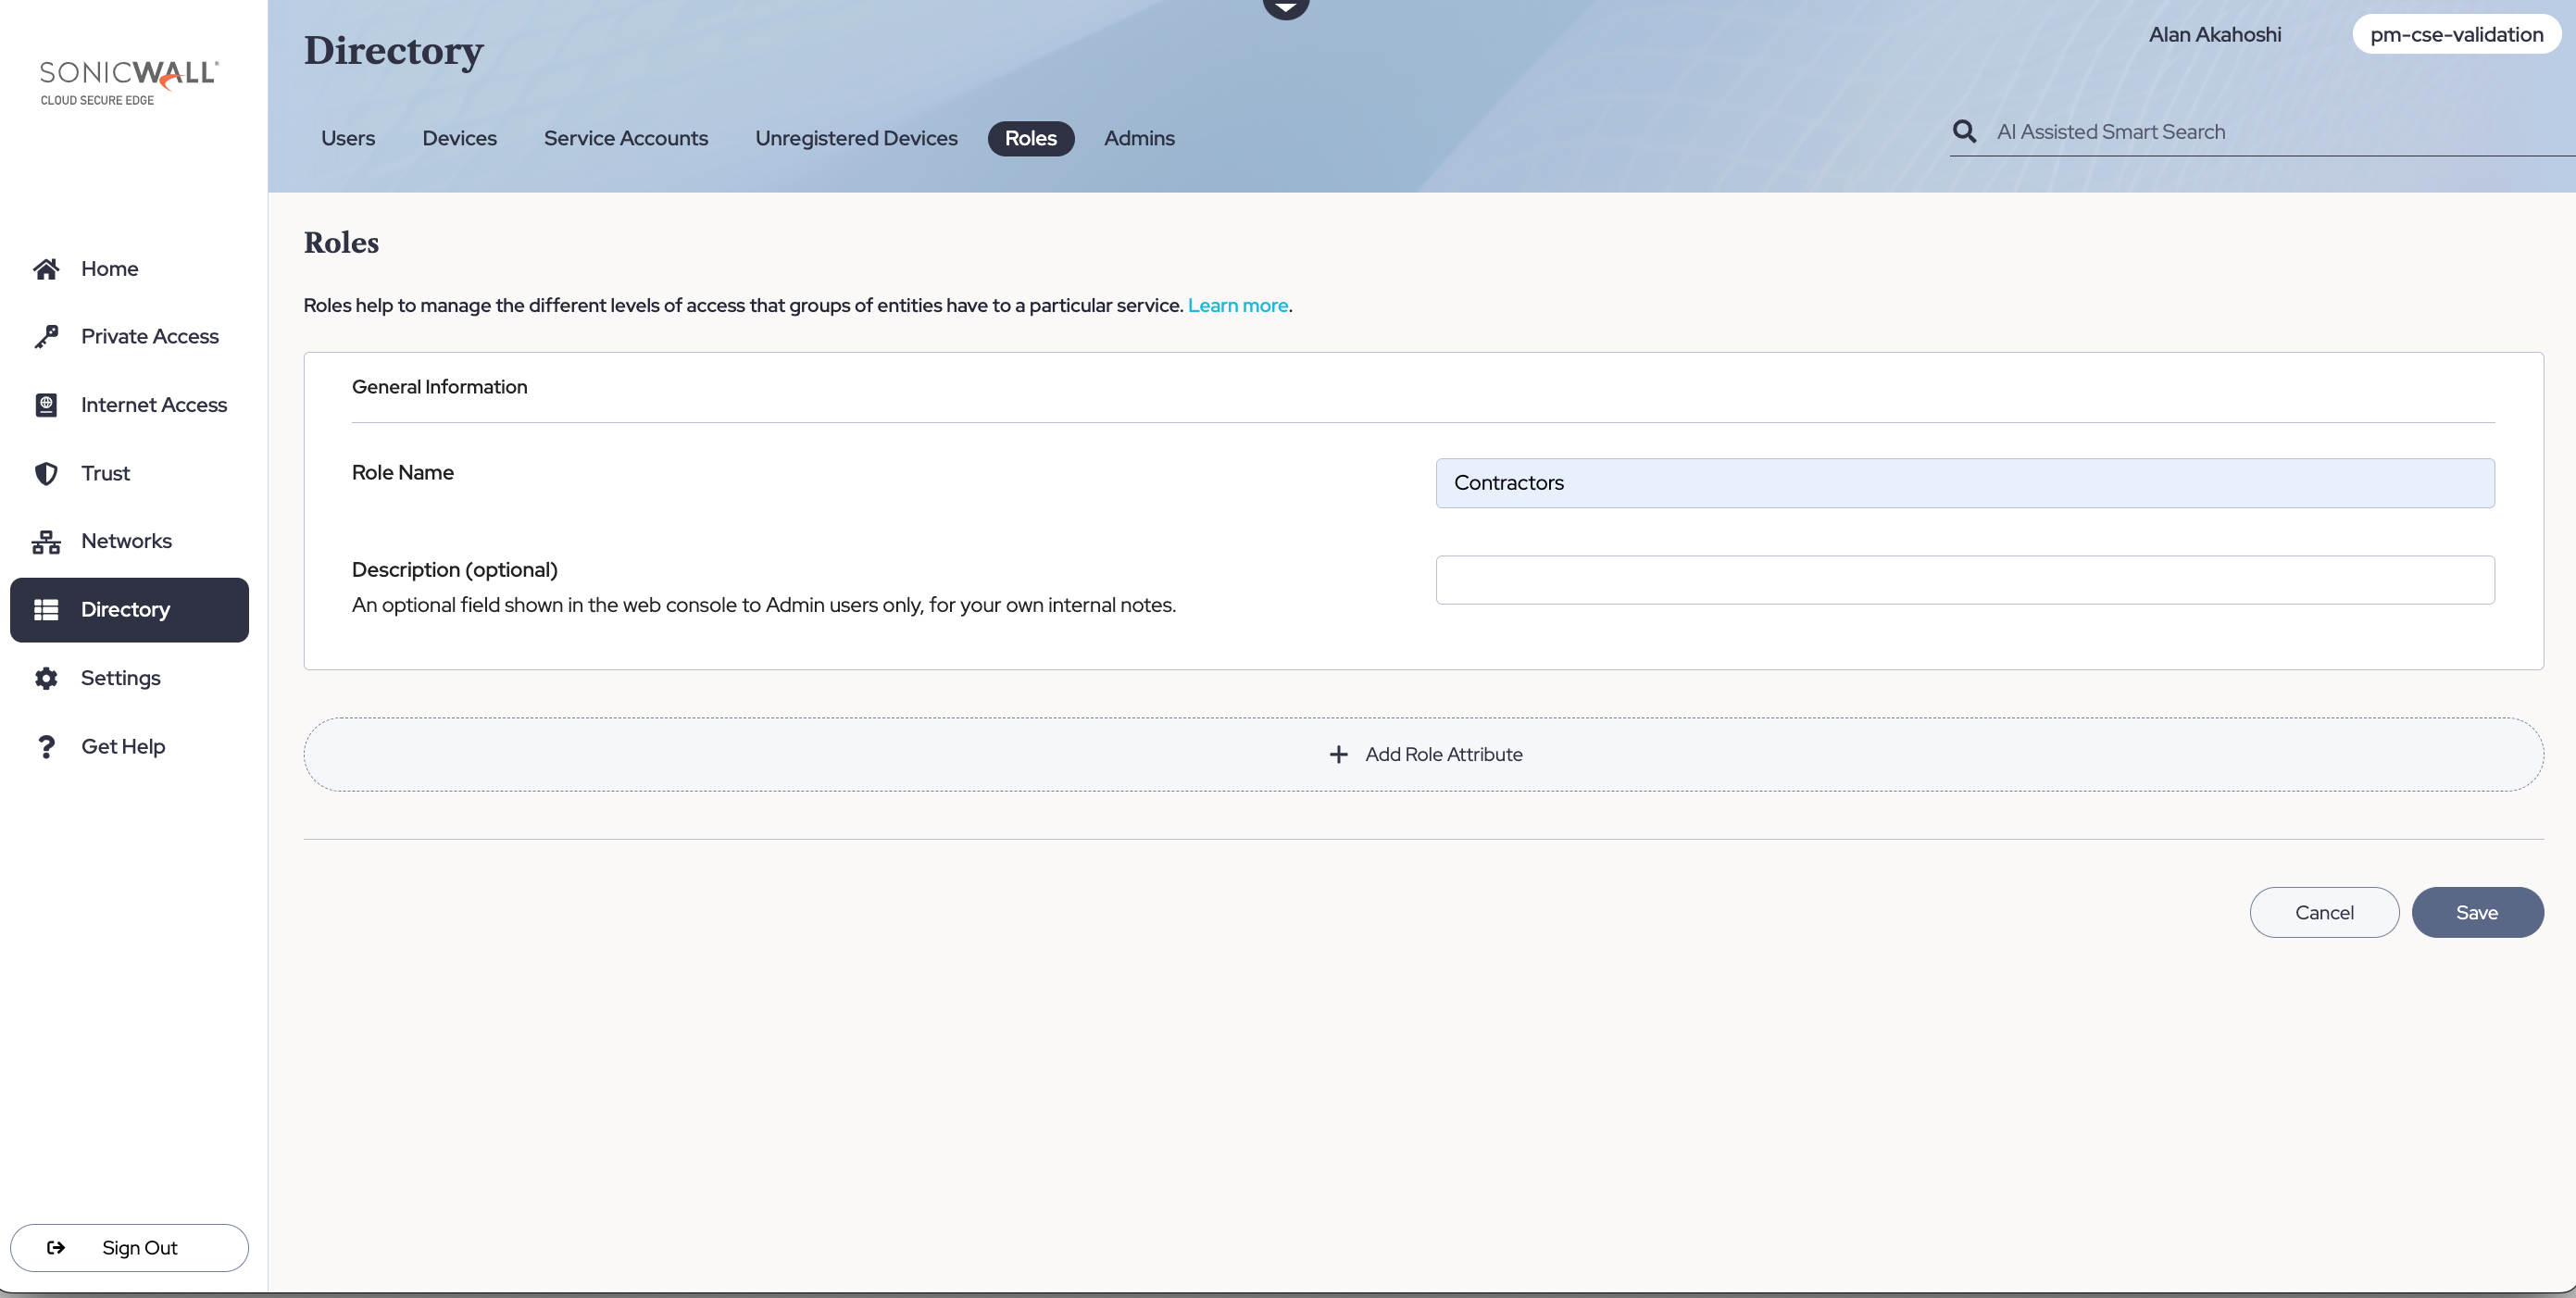
Step 1: Create a Role
In the Command Center, navigate from Directory > Roles, and then select + Add Role. Create a User Role and then select + Add Role Attributes to apply it to specific sets of users (such as By Group contractors).
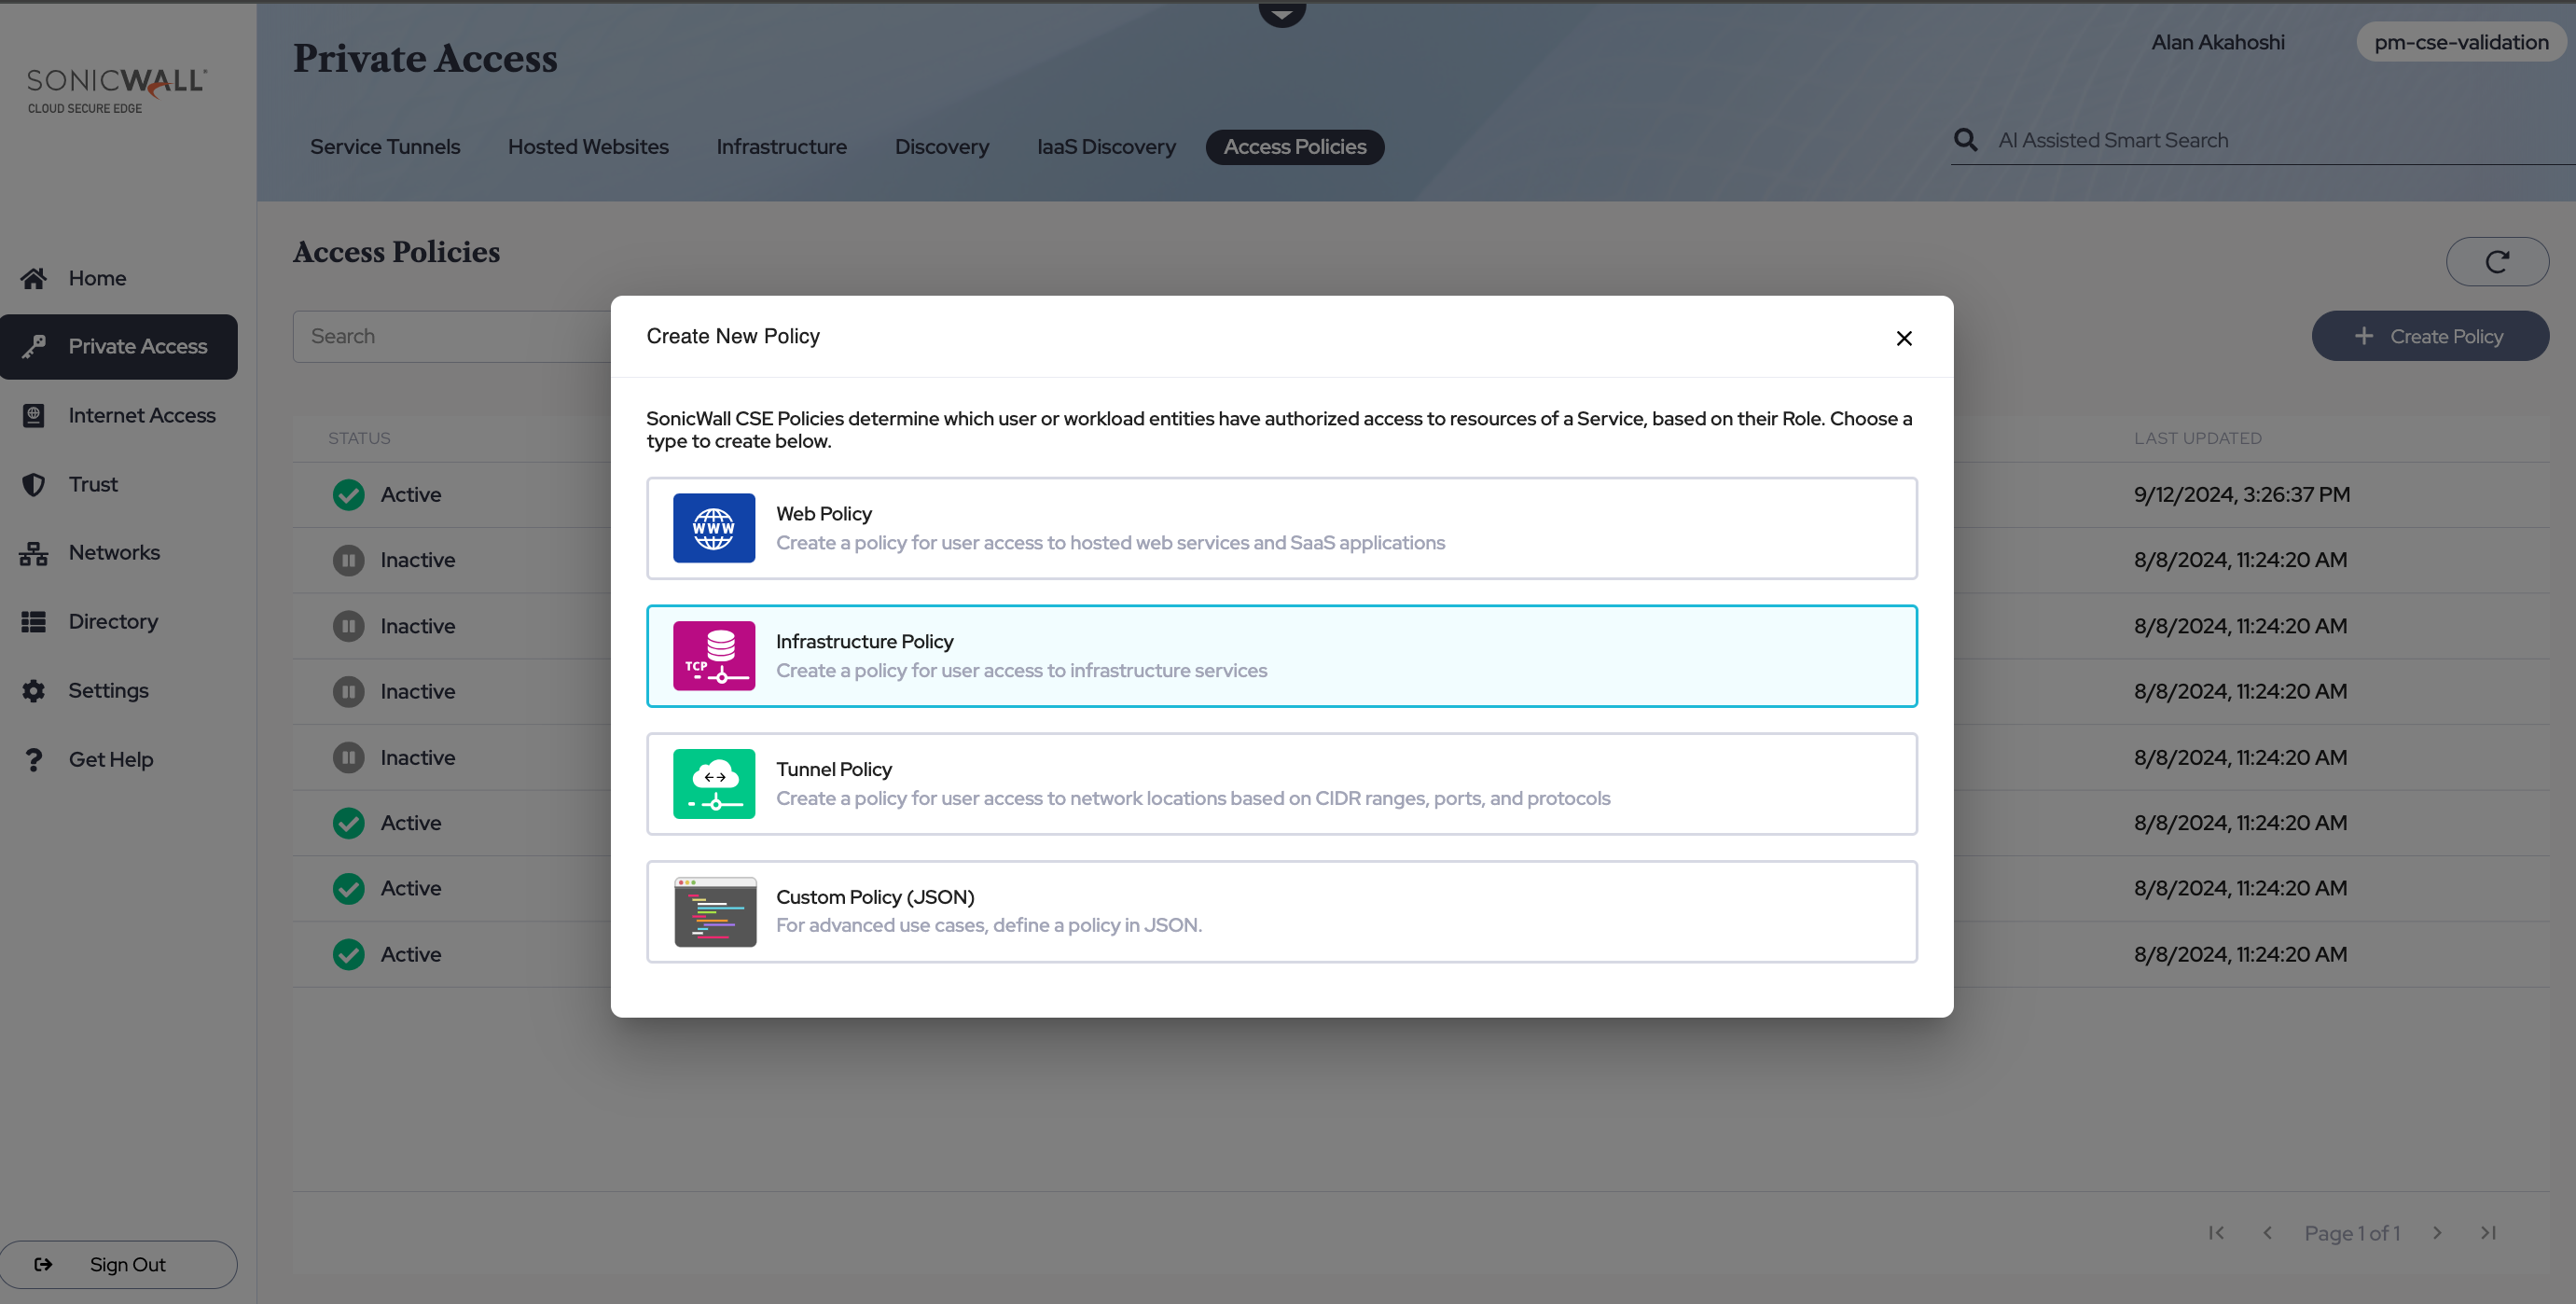
Step 2: Create a Policy
Navigate from Private Access > Access Policies, and then select + Create Policy. Select the Infrastructure Policy template.
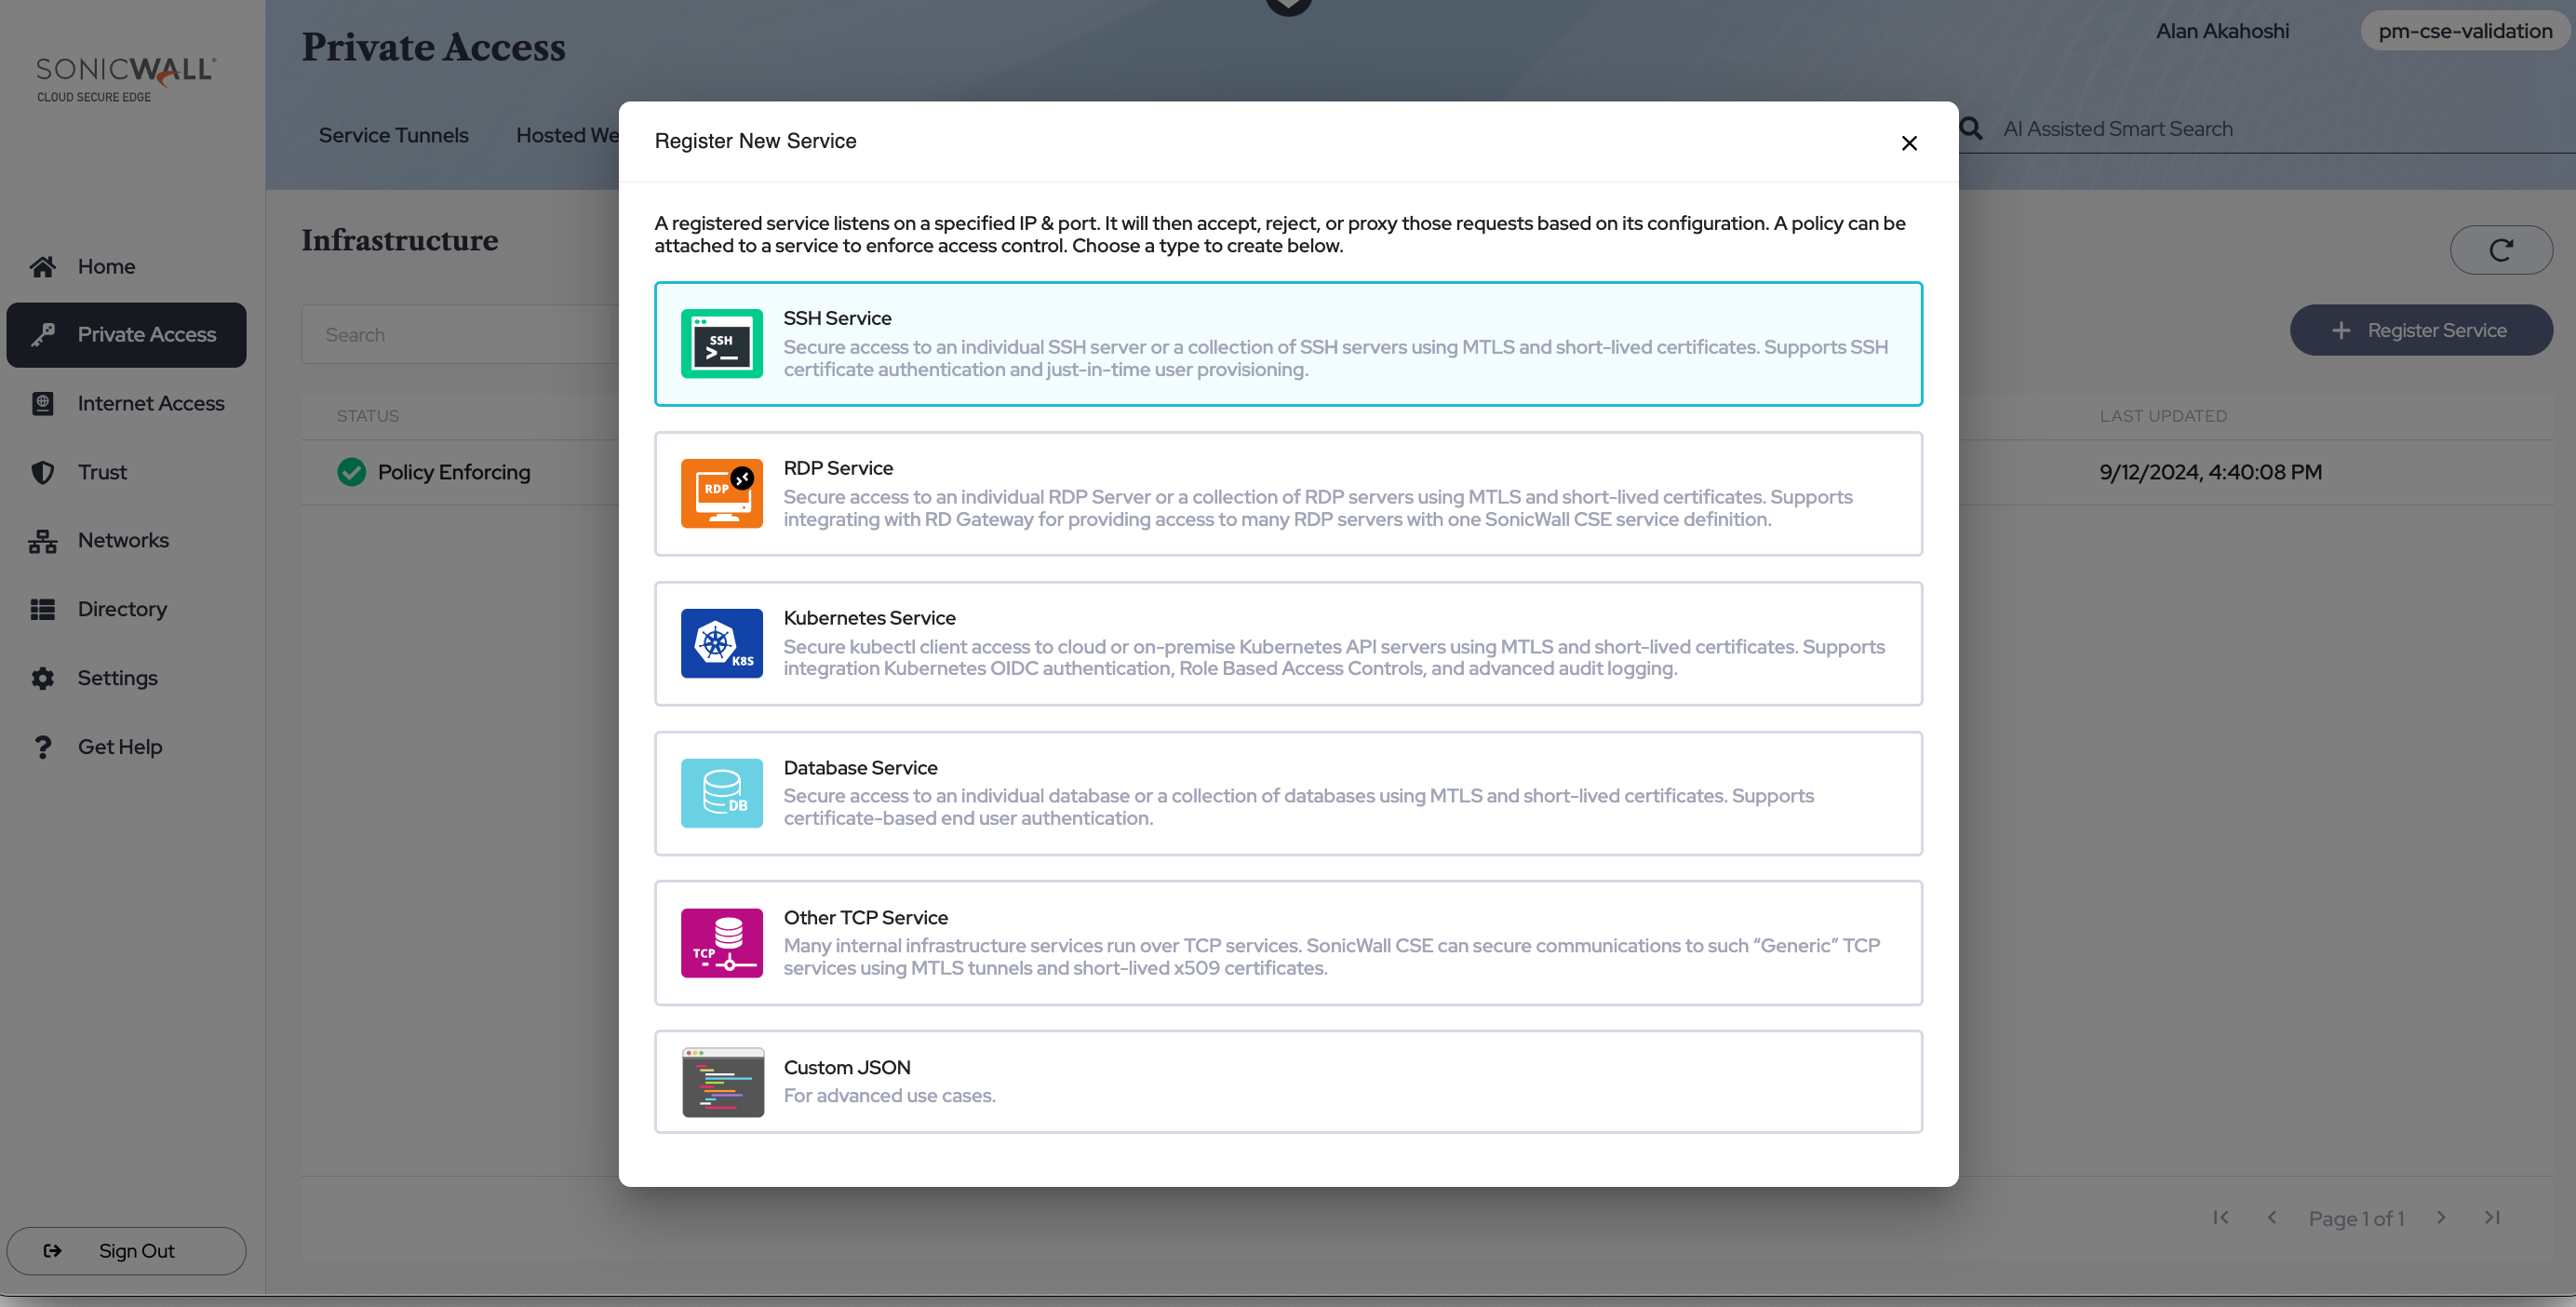
Step 3: Register a Service for your SSH server
Configure an SSH service for zero-trust access to your SSH Server.
3.1 Navigate from Private Access > Infrastructure, and then select + Register Service. Select SSH Service.
3.2 Under Service Details, enter a Service Name. Optionally, enter a Description and a Link.
3.3 Select a Cluster. Ensure that you select the Cluster (a logical grouping of Access Tiers, managed together) that contains the Access Tier or the Connector your SSH server sits behind.
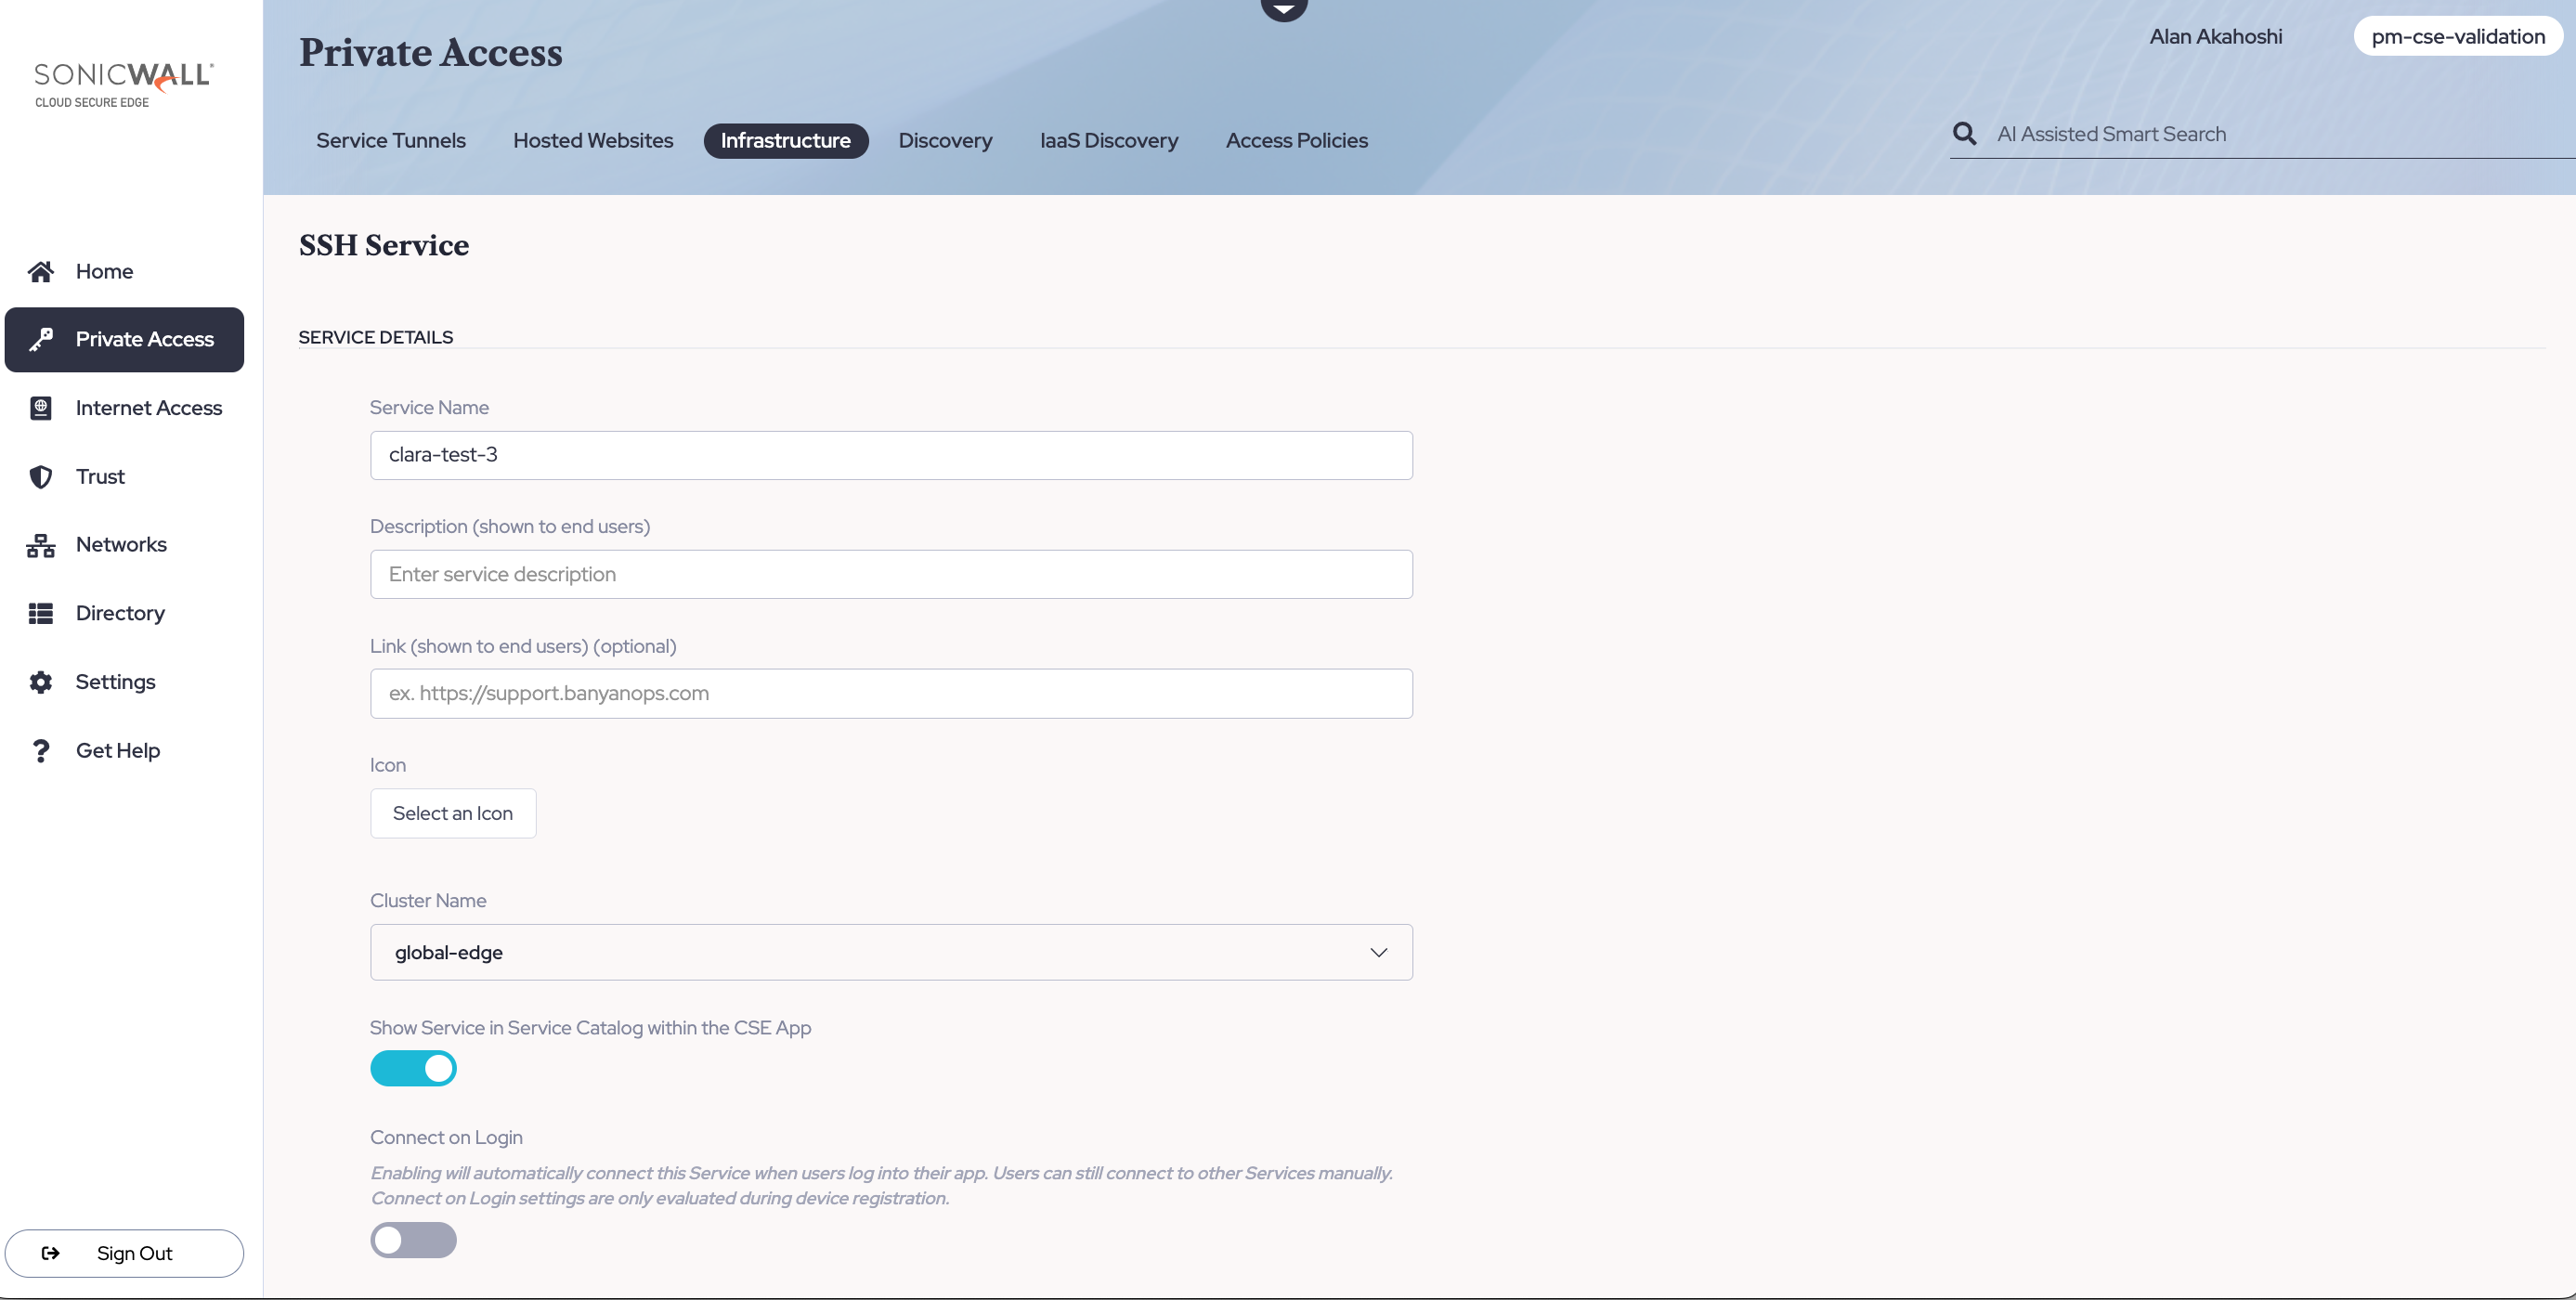
3.4 Optional: Display the Service in the app by toggling on Show Service in Service Catalog within the App. This means that end users will be able to view the service in the desktop app.
3.5 Under Service Attributes, select an Access Tier (self-hosted private edge deployment) or a Connector (global edge deployment).
3.6 Assign a Service Domain Name for this service. Optionally, leave the port as 8443.
Note: the Service Domain Name must be a registered domain or a sub-domain of a registered domain that contains a wildcard (e.g.,mysshserver.corp.example.com, which is a sub-domain of *.corp.example.com).
3.7 To secure access to an individual SSH server, select Fixed Backend Domain. There is no need to specify using HTTP Connect, since there is only one SSH server; the Client specifies using HTTP Connect option is for admins securing access to multiple SSH servers.
3.8 Enter the Backend Domain of the SSH server you want to secure access to. If you want to configure a backend domain that leverages User Attributes, enter two curly brackets, and a dropdown menu will appear, with various user attribute options to select from.
The following are valid User Attributes that can be entered in the Backend Domain field (preceded and followed by two curly brackets):
.Email.User.Email.Domain
3.9 In the field adjacent, enter the listening port of your SSH server. Optionally, leave the port number as 22, the default SSH port.
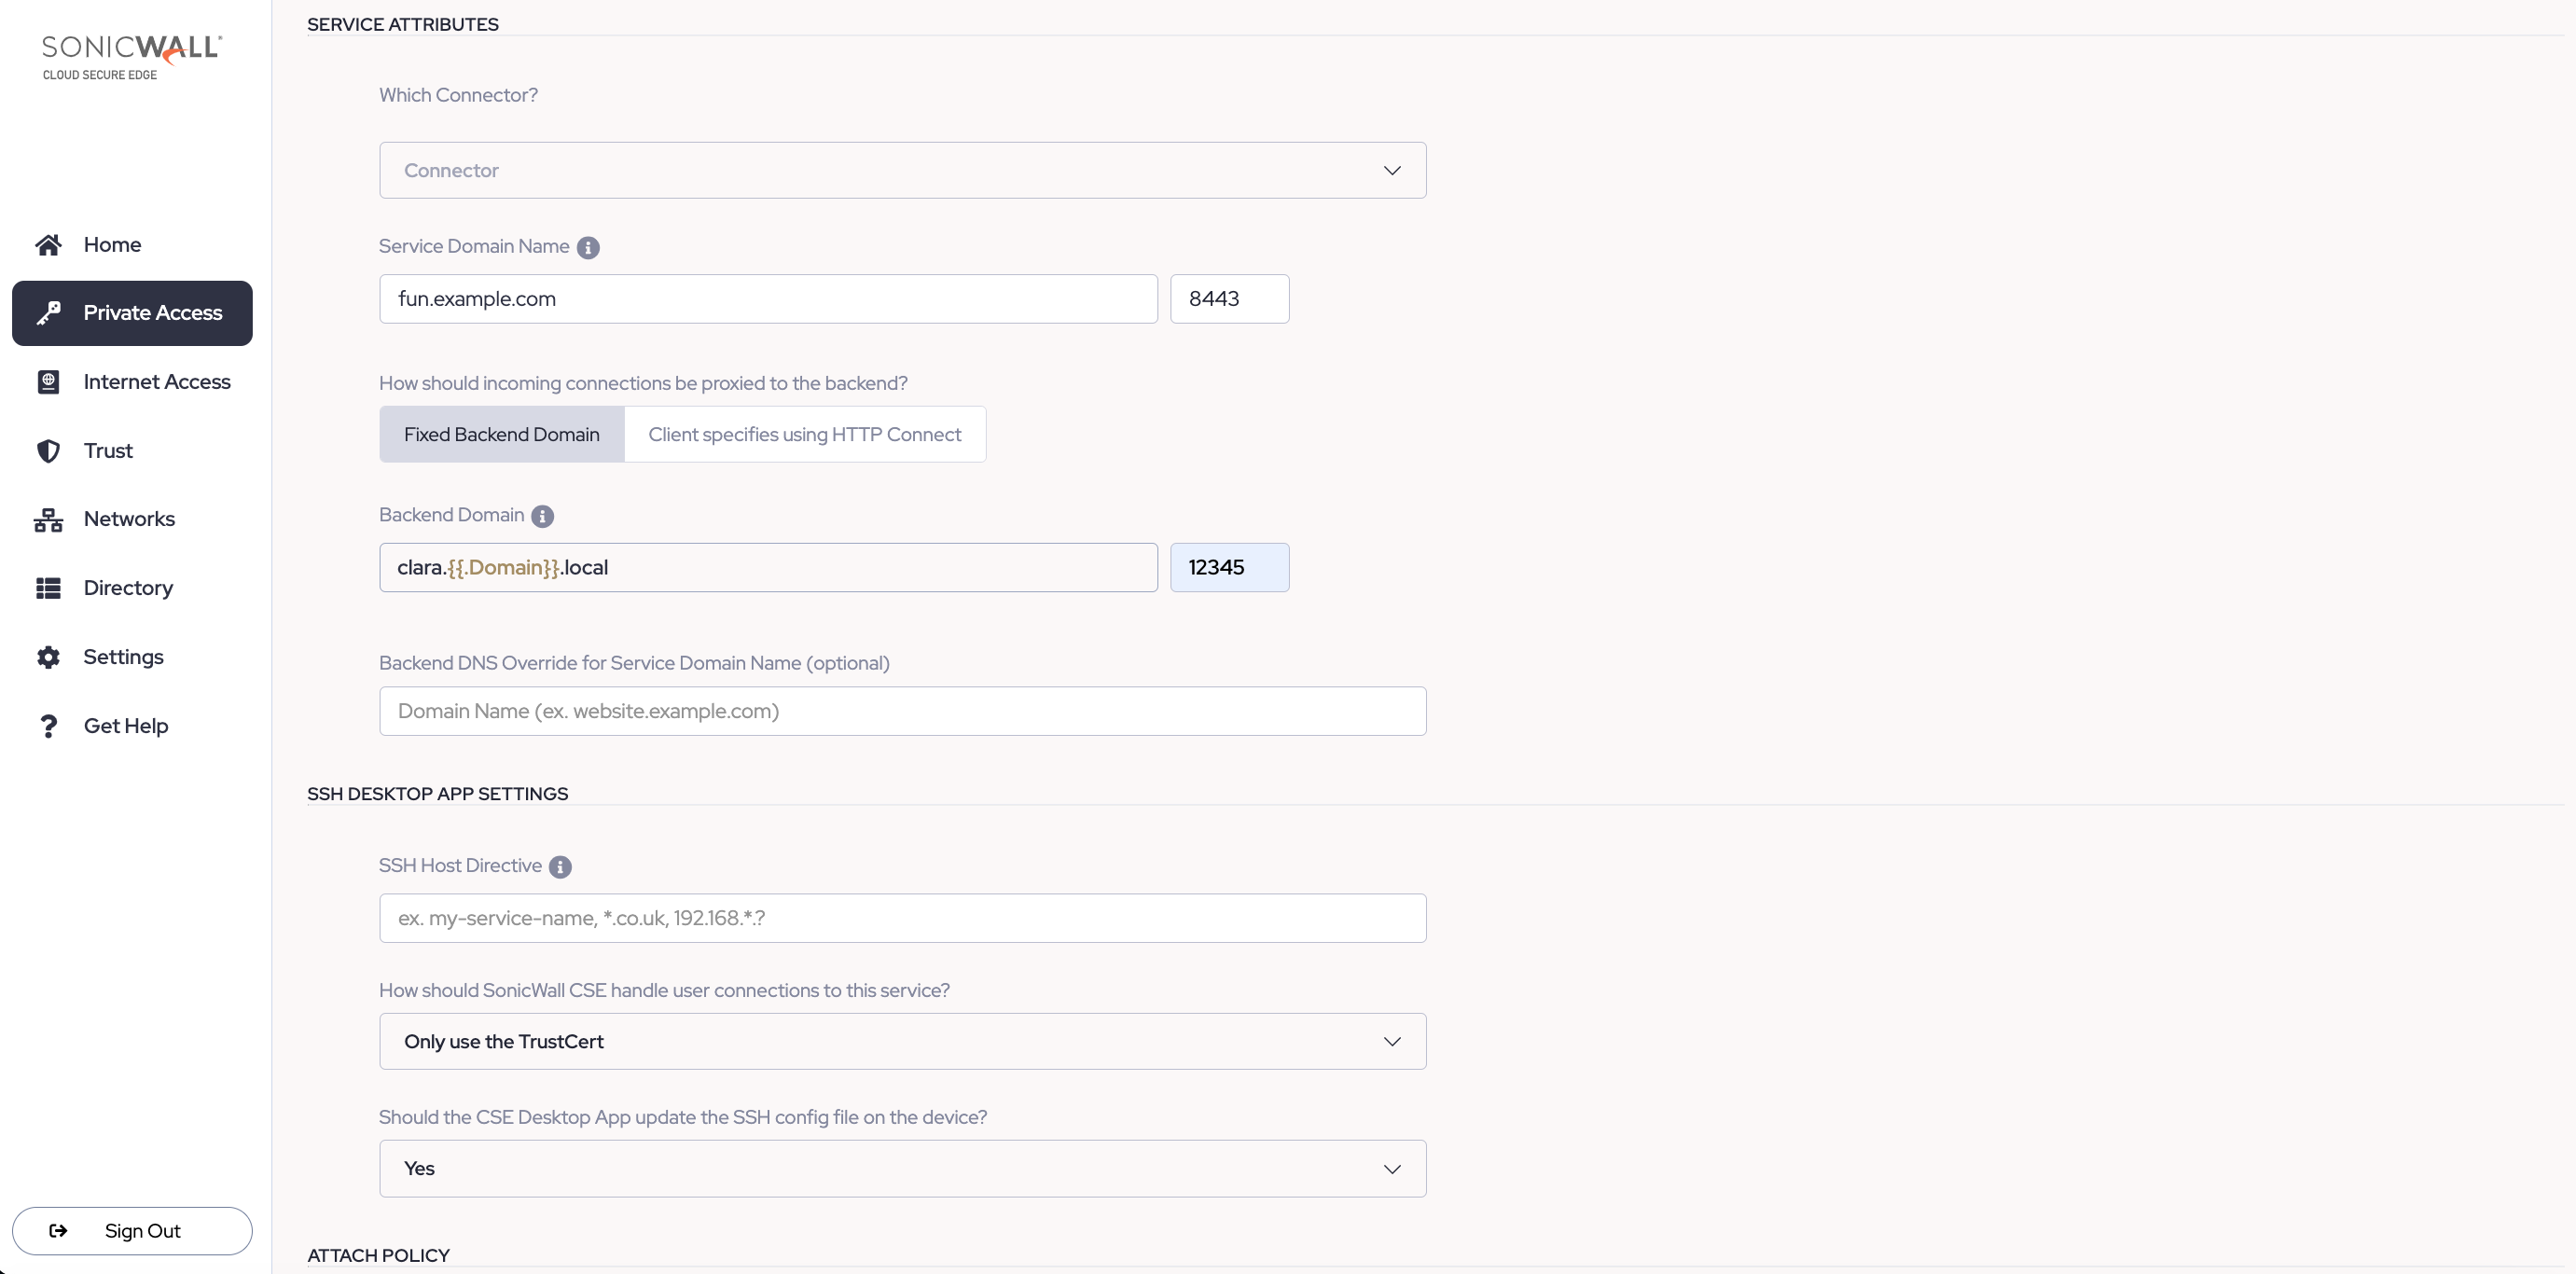
Note: In this field, you can enter the SSH server’s backend domain name or its IP address; both will work.
3.10 Optional: enter a Backend DNS Override.
3.11 Optional: In the SSH Desktop App Settings section, enter an SSH Host Directive. This is a short-cut name that can be used in SSH commands.
3.12 Select Only use the TrustCert (CSE’s Trust certificate) or select Use both the TrustCert and the SSHCert, if your SSH server already requires certificate authentication.
3.13 Select whether the desktop app should update the SSH config file on the device.
Admins should select Yes, unless they prefer to update the SSH config file themselves. Note that independent management of the SSH config file may create difficulty in using the desktop app, which is configured to update the SSH config file. Contact CSE for further support.
3.14 Optional: Attach the policy created in Step 2, and then choose an Enforcement Mode (i.e., Permissive or Enforcing).
Step 4: Connect to the service in the desktop app
4.1 Ensure your end users install the latest desktop app and register their device.
4.2 Once the service is registered (i.e., Step 3 is completed), your end users will see it in their desktop app. End users must then select Connect, and the desktop app will add an entry to the SSH config file (typically located in ~/.ssh/config).
They can then access the SSH server as:
ssh user@myserver.corp.example.com
The SSH client will use banyanproxy to automatically tunnel the SSH session over the Mutual-Auth TLS channel set up by CSE.
Test your Connection
Leverage the Test Connection functionality to diagnose any connection issues.
Note: If you have configured User Attributes in your backend domain (in Step 2.4 above), testing the connection is not currently supported. Support for testing the connection with User Attributes will be available in an upcoming release.
In the Command Center, navigate from Private Access > Infrastructure, then select a Service Name. In your service, select Test Connection (the check icon in the upper right corner of the page). This will show you the status of your connection, detailing whether your domain name or hostname are resolvable and whether the Access Tier and backend port are reachable.

Notes
SSH Config file
When your end user Connects to the SSH service in the desktop app, the app will automatically update the device’s SSH Config file with the banyanproxy settings needed.
The desktop app looks for an SSH Config file location depending on the Operating System of the device:
| Operating System | SSH Config File Location |
|---|---|
| macOS | $HOME/.ssh/config |
| Windows | %USERPROFILE%\.ssh\config |
| Linux | $HOME/.ssh/config |
Other SSH Clients
If your end users use an SSH client that doesn’t use the SSH Config file (e.g., PuTTY), you must provide them slightly modified instructions.