Install CSE Connector using the Tarball Installer
Install the Connector on virtual or physical 64-bit Linux Servers, on-Prem or cloud
- Updated on
Steps
Install the Connector via the following four steps.
Step 1. Register your Connector
1.1 Log into the Command Center, and navigate to Networks > Connectors.
1.2 Select + Create Connector, and configure the required parameters when going through the installation wizard. An existing API key is required; these should appear in the dropdown menu of the API Key field on the Configure tab. If you don’t have an existing API key, navigate to Settings > API Keys and generate an API key with an satellite scope.
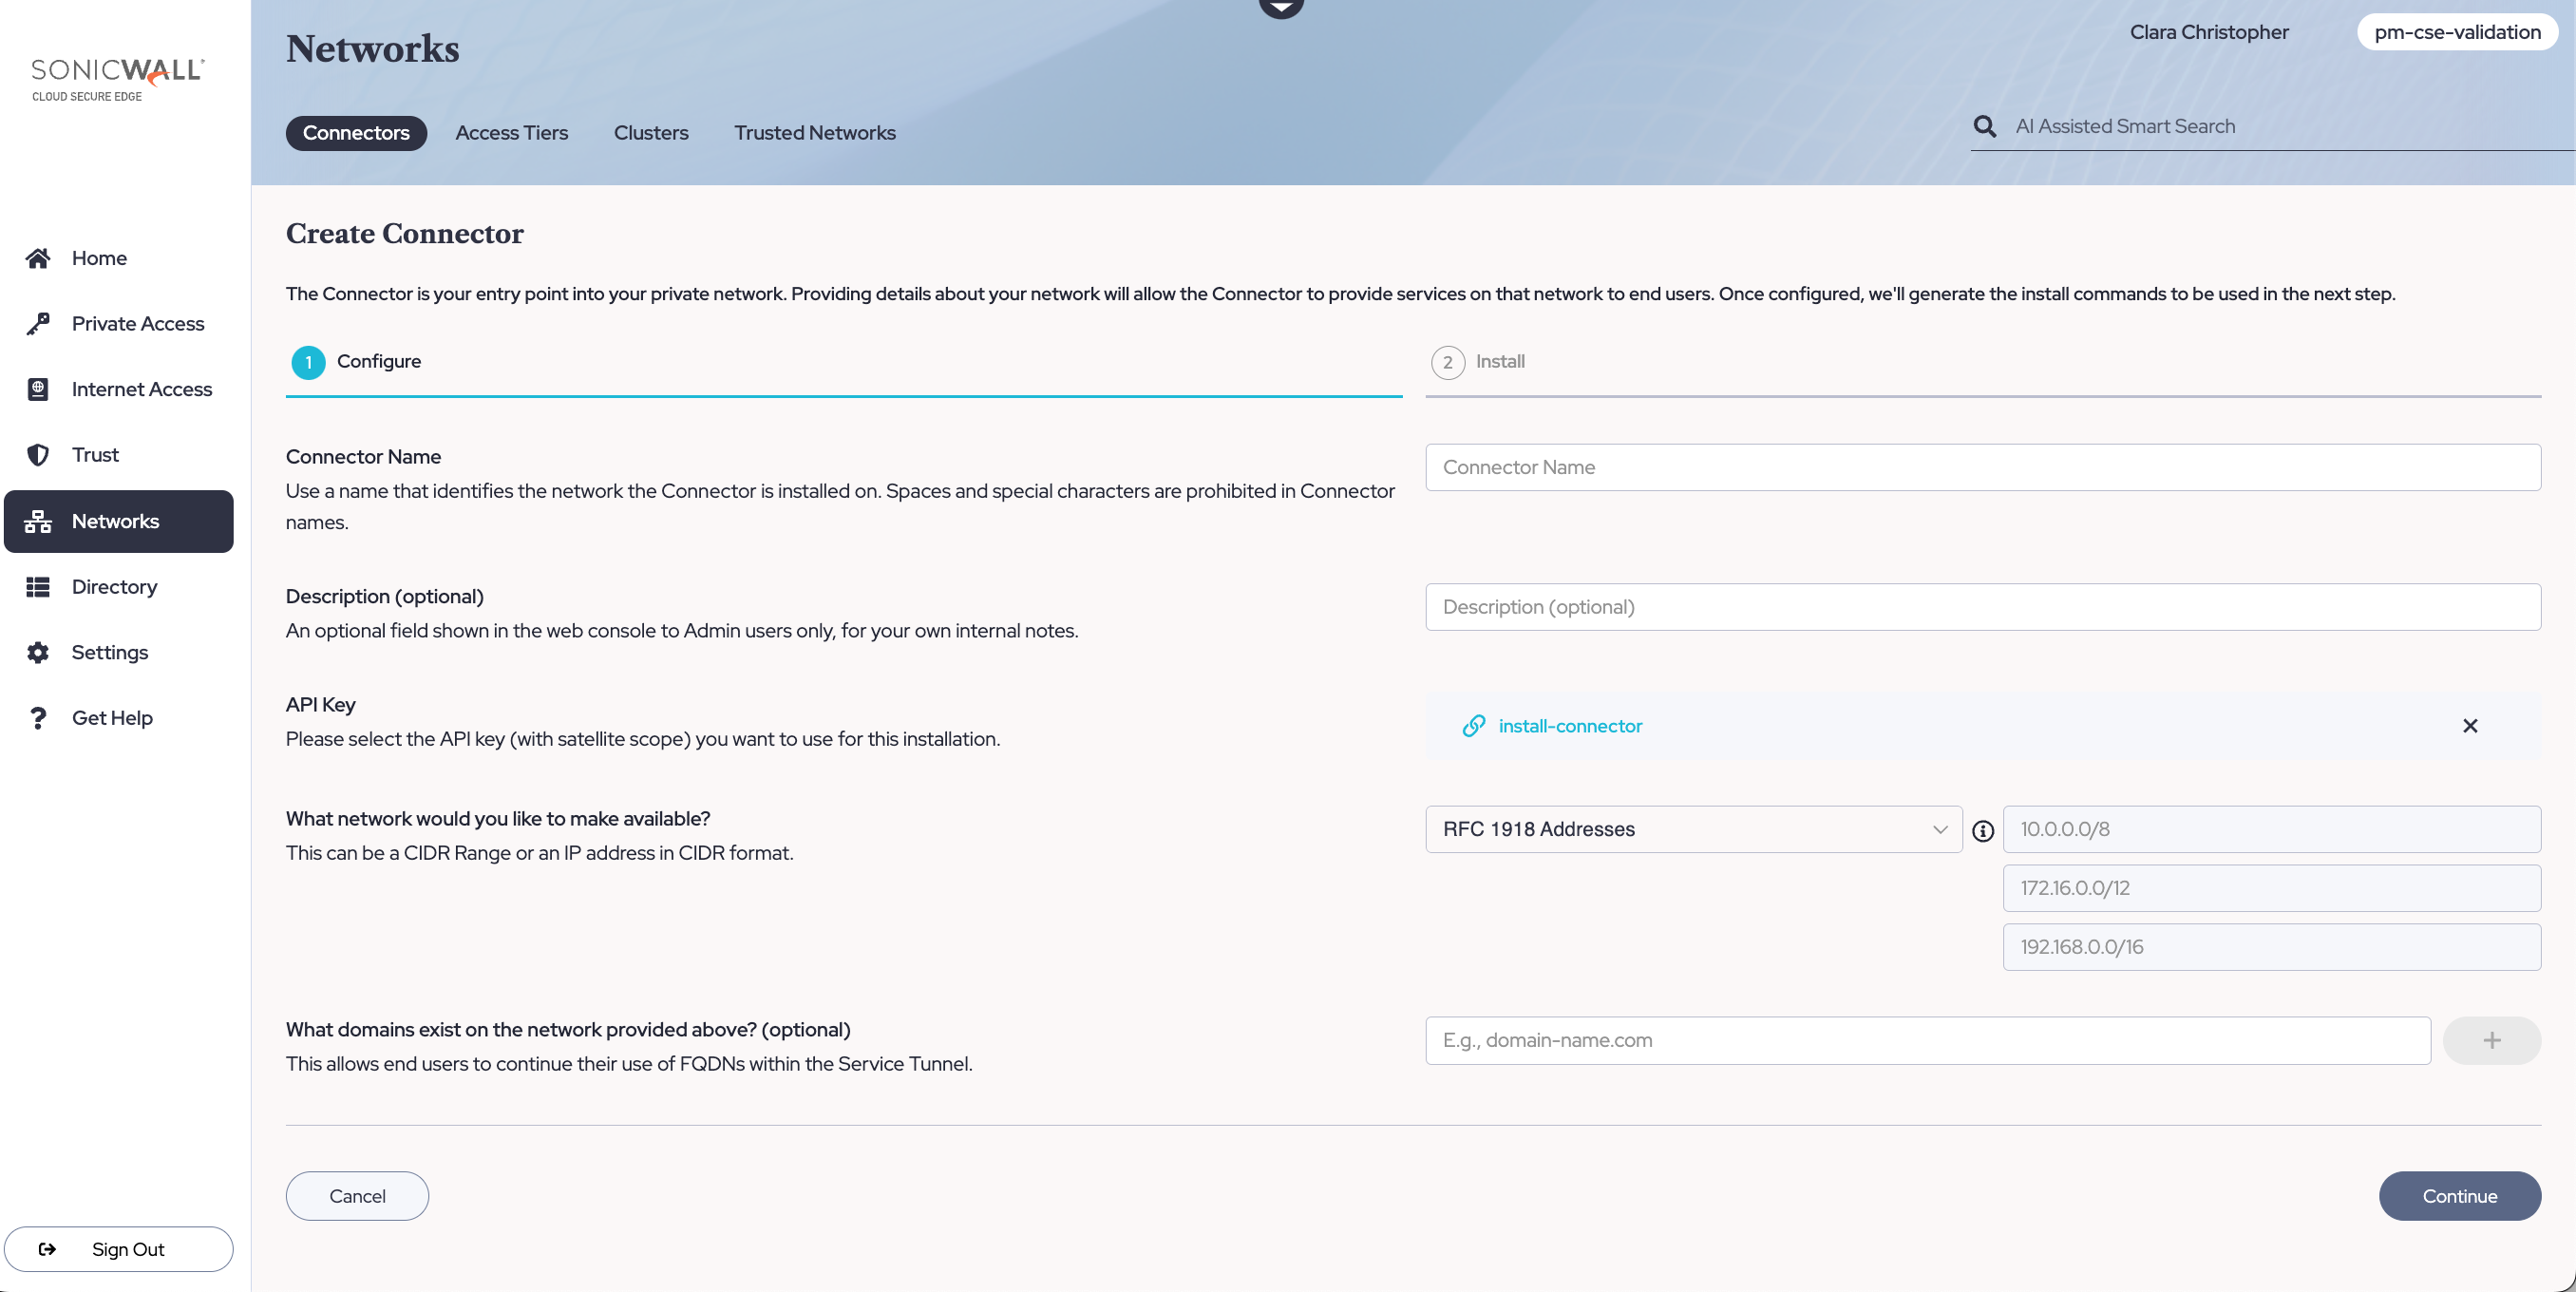
1.3 Take note of the installation parameters for use in subsequent sections.
1.4 Optional: Toggle on Public IPs & Increased Connector Limit to enable access through your Global Edge private network to public IP addresses or services.
Note: Changes to your Connector configuration may take up to 10 minutes to take effect.
Step 2. Review the Pre-Install Checklist
Network Reachability
-
The Connector needs to be able to connect outbound to the internet; it does not need any inbound open ports to operate correctly.
-
Ensure that the Connector server can make an outbound HTTPS connection via port 443 to the Command Center. The Connector does this to register itself and receive its configuration parameters, by making API calls to the Command Center’s API endpoint, which differs by data center: use
https://net.banyanops.com/api/v1/for North American data centers, andhttps://eucc.console.banyanops.com/api/v1/for European data centers. -
Ensure that the Connector can make an outbound UDP connection to the Global Edge Network. The Connector will pick a port(s) in the range 21000 - 59999 to set up WireGuard tunnels with the Edge Network.
-
Ensure your networking policies allow traffic to flow from the Connector server to backend machines running the applications and services you need to secure access to.
Supported Operating Systems
The connector binary can be installed on Virtual or Physical 64-bit Linux Servers.
CSE’s Connector leverages Wireguard to set up secure tunnels. If your Linux version natively supports Wireguard in the kernel, the Connector will use that capability. If your Linux version doesn’t support Wireguard in the kernel, the Connector will fallback to its user-space implementation.
Step 3. Download & Install
Download
Ensure you have assumed root privileges:
user@host$ sudo su -
root@host#
Download and extract the Tarball installer, and cd into the directory:
# create folder for the Tarball
mkdir -p /opt/banyan-packages
cd /opt/banyan-packages

# download and unzip the files
wget https://www.banyanops.com/netting/connector-2.0.11.tar.gz
tar zxf connector-2.0.11.tar.gz
cd connector-2.0.11
Configure
Before you start the Connector binary, specify how it should connect to the Command Center so it can register itself and receive its configuration.
# edit the `connector-config.yaml` file to specify the Connector name and Command Center connectivity parameters
#  command_center_url:  # CSE Command Center, such as https://net.banyanops.com
#  api_key_secret: 		# secret API Key associated with your Connector
#  connector_name		# name of your Connector

vi connector-config.yaml
Install
# double check the configuration params
cat connector-config.yaml

# run the setup script so connector can be managed using systemctl
./setup-connector.sh

# manage using systemctl
sudo systemctl [start|stop|status] connector
Step 4. Validate
Once the Connector is running, you can check its logs on the host at /var/log/banyan/connector.log to ensure it is functioning as expected.
In the Networks > Connectors section of the Command Center to see the list of all the registered Connectors. Verify the status of your Connector there.
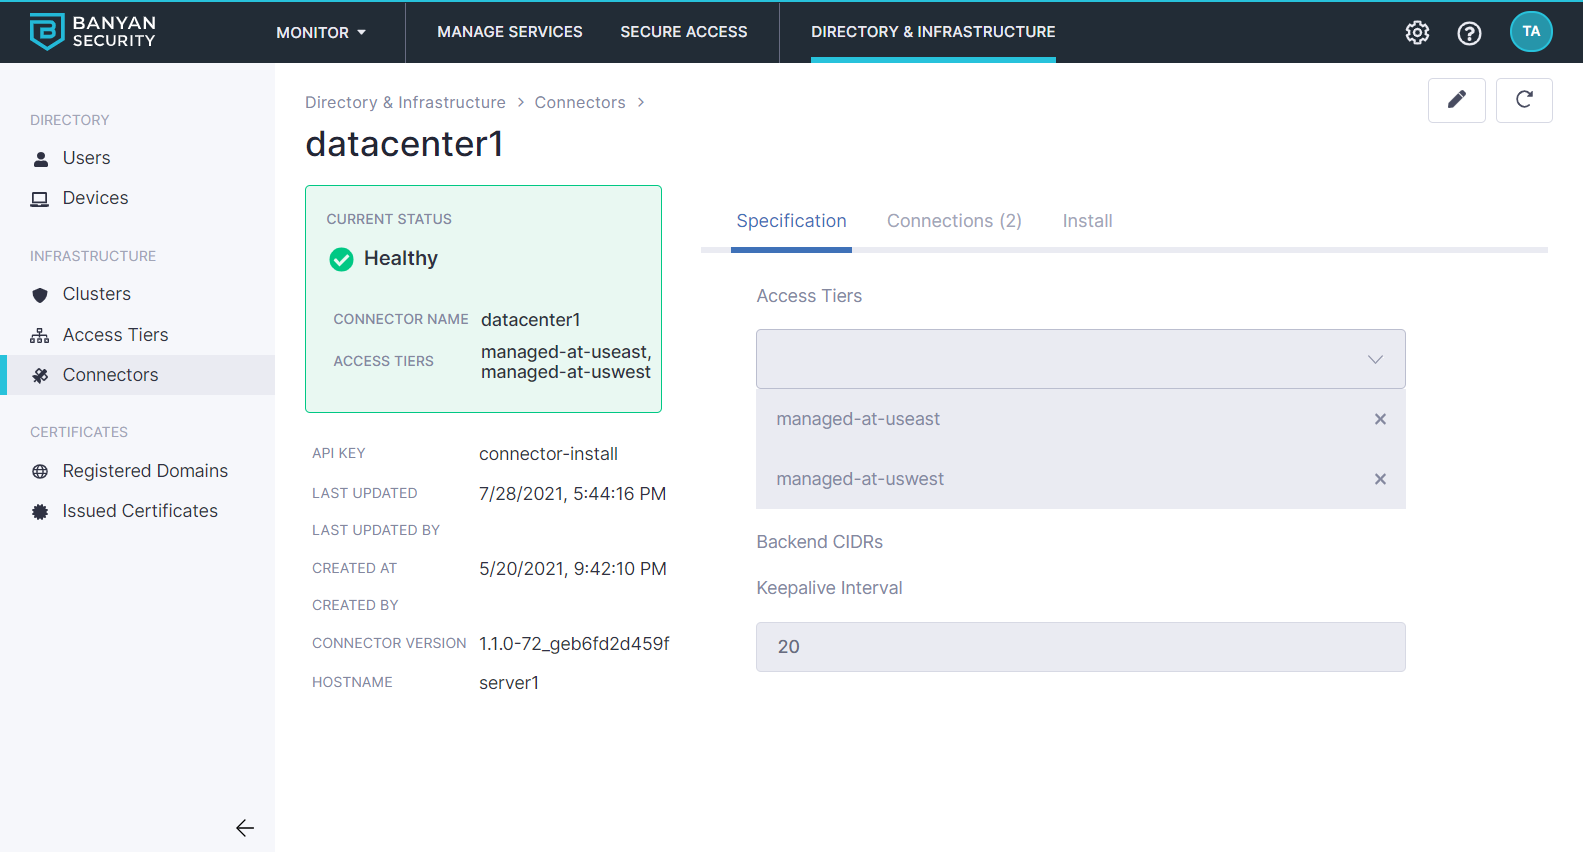
Connector Status
Upgrade the Linux Connector
1. To upgrade your Linux Connector, navigate to your Connector in the CSE Command Center (Networks > Connectors > your Connector), and select the Install tab on your Connector. Re-run the command in Step 1 of the Installation Instructions:
wget -O connector.tar.gz https://www.banyanops.com/netting/connector-2.0.6.tar.gz
tar zxf connector.tar.gz
2. Then re-run the command in Step 4 of the Installation Instructions:
sudo ./setup-connector.sh
3. Select No when prompted to overwrite the config.yml.