Register an Individual RDP Server
- Last validated: Jul 15, 2026
Overview
Use SonicWall Cloud Secure Edge (CSE) RDP service to provide your end users zero-trust access, regardless of their network location. RDP traffic flows through an Access Tier and is wrapped in a MTLS tunnel.
Prerequisites
- A registered Access Tier or Connector, behind which your server sits
- A registered domain that resolves to this Access Tier
Steps
1. Create a Role for your end users
1.1 In the Command Center, navigate from Directory > Roles, and then select + Add Role.
1.2 Create a User Role, and then select + Add Role Attributes to apply it to specific sets of users (such as By Group contractors).
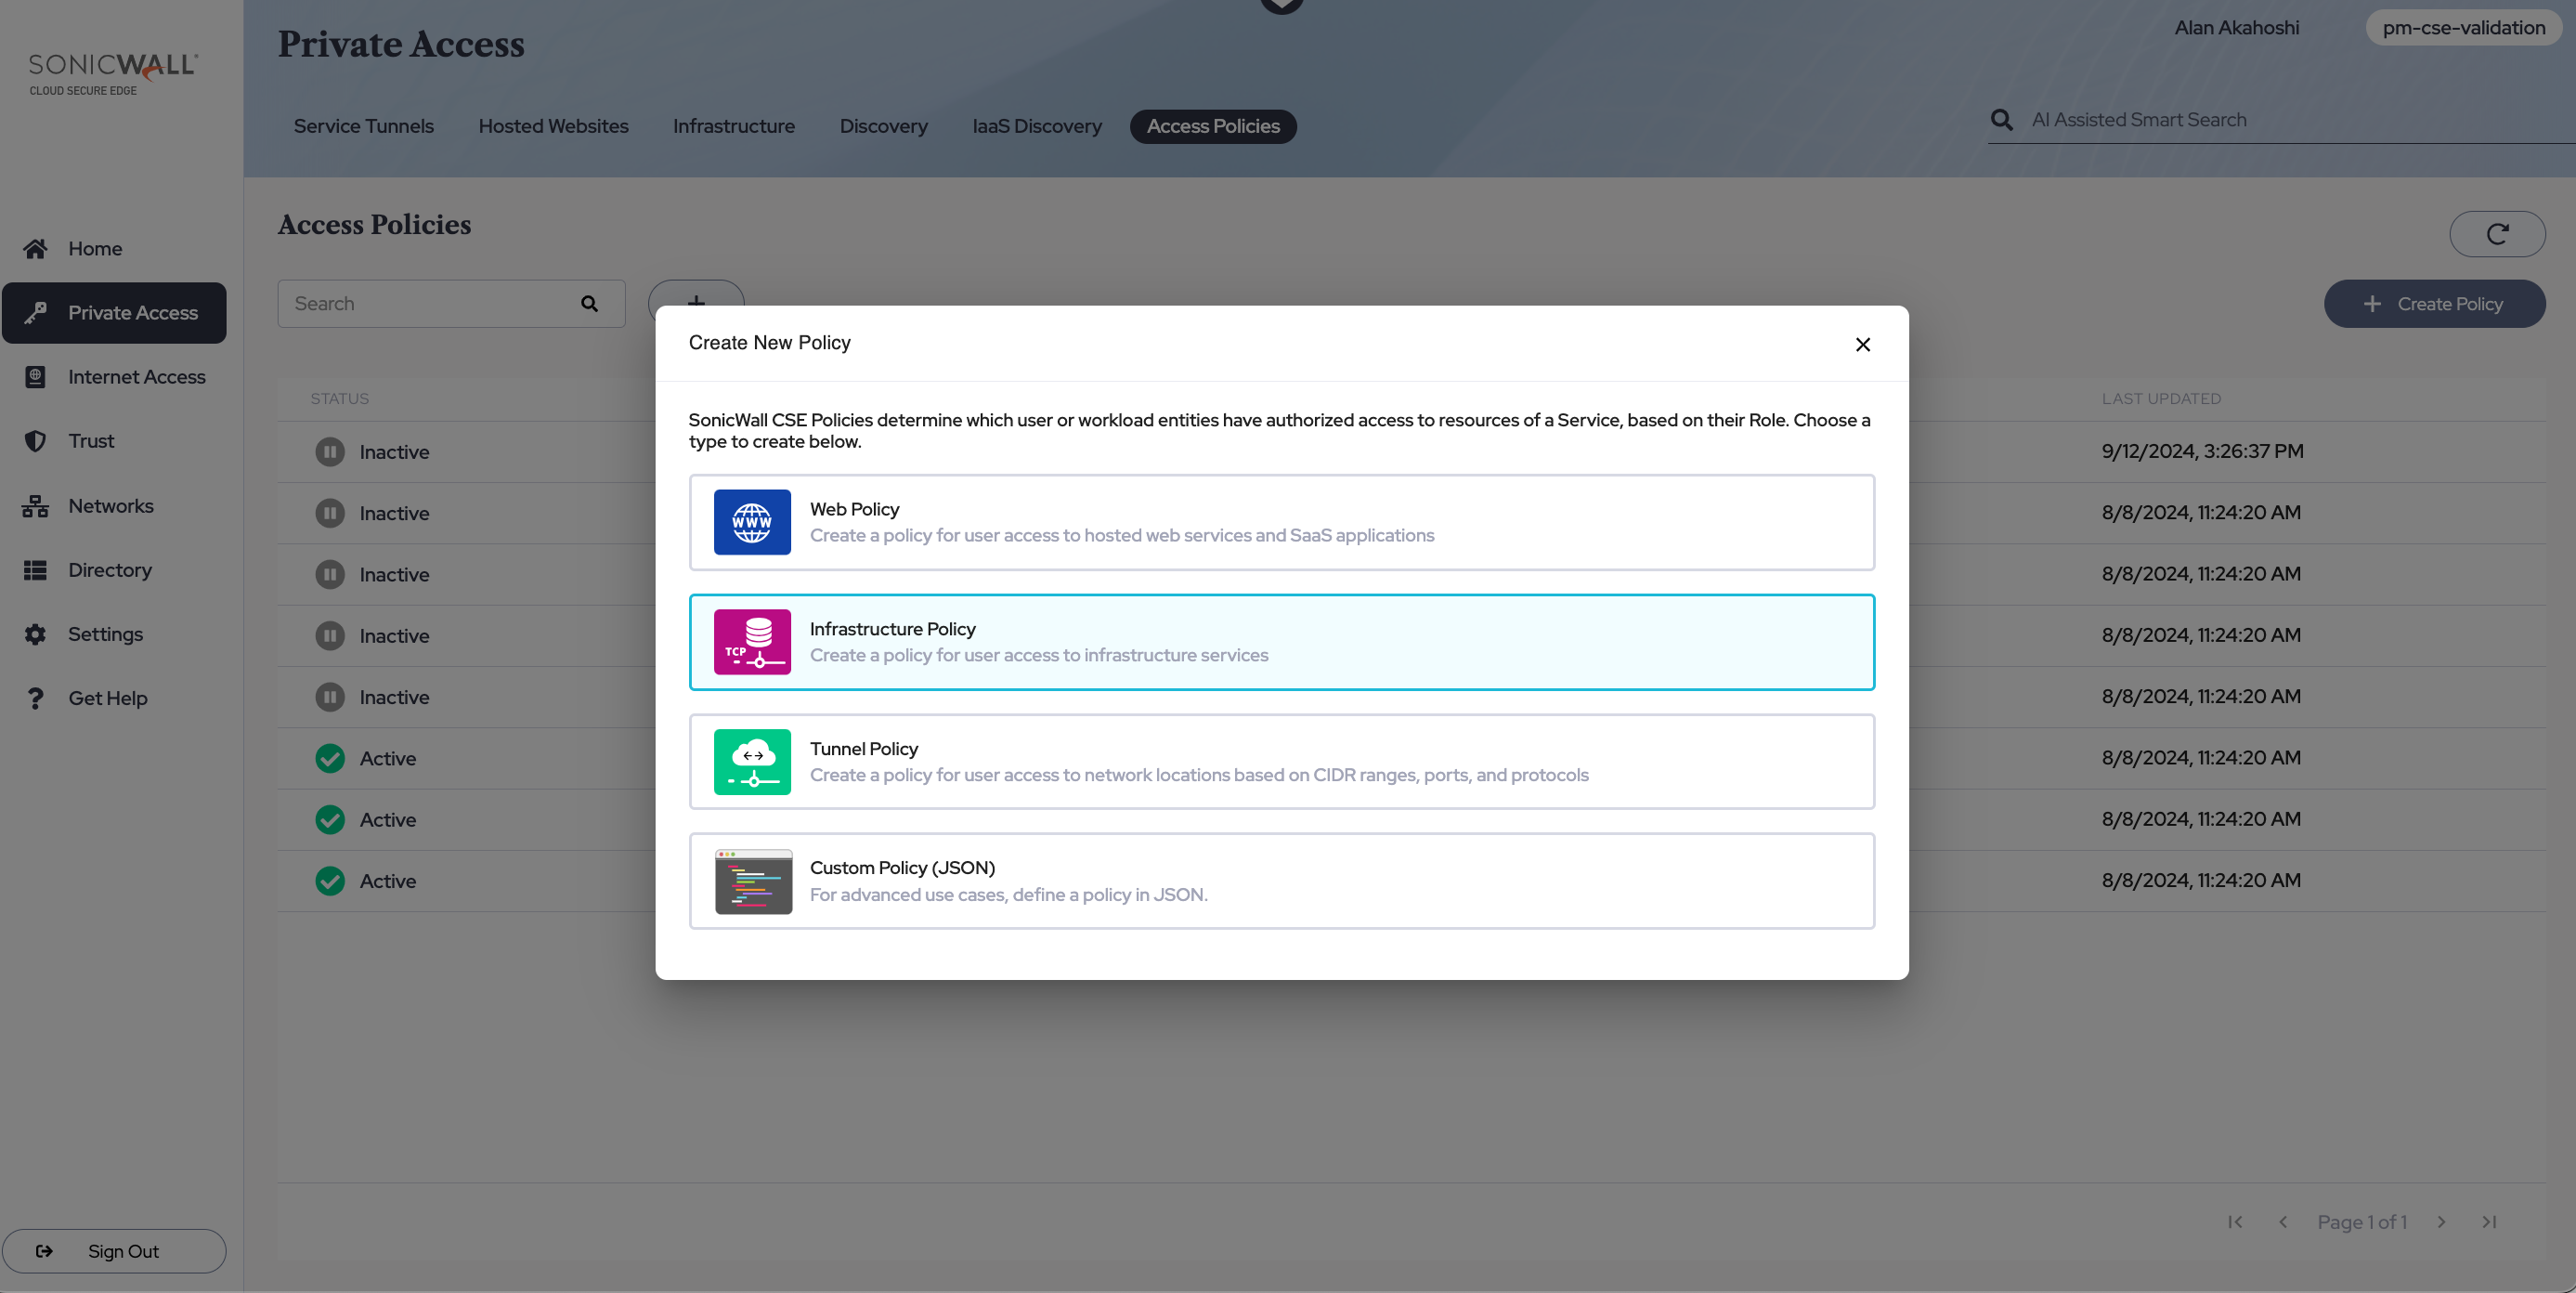
2. Create an Access Policy for your RDP server
2.1 Navigate from Private Access > Access Policies, and select + Create Policy.
2.2 Select the Infrastructure Policy template.
2.3 Configure the Infrastructure Access Policy by adding a Policy Name, setting a Trust Level, and selecting a Role for the Access Group (likely, the same Role created in Step 1).
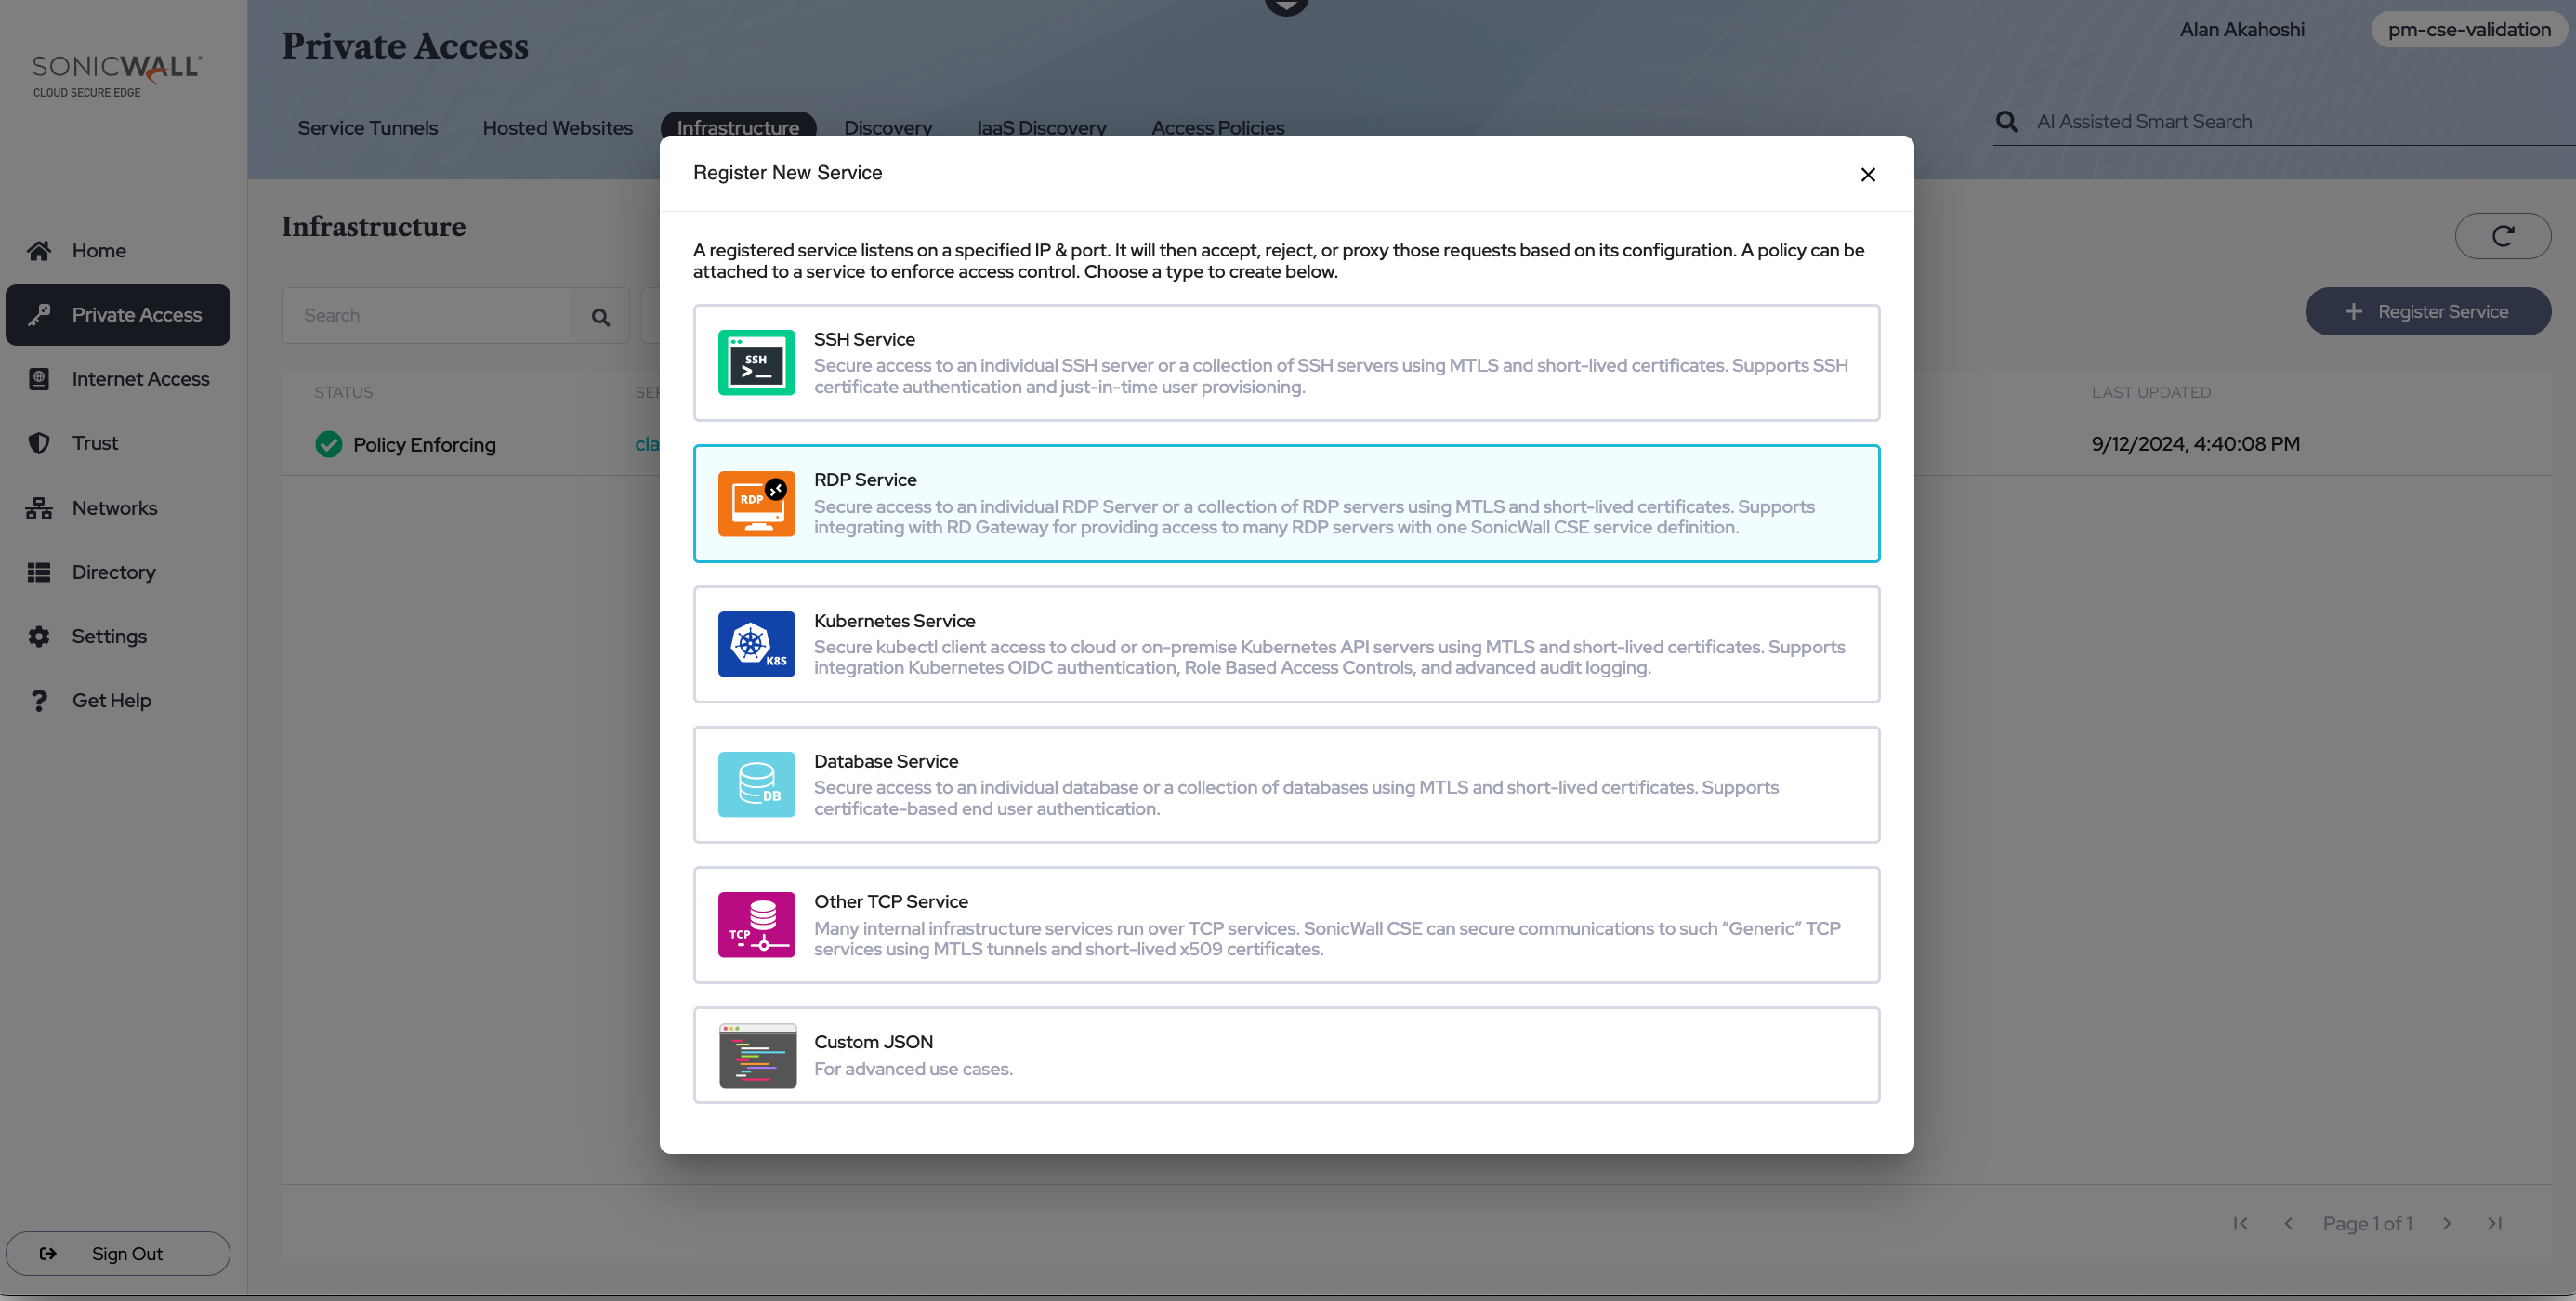
3. Register an RDP Service for your RDP Server
3.1 Navigate from Private Access > Infrastructure, and then select + Register Service. Select the RDP Service template.
Service Details
3.2 Assign a Service Name (and, optionally, a description and link to be shown to your end users).
3.3 Select a cluster under Cluster Name (you will be given the option to select either a Global Edge cluster or a Private Edge cluster).
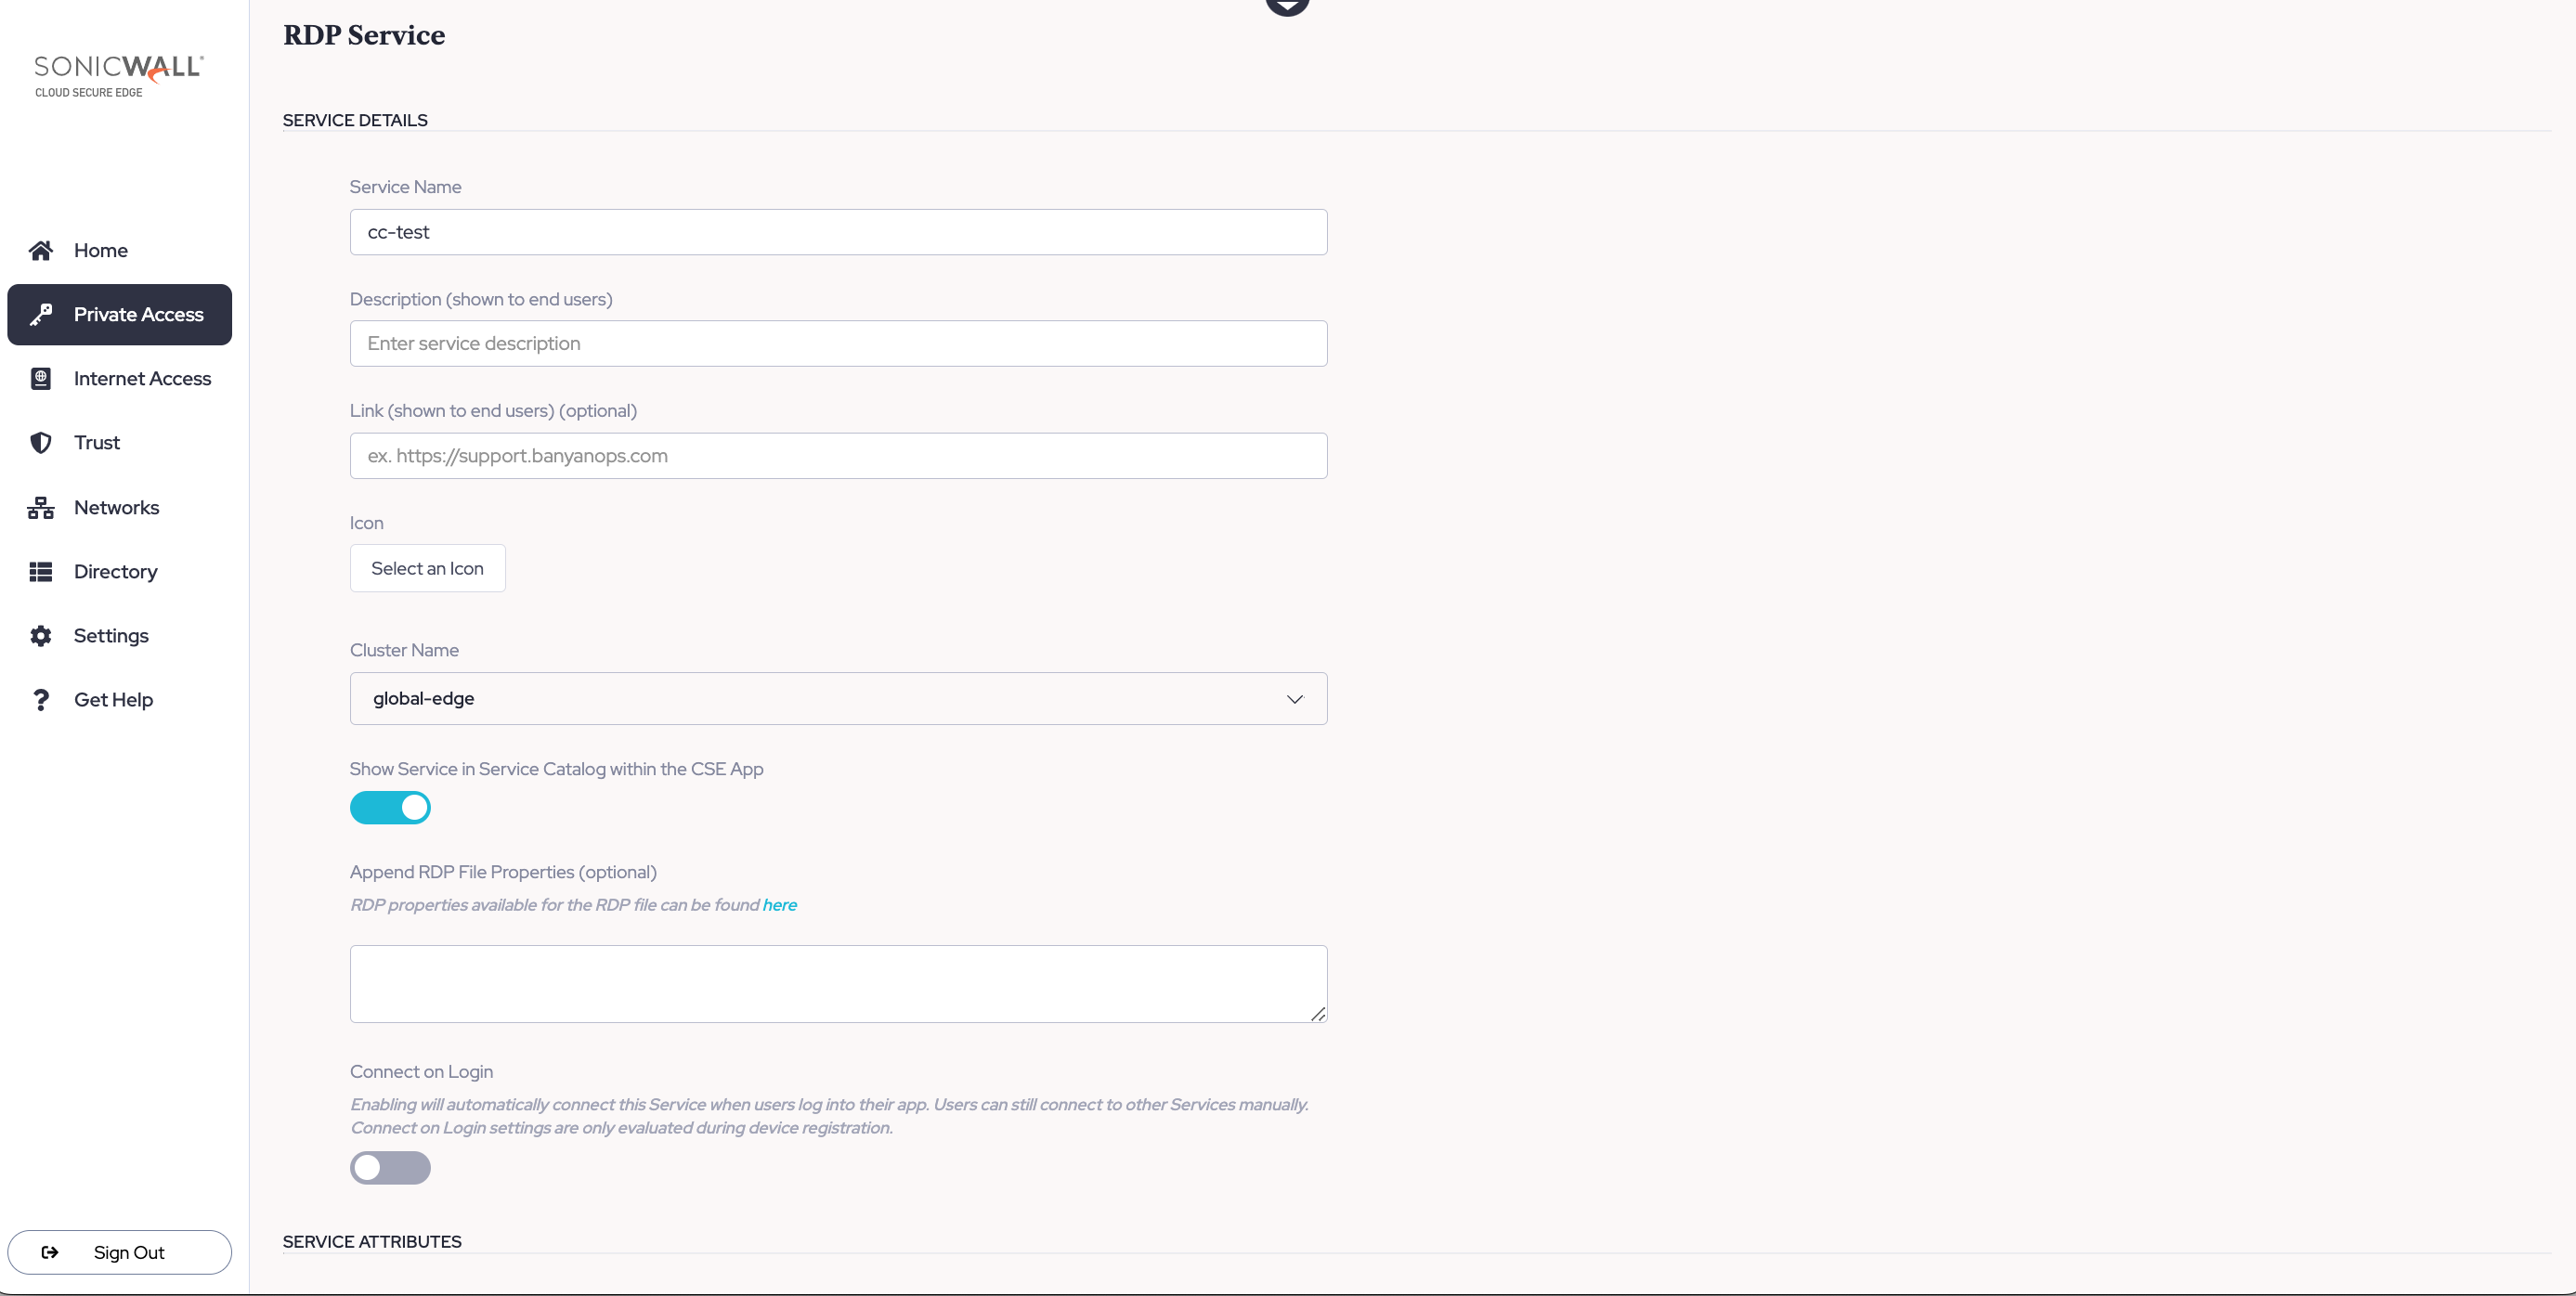
3.4 Optional: Append RDP file properties. Examples of RDP file properties that can be appended can be found here.
Note: CSE facilitates the appending of RDP file properties but is not responsible for how RDP file properties function.
Service Attributes
3.5 Depending on whether you selected a Global Edge cluster or a Private Edge cluster in Step 3.3 above, you will have the option to select a Connector (Global Edge) or an Access Tier (self-hosted private edge Access Tier), respectively.
3.6 Enter a Service Domain Name (e.g.,myrdpserver.corp.example.com ), and leave the port as 8443.
3.7 Set the method for how incoming connections should be proxied to the backend as Fixed Backend Domain.
3.8 To configure the Backend Domain, there are two options: Set the Backend Domain to 10.10.12.12 and port 12345; the banyanproxy will tunnel traffic over port 12345. Alternatively, if you want to configure a backend domain that leverages User Attributes, enter two curly brackets, and a dropdown menu will appear, with various user attribute options to select from.
The following are valid User Attributes that can be entered in the Backend Domain field (preceded and followed by two curly brackets):
.Email.User.Email.Domain
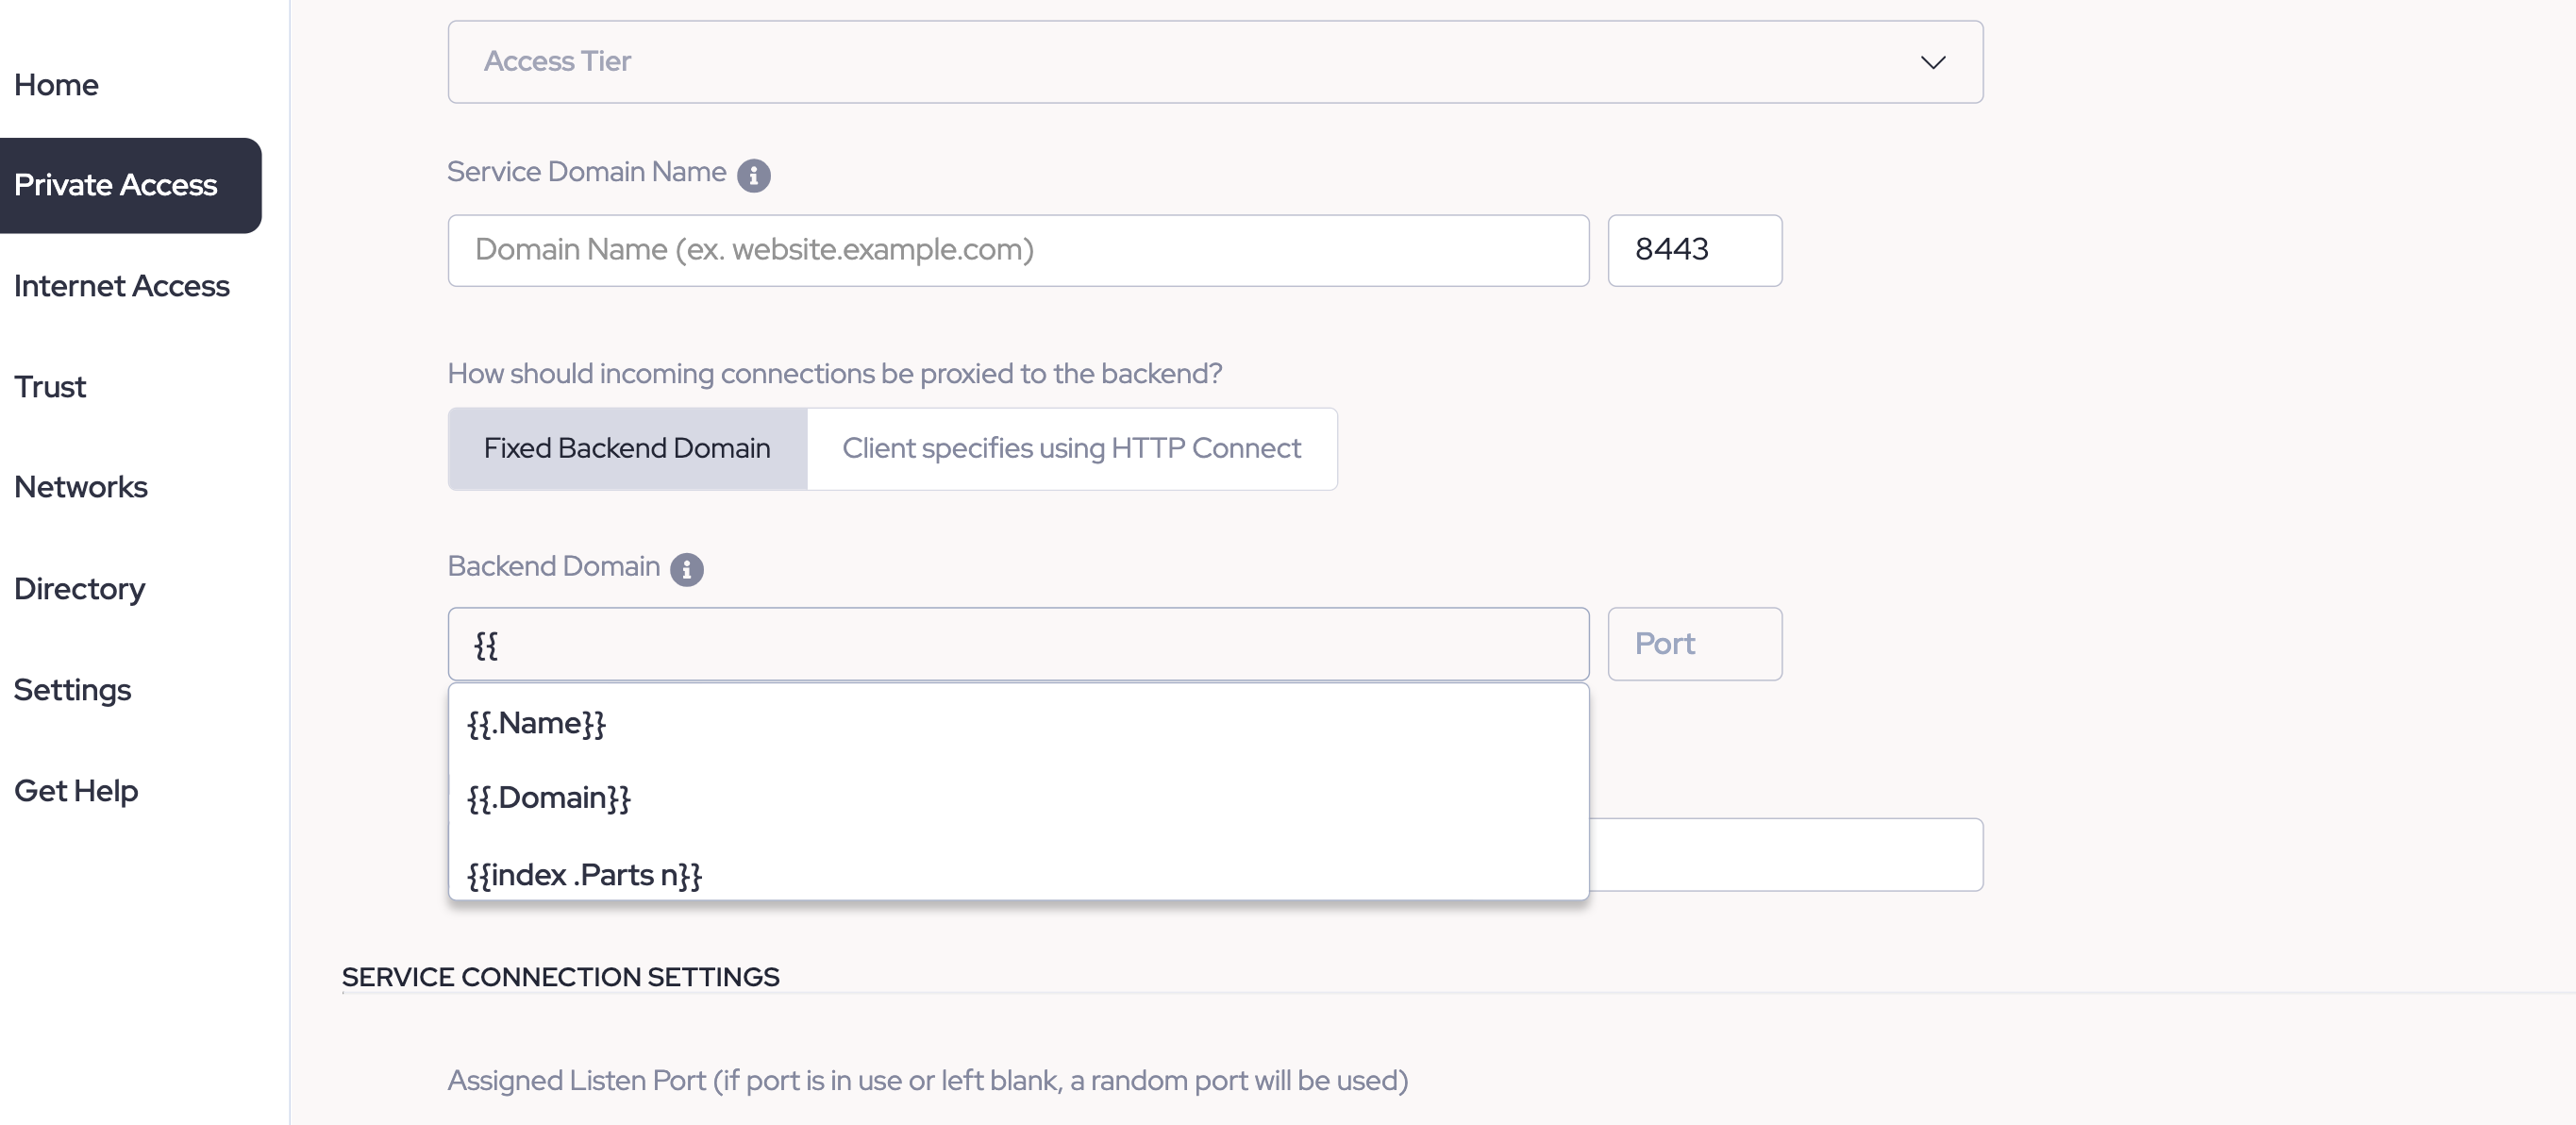
Note: User Attributes allow you to leverage just one RDP service to create various unique-to-the-user host domains. Any of the above User Attribute variables allow for a value substitution that can generate various user-specific host domains.
3.9 Optional: Set the Backend DNS Override for the Service Domain Name.
Service Connection Settings
3.10 Set the Assigned Listen Port. Choose whether you want end users to be able to override these settings.
3.11 Optional: Attach the policy you created in Step 2, and then choose an Enforcement Mode (i.e., Permissive or Enforcing).
Note: An RDP service can be created without attaching an Access Policy, but it will not be a functional service until an Access Policy is attached.
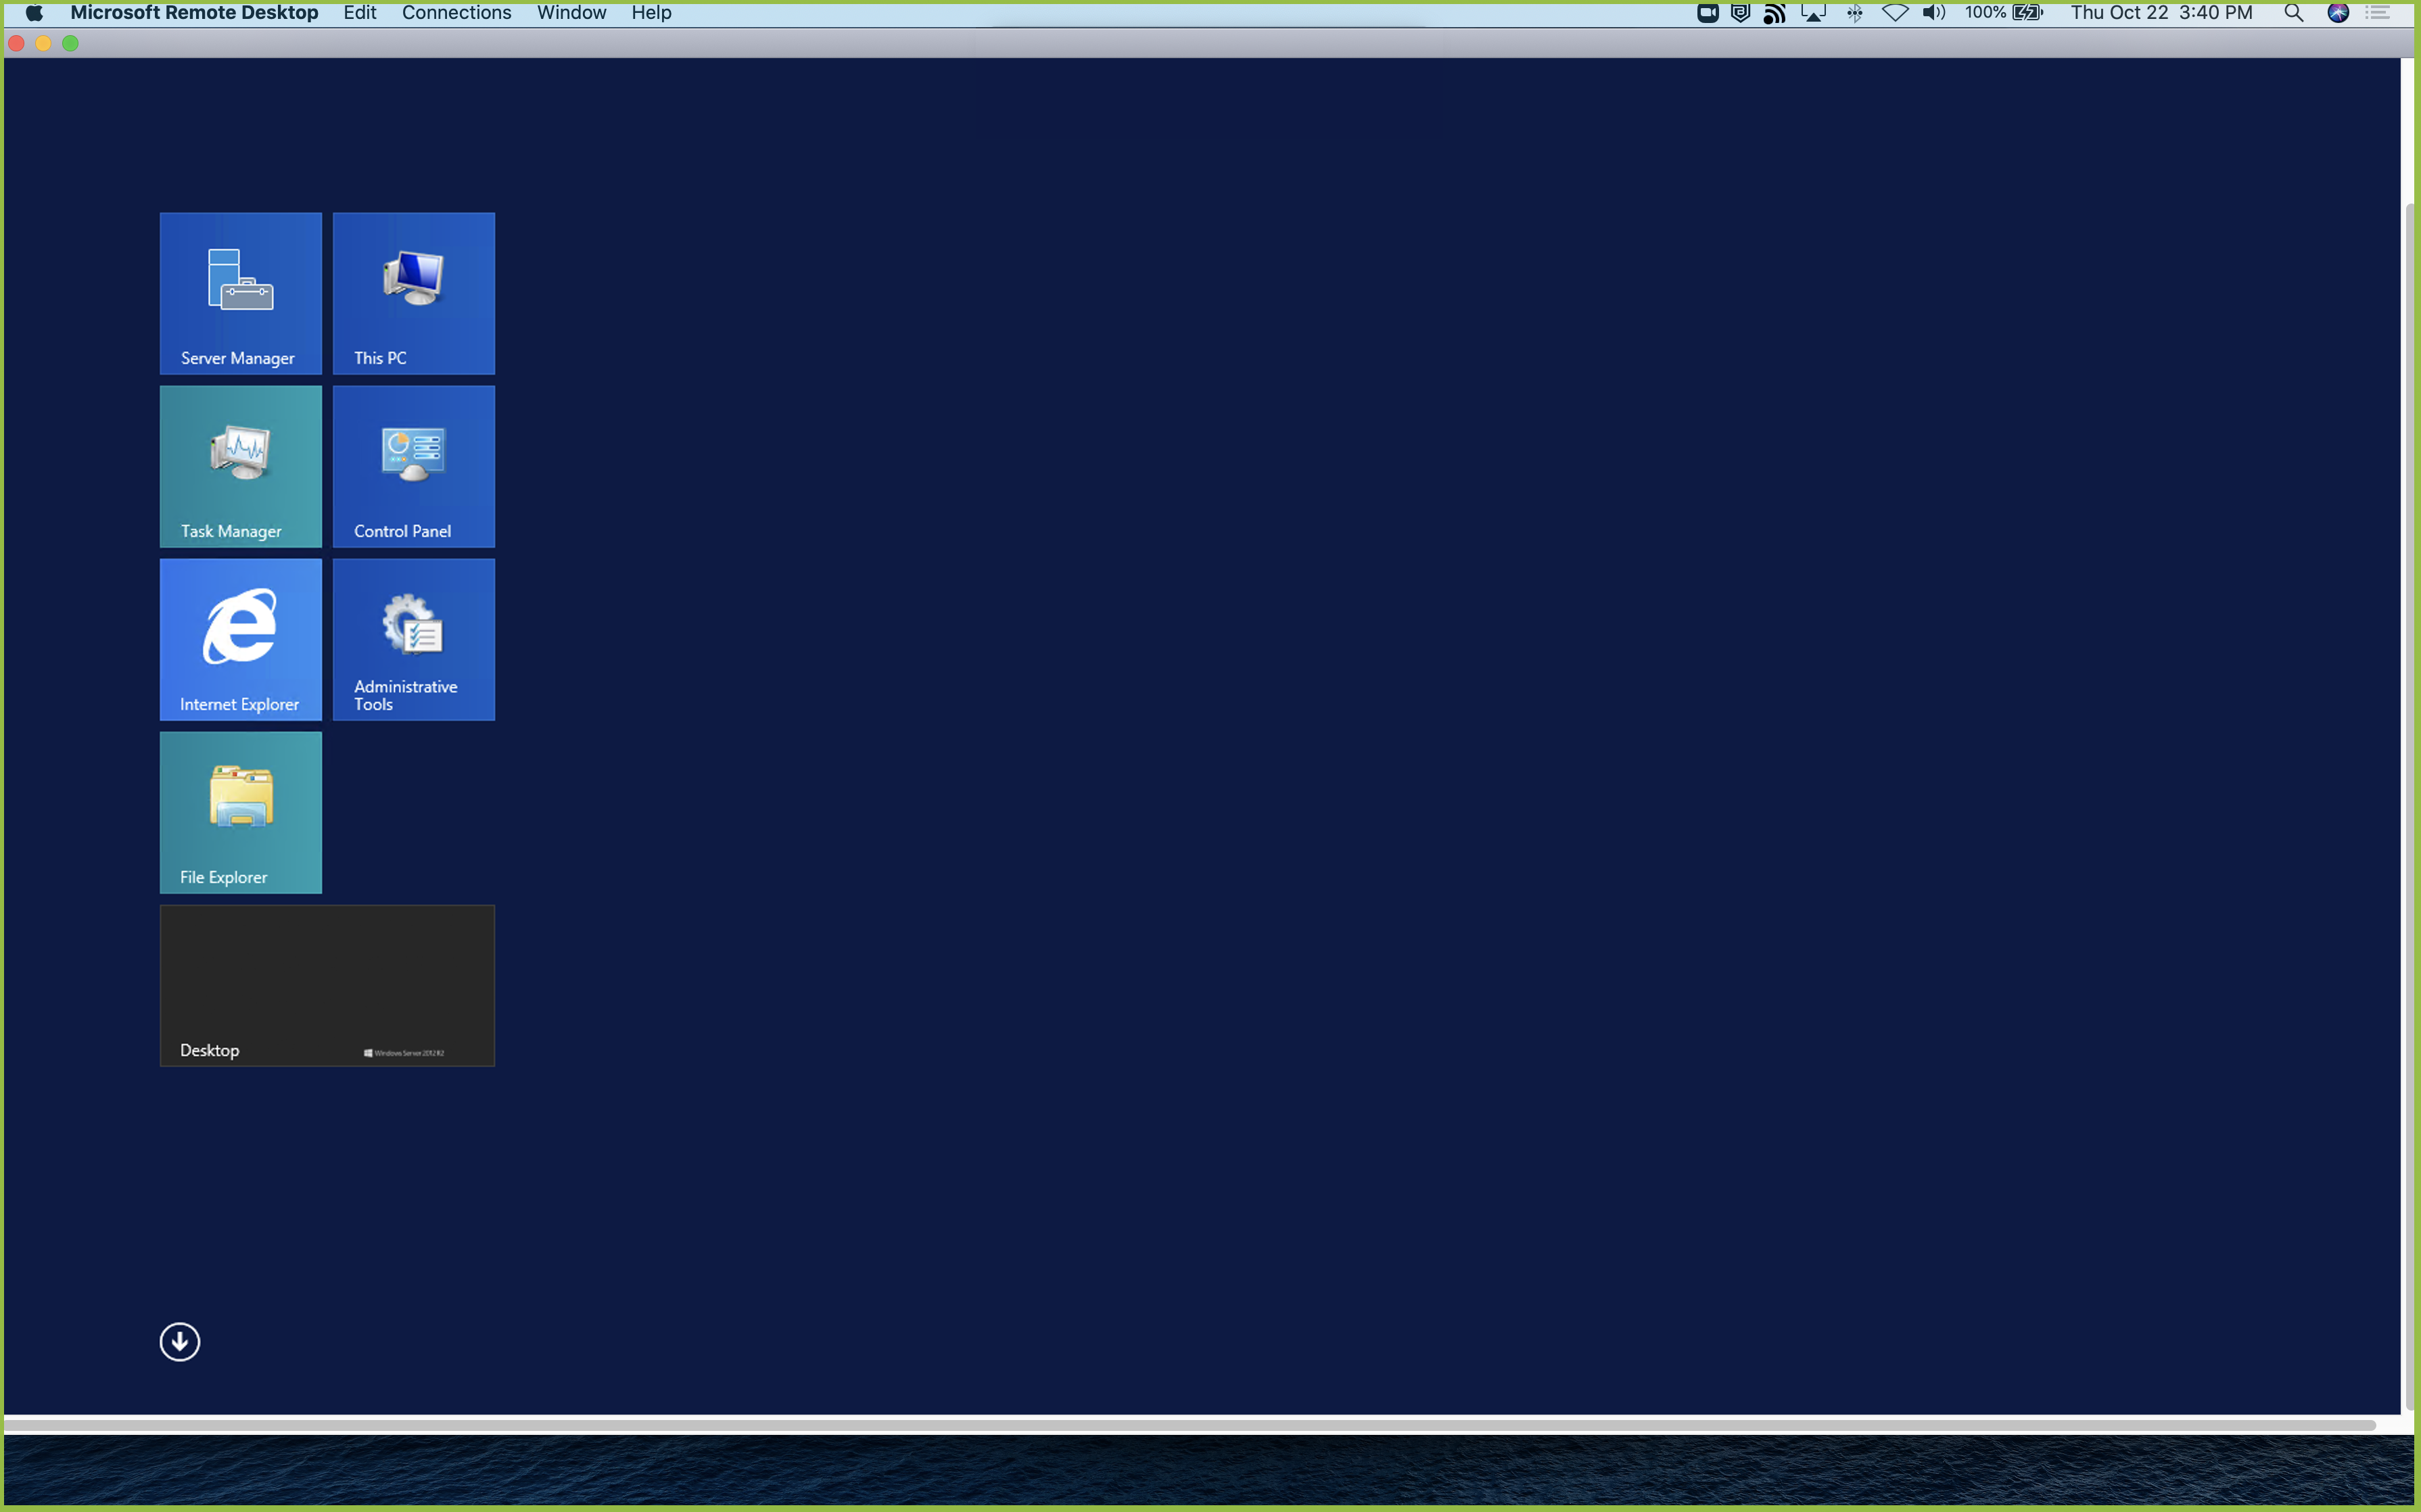
4. Connect via the desktop app
Ensure that your end users have installed the latest desktop app and registered their device.
4.1 In the desktop app, locate the RDP service and select Connect.
4.2 Open your preferred RDP client (such as Windows Remote Desktop), and create a new PC.
4.3 Copy the IP and port from the desktop app, and then save the new PC. Enter user account credentials as needed.
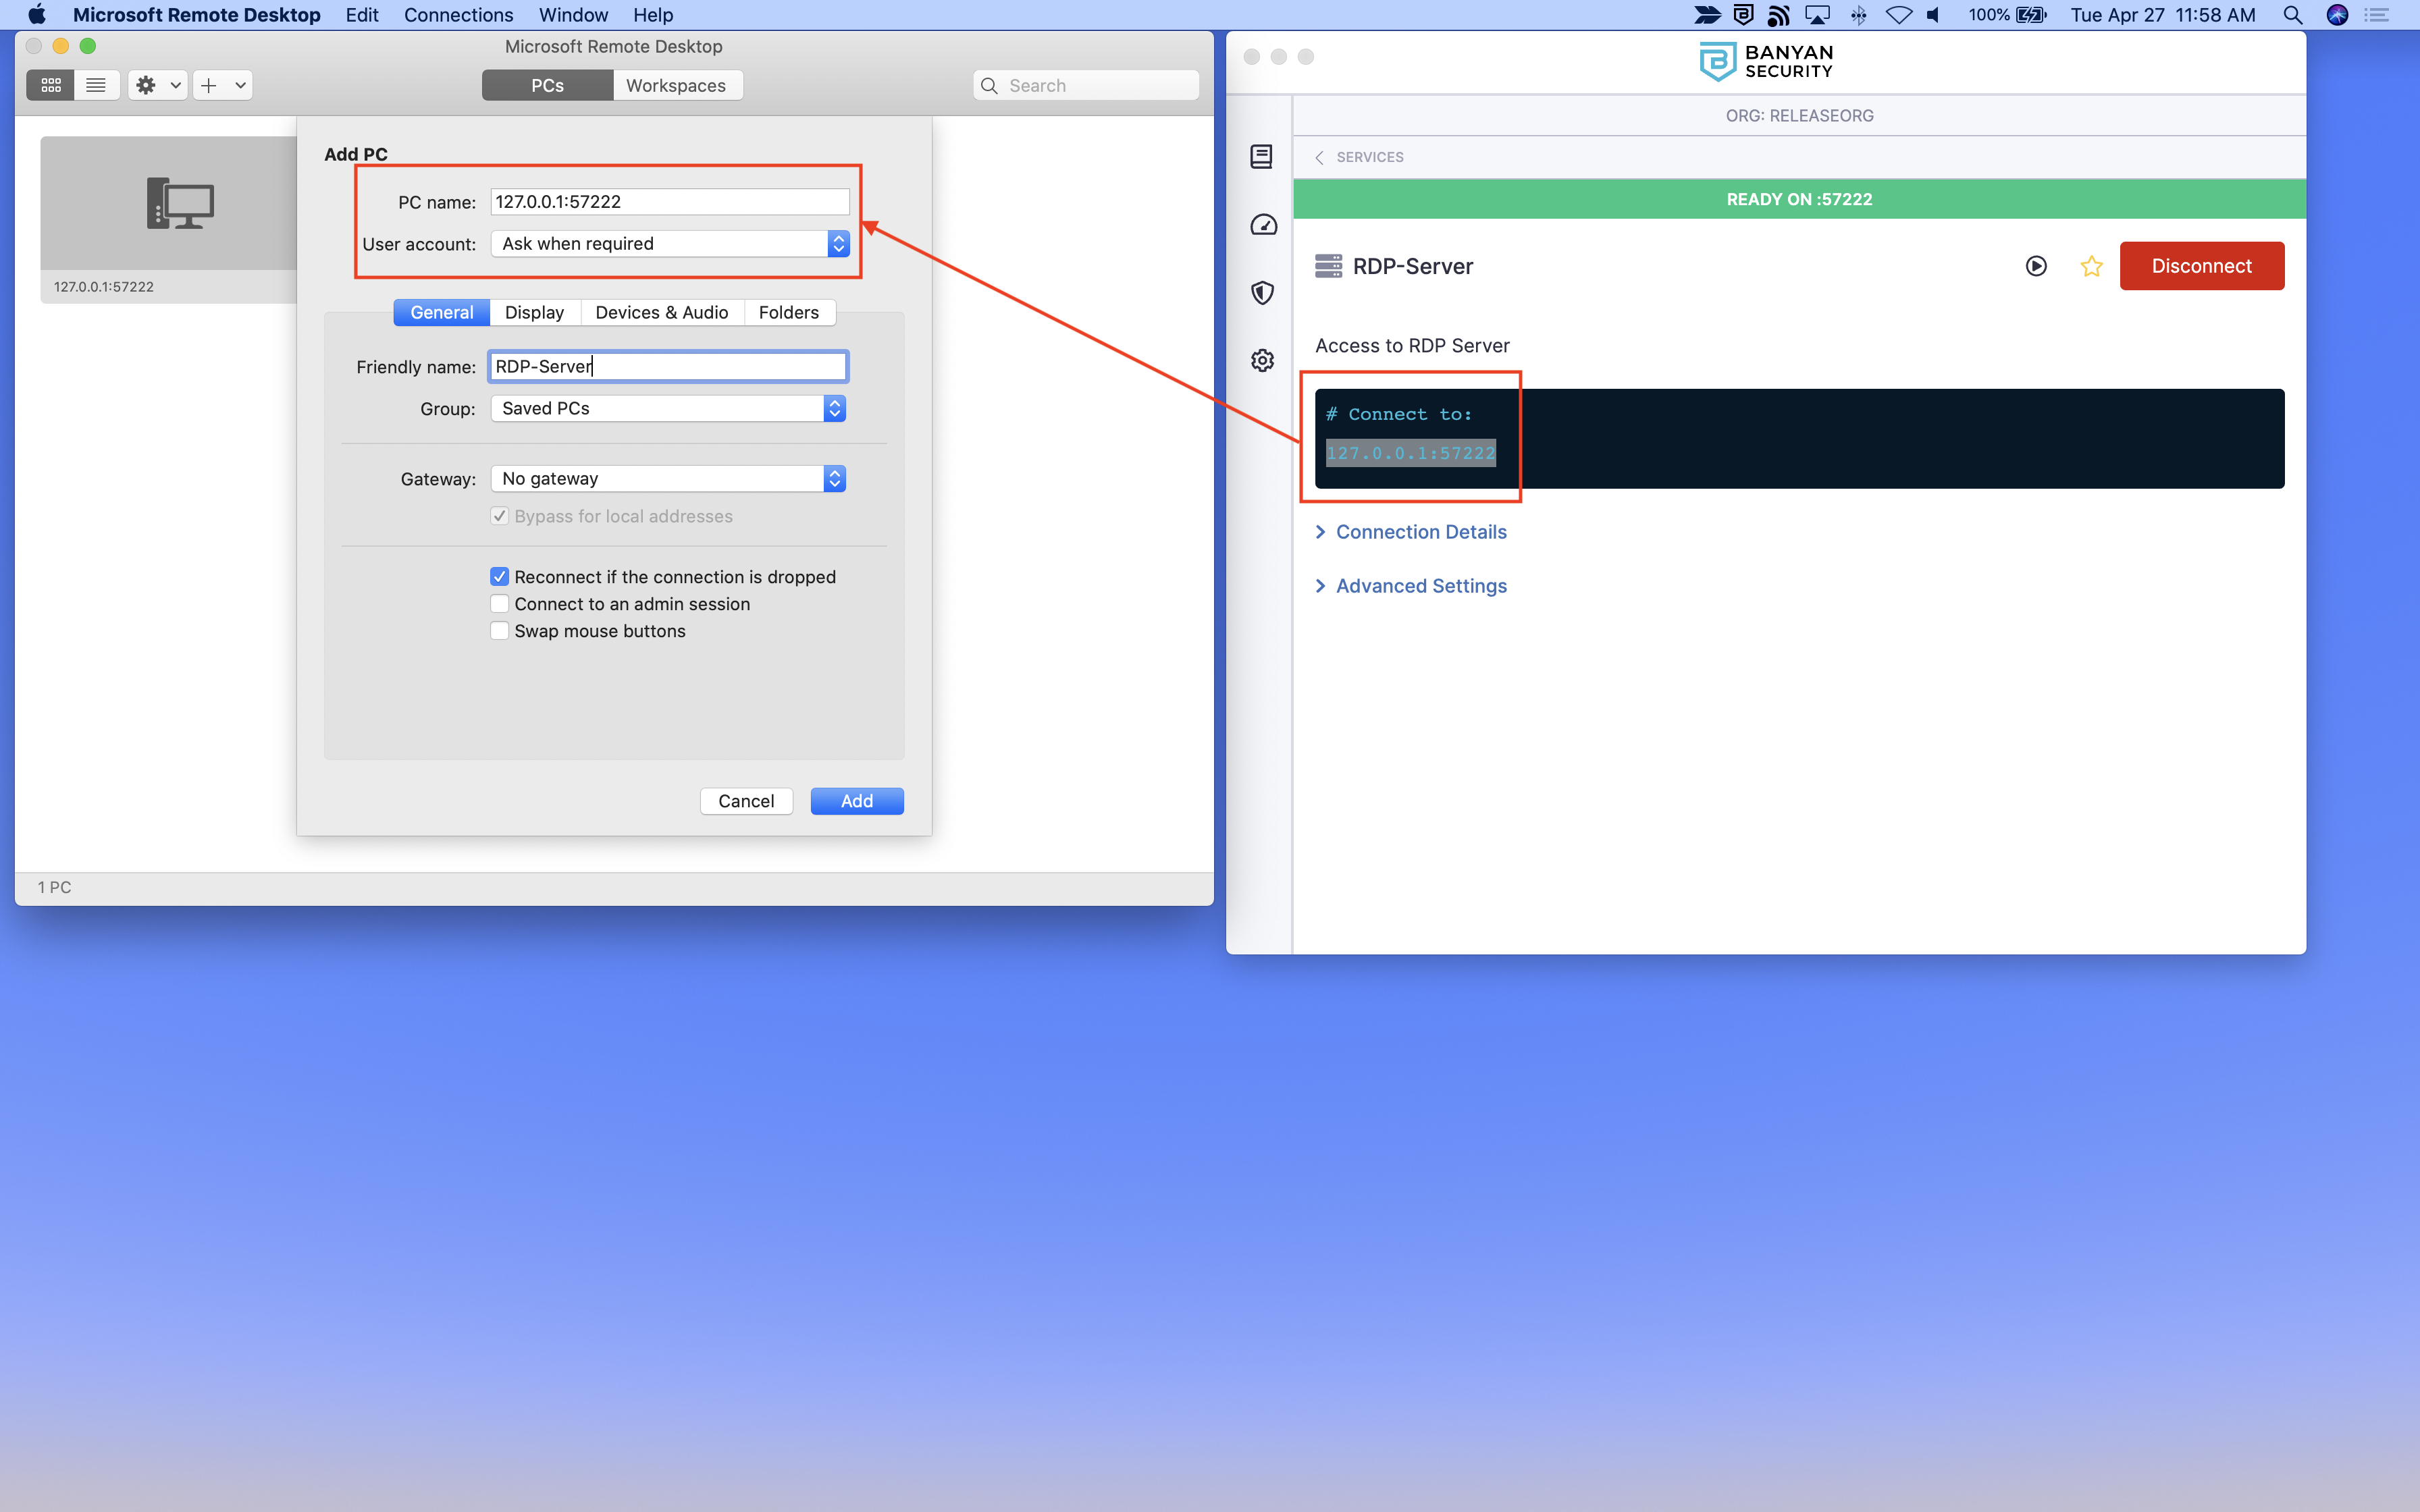
4.4 The RDP client will use banyanproxy to automatically tunnel the RDP session over a Mutual-Auth TLS channel using HTTP Connect.