Configure Google Workspace to manage your directory of users in Cloud Secure Edge
- Updated on
- Pre-requisites
- Steps
- Step 1: In the Cloud Secure Edge (CSE) Command Center, configure your Google Workspace Identity Provider
- Step 2: Launch a new Application Integration in Google Workspace
- Step 3: App and Google IDP details - Use values retrieved from the custom SAML app to complete IDP config in Cloud Secure Edge
- Step 4: Service Provider Details - Use values retrieved from CSE IDP Config to complete Google custom SAML app config
- Step 5: Name ID for custom SAML app
- Step 6: Attribute Mapping for custom SAML app
- Step 7: Configure User Access on your new custom SAML app
- Step 8: Complete Google IDP config in Cloud Secure Edge
Google Workspace IDP allows Google org users to sign into any of their apps using their managed Google account credentials. Cloud Secure Edge (CSE) integrates with Google Workspace IDP to authenticate users that need access to CSE-protected services.
Pre-requisites
- Admin access to Google Workspace and permissions to add a new SAML app.
Steps
Step 1: In the Cloud Secure Edge (CSE) Command Center, configure your Google Workspace Identity Provider
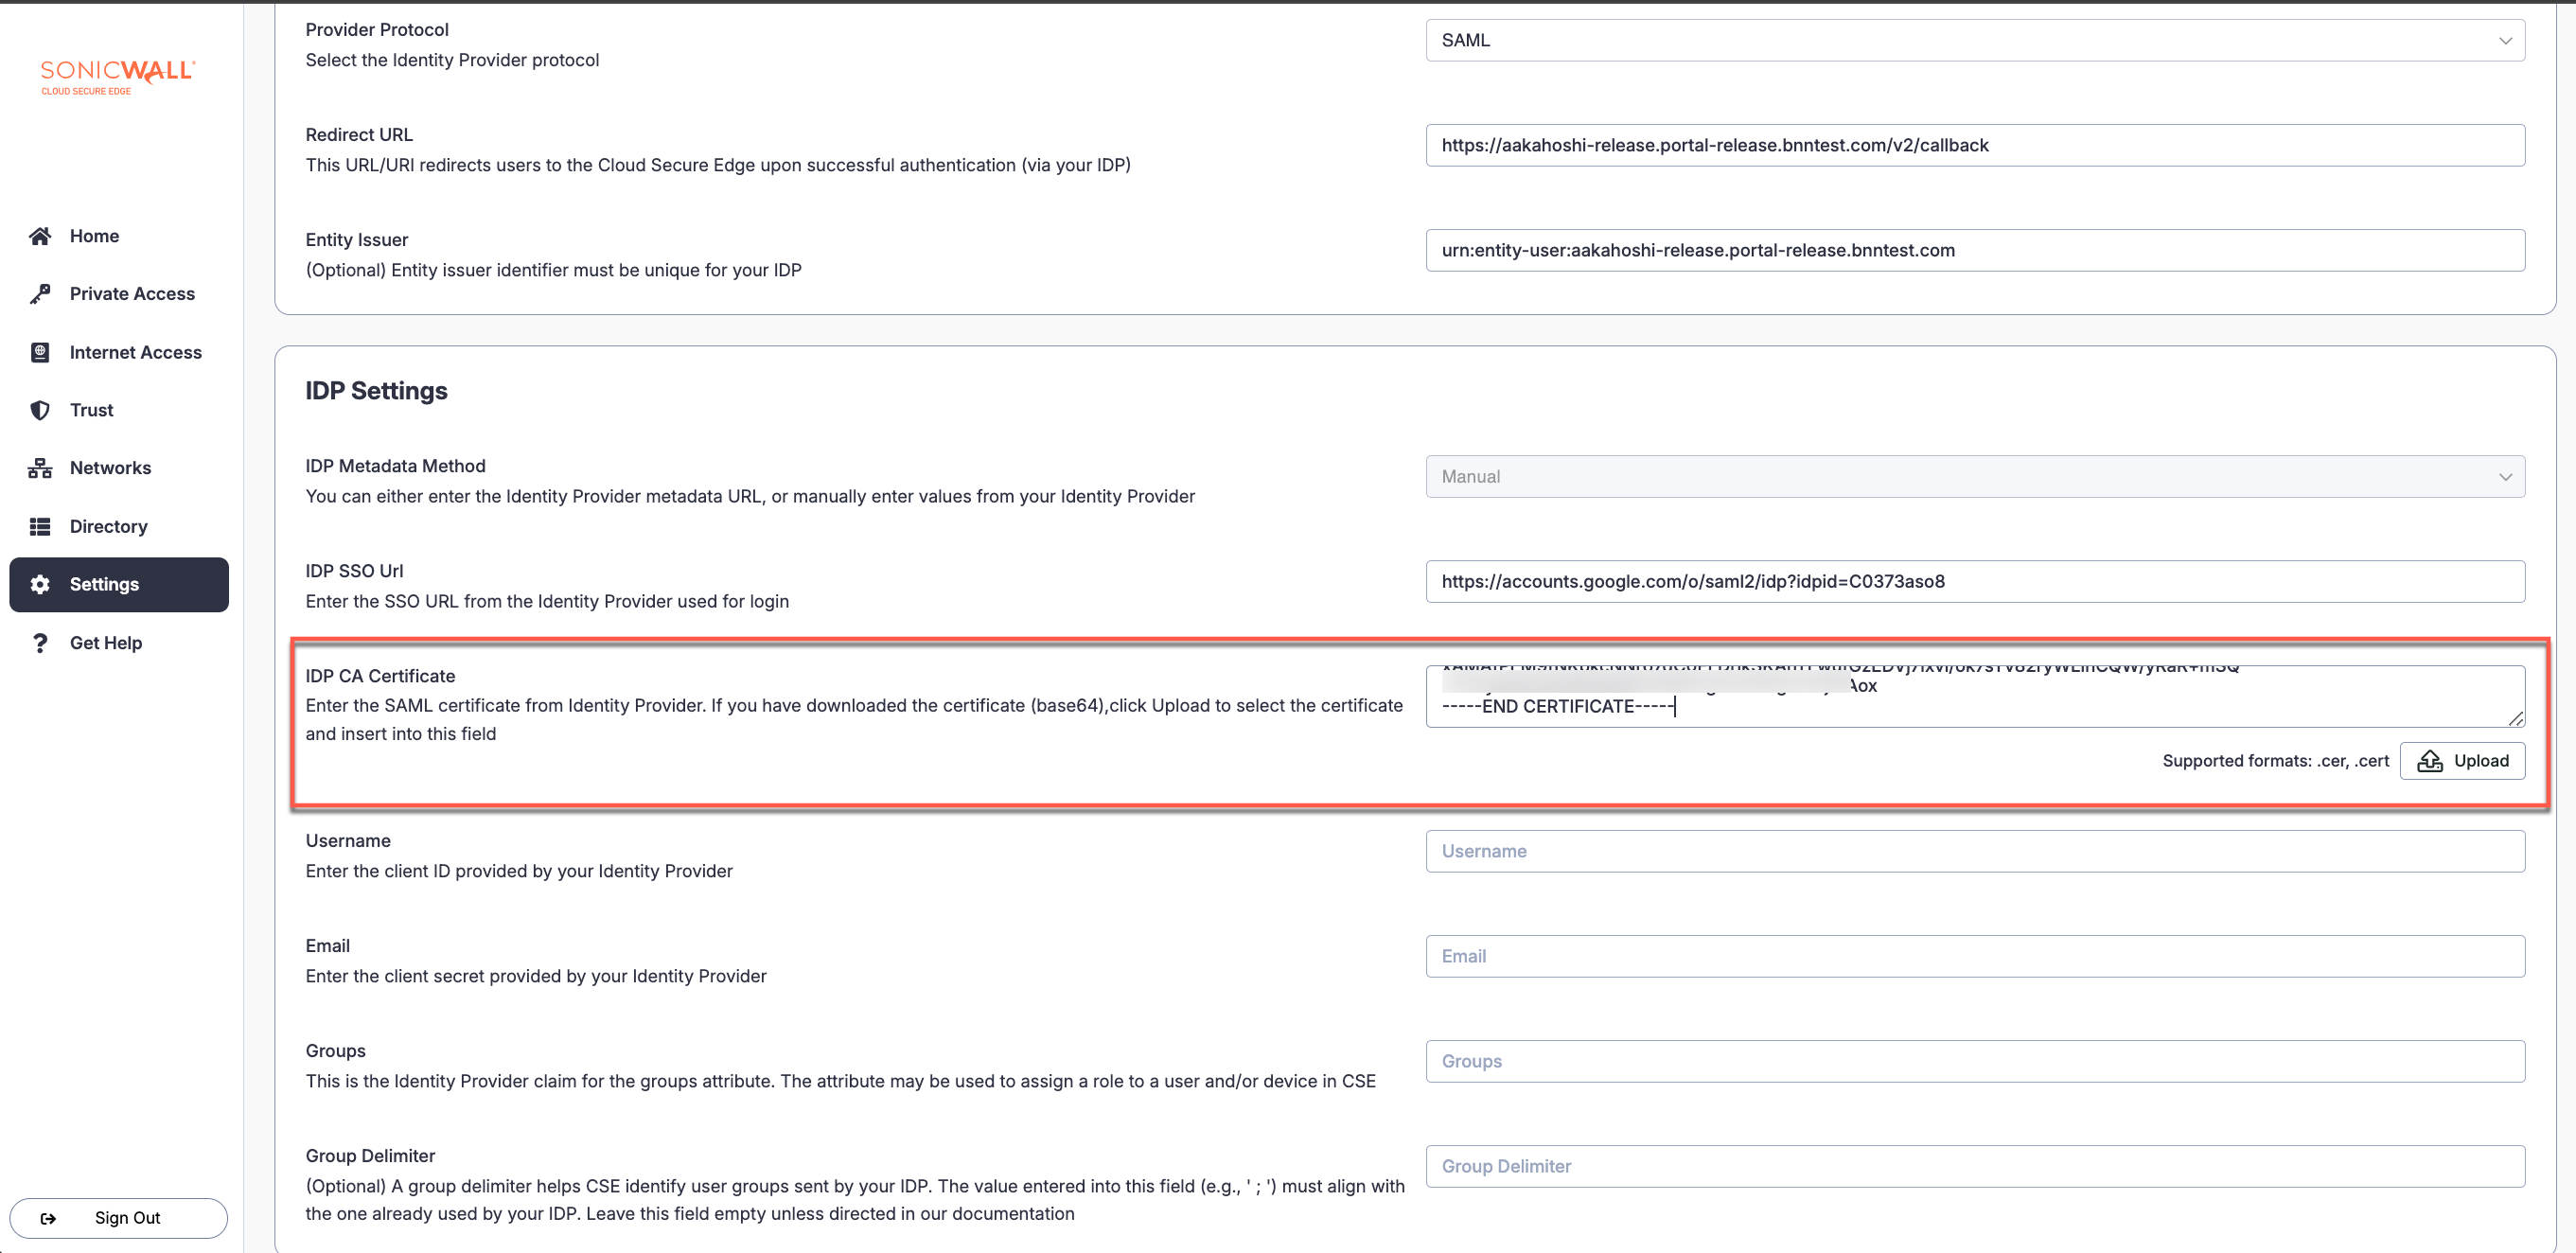
1.1 Navigate from Settings > Identity and Access tab > End User tab. Under Provider Name, select Other and enter Google Workspace in the field below. Under Provider Protocol, select SAML.
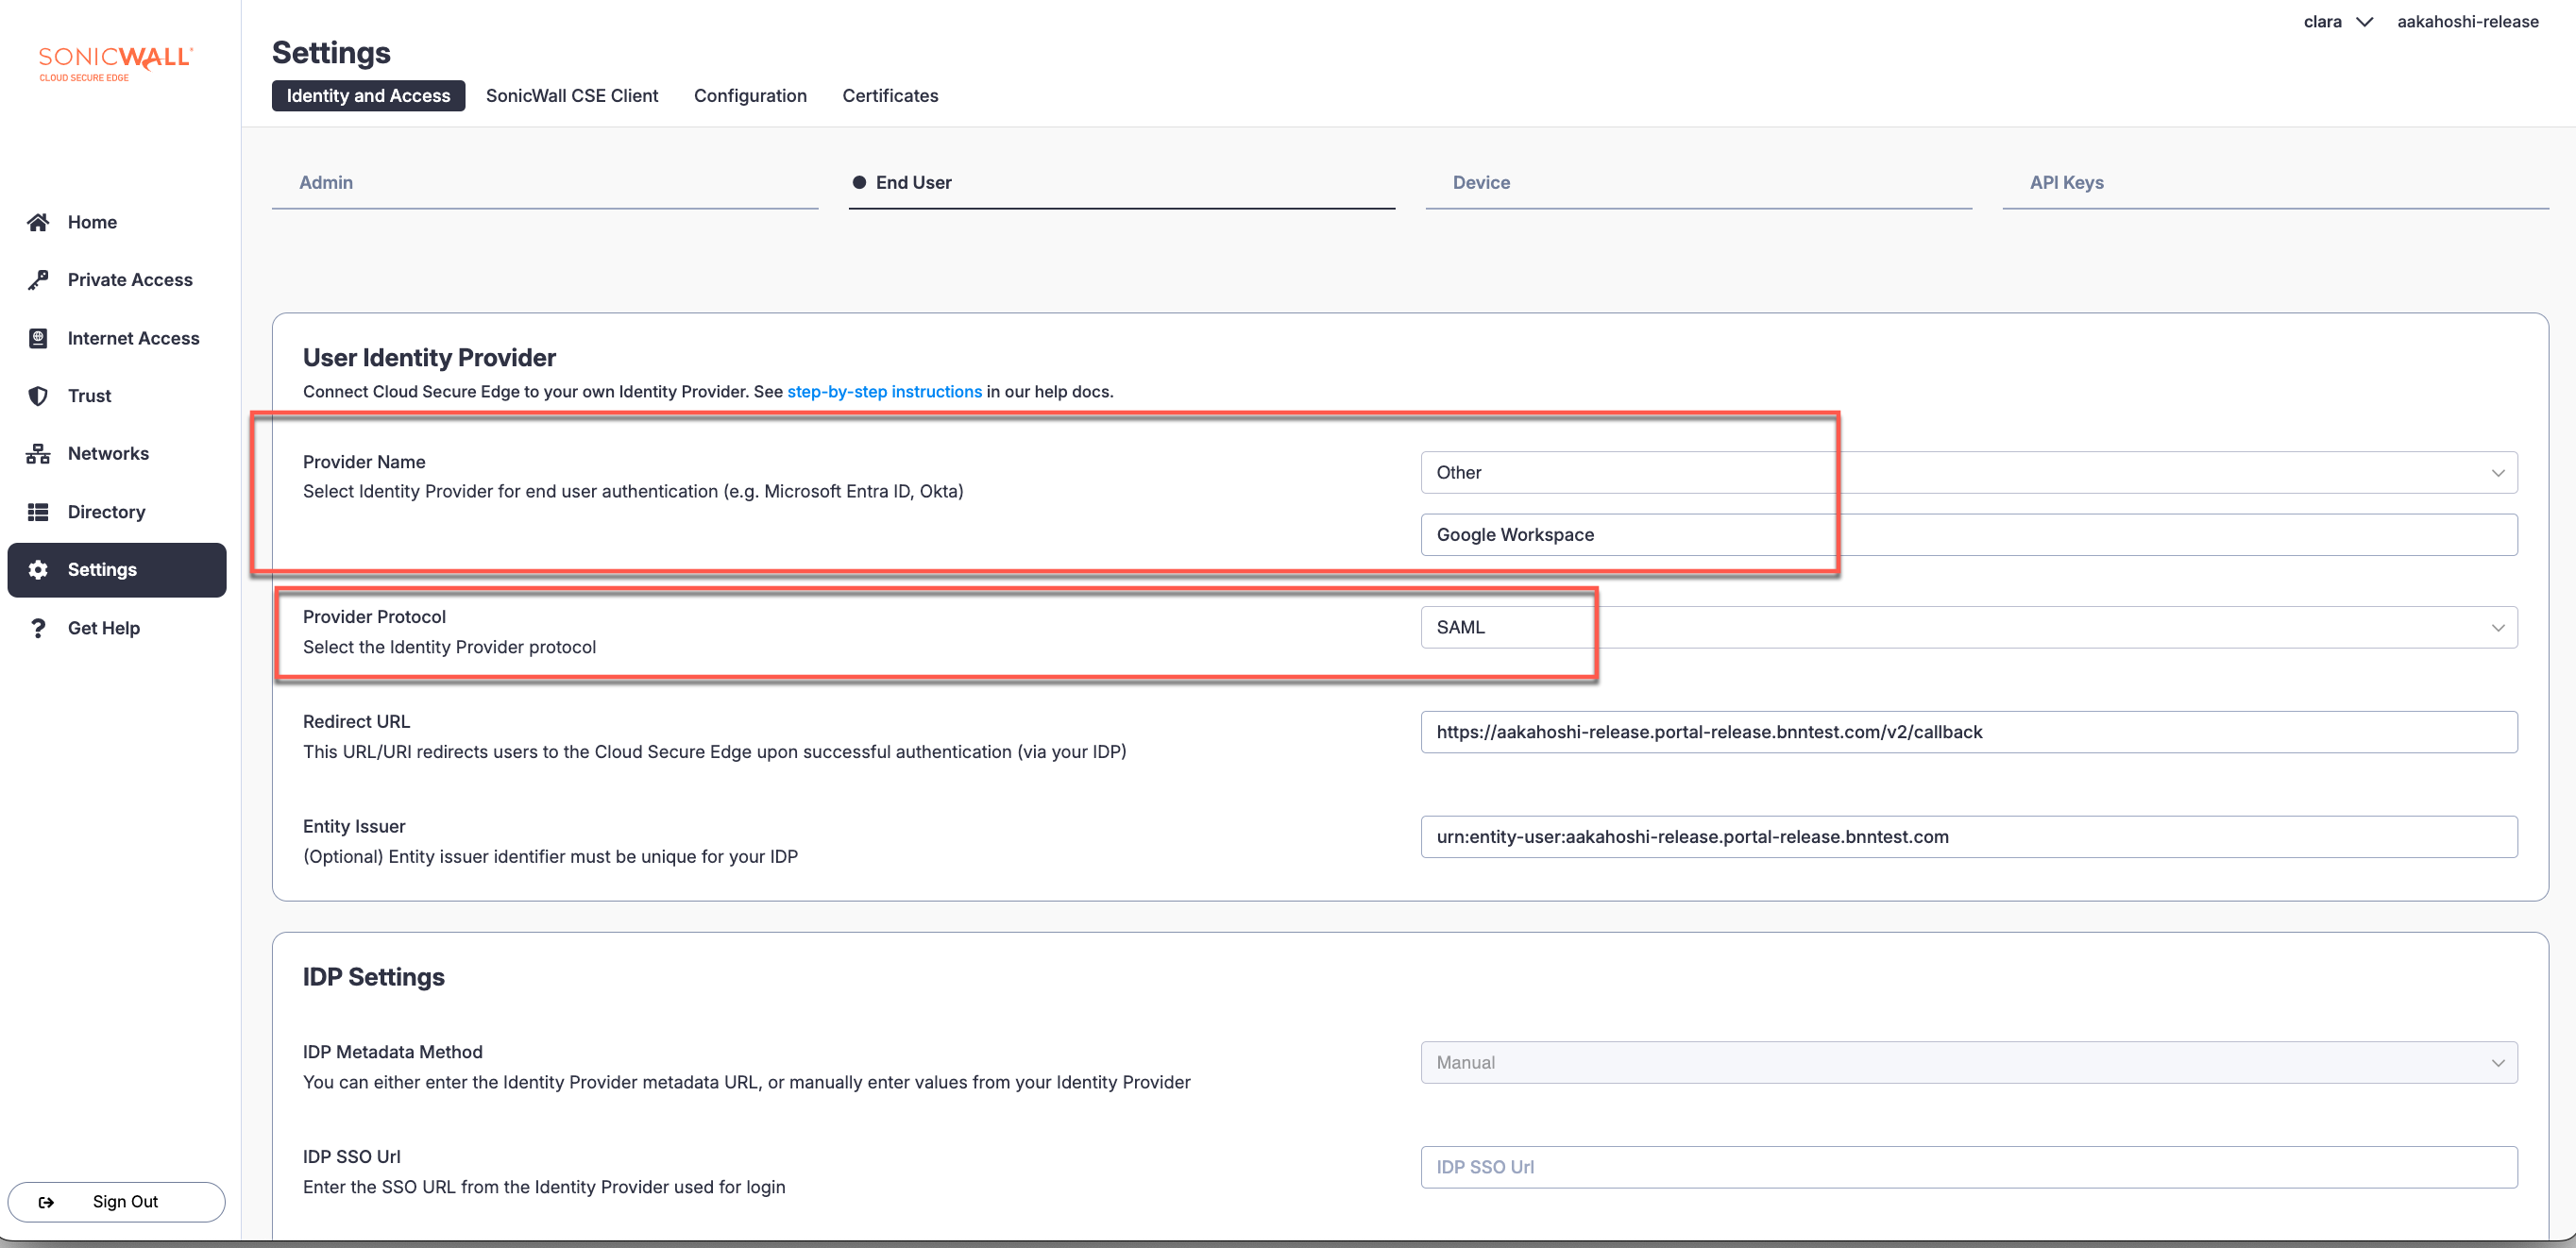
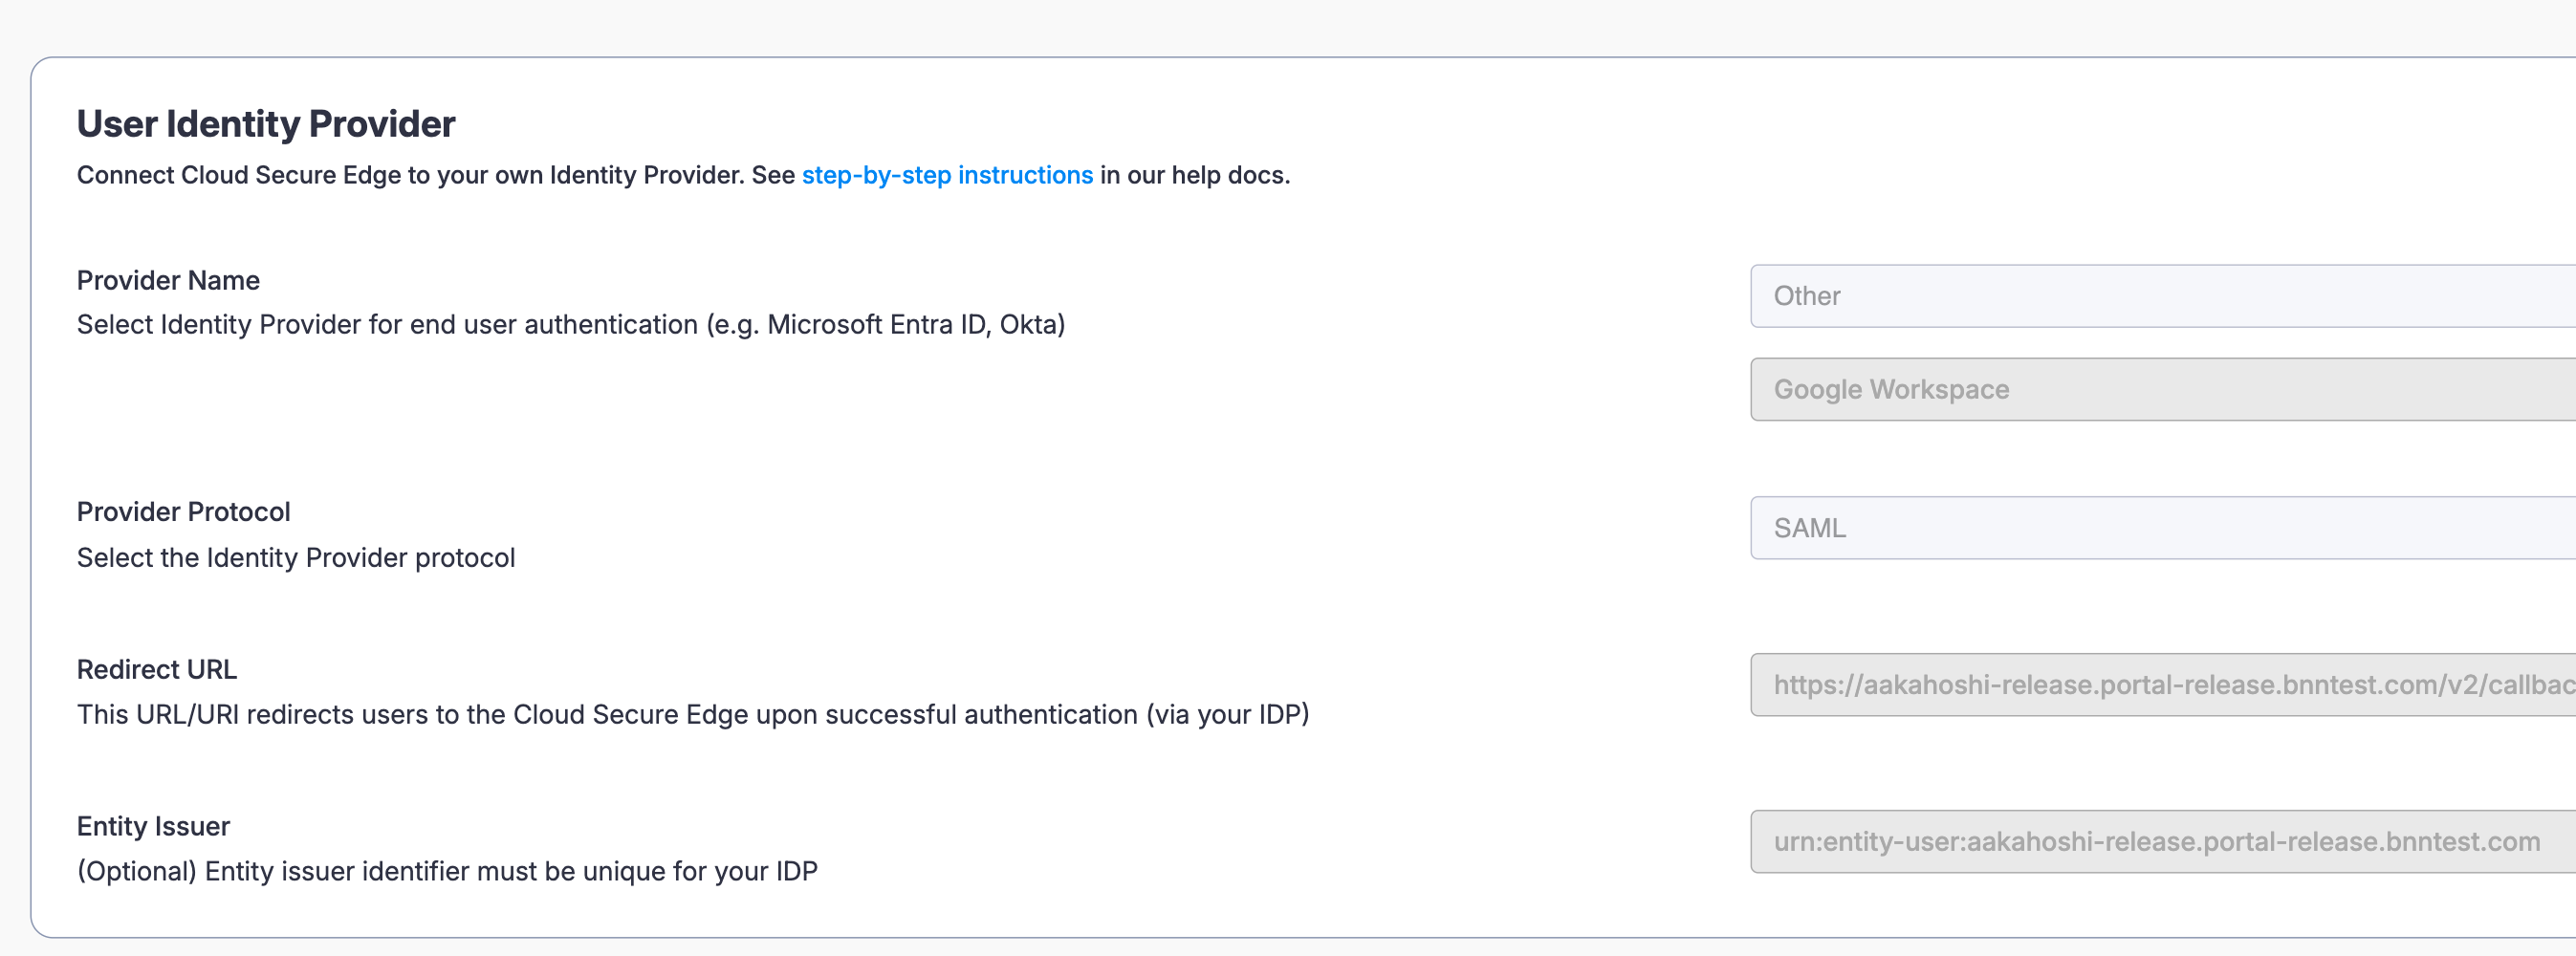
1.2 Note the Redirect URL and the Entity Issuer provided in the configuration fields; these values will be required for the custom SAML app configuration in Google Workspace in Step 4.
Step 2: Launch a new Application Integration in Google Workspace
2.1 Log into your Google Workspace Admin account.
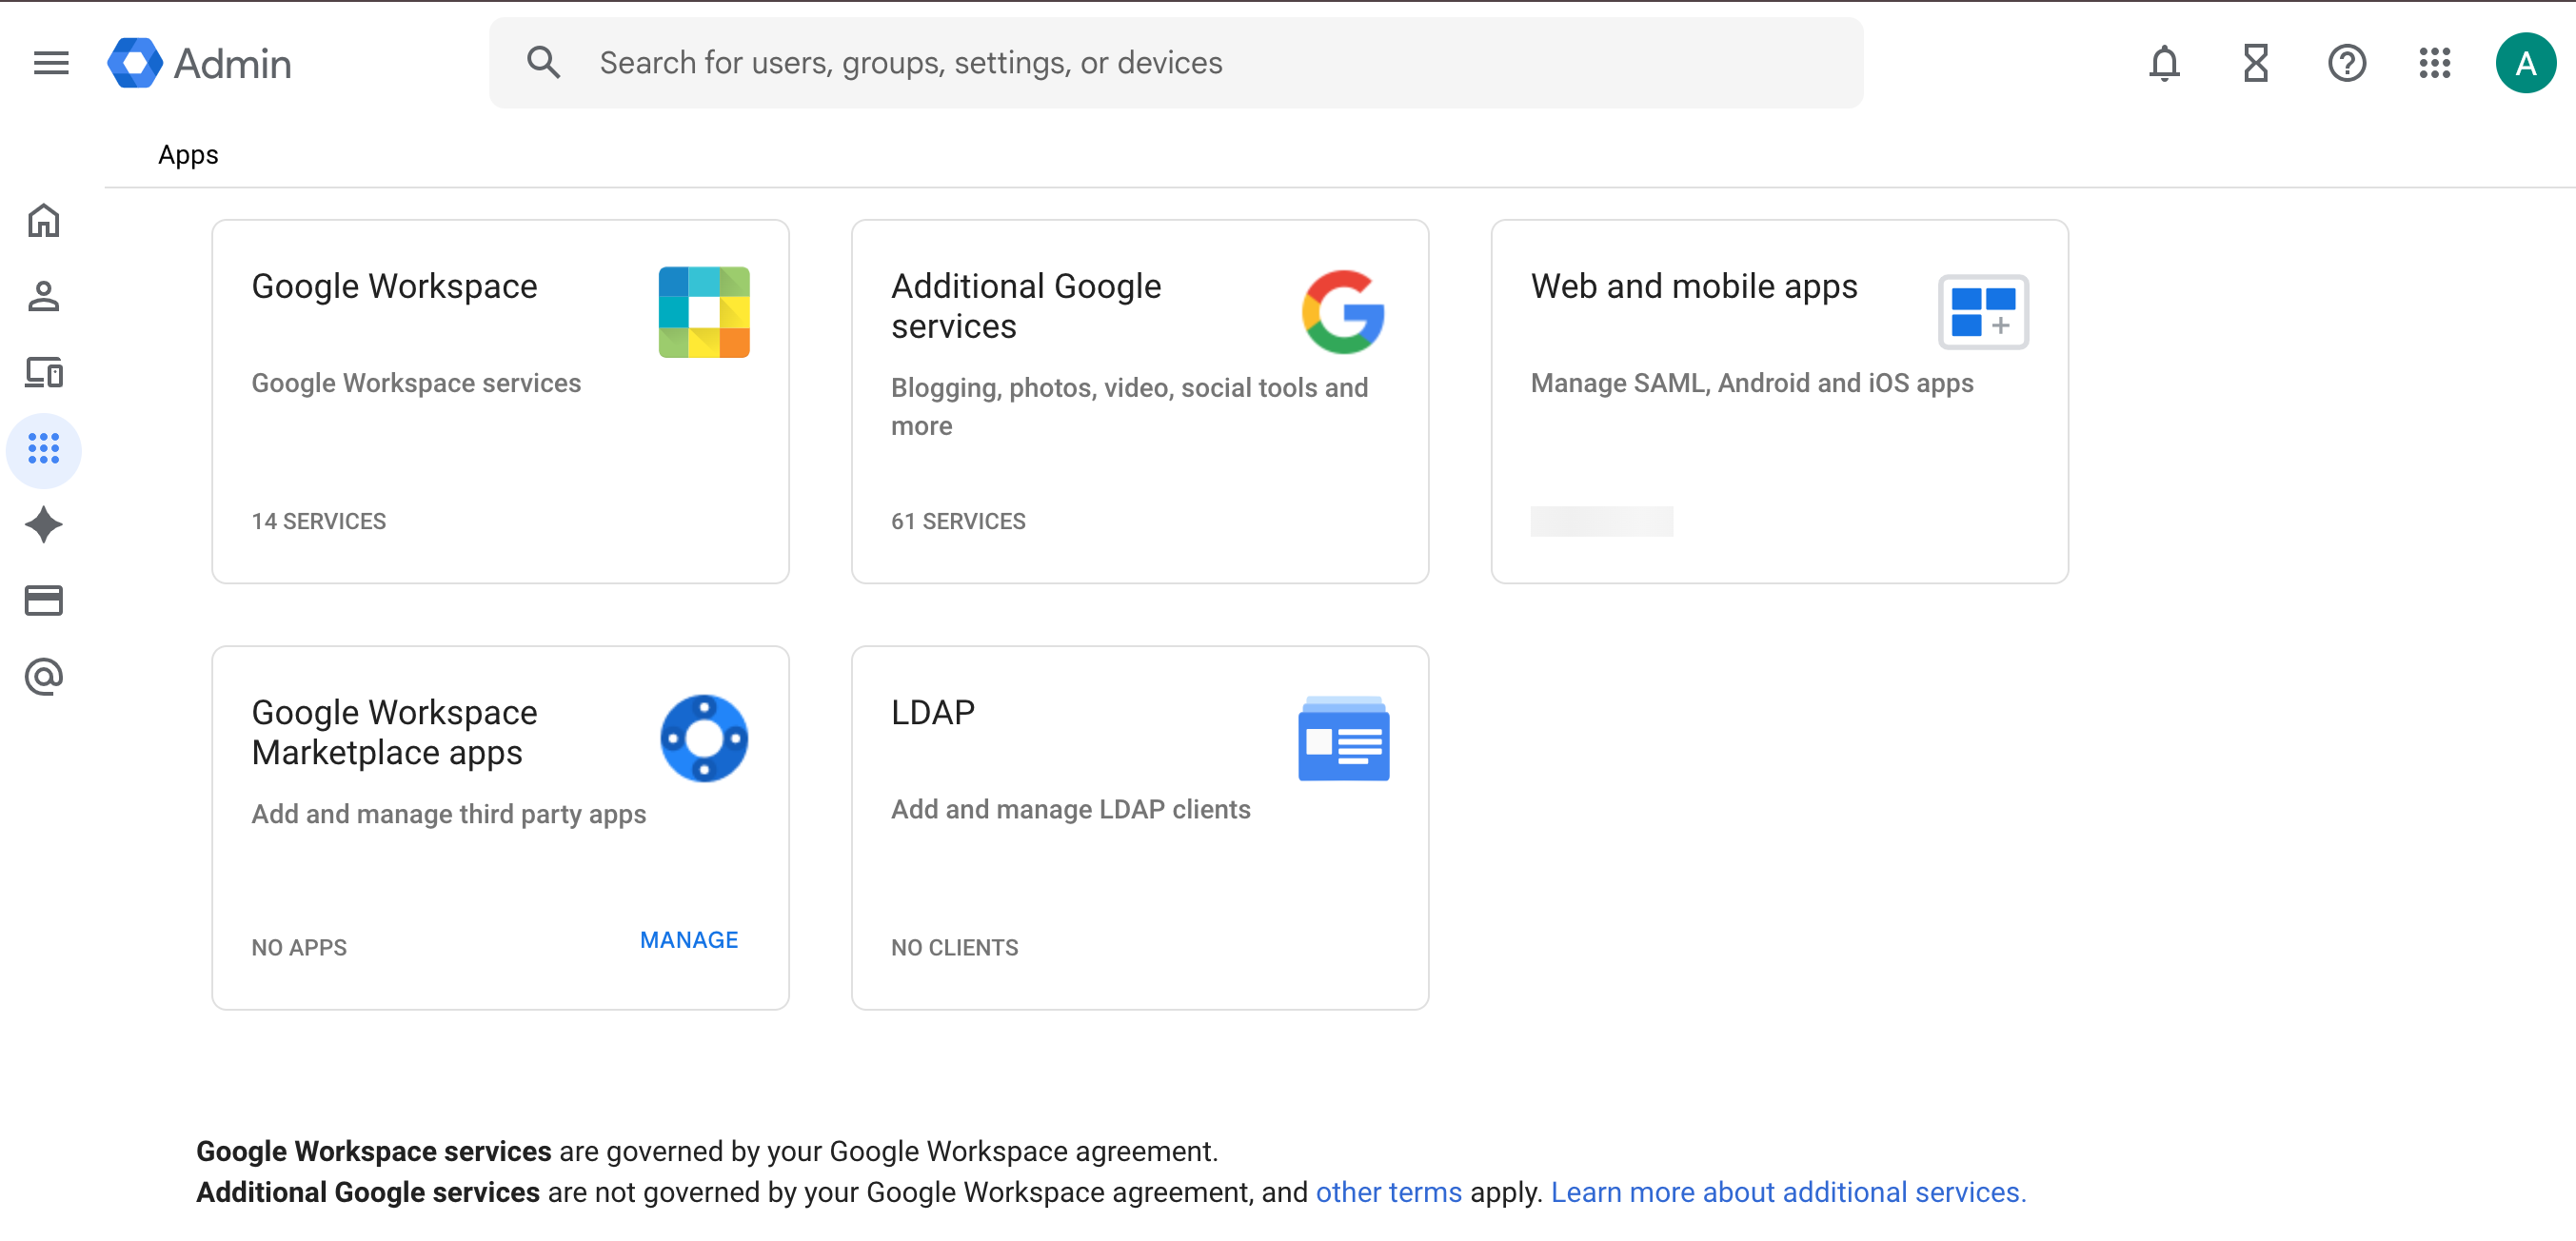
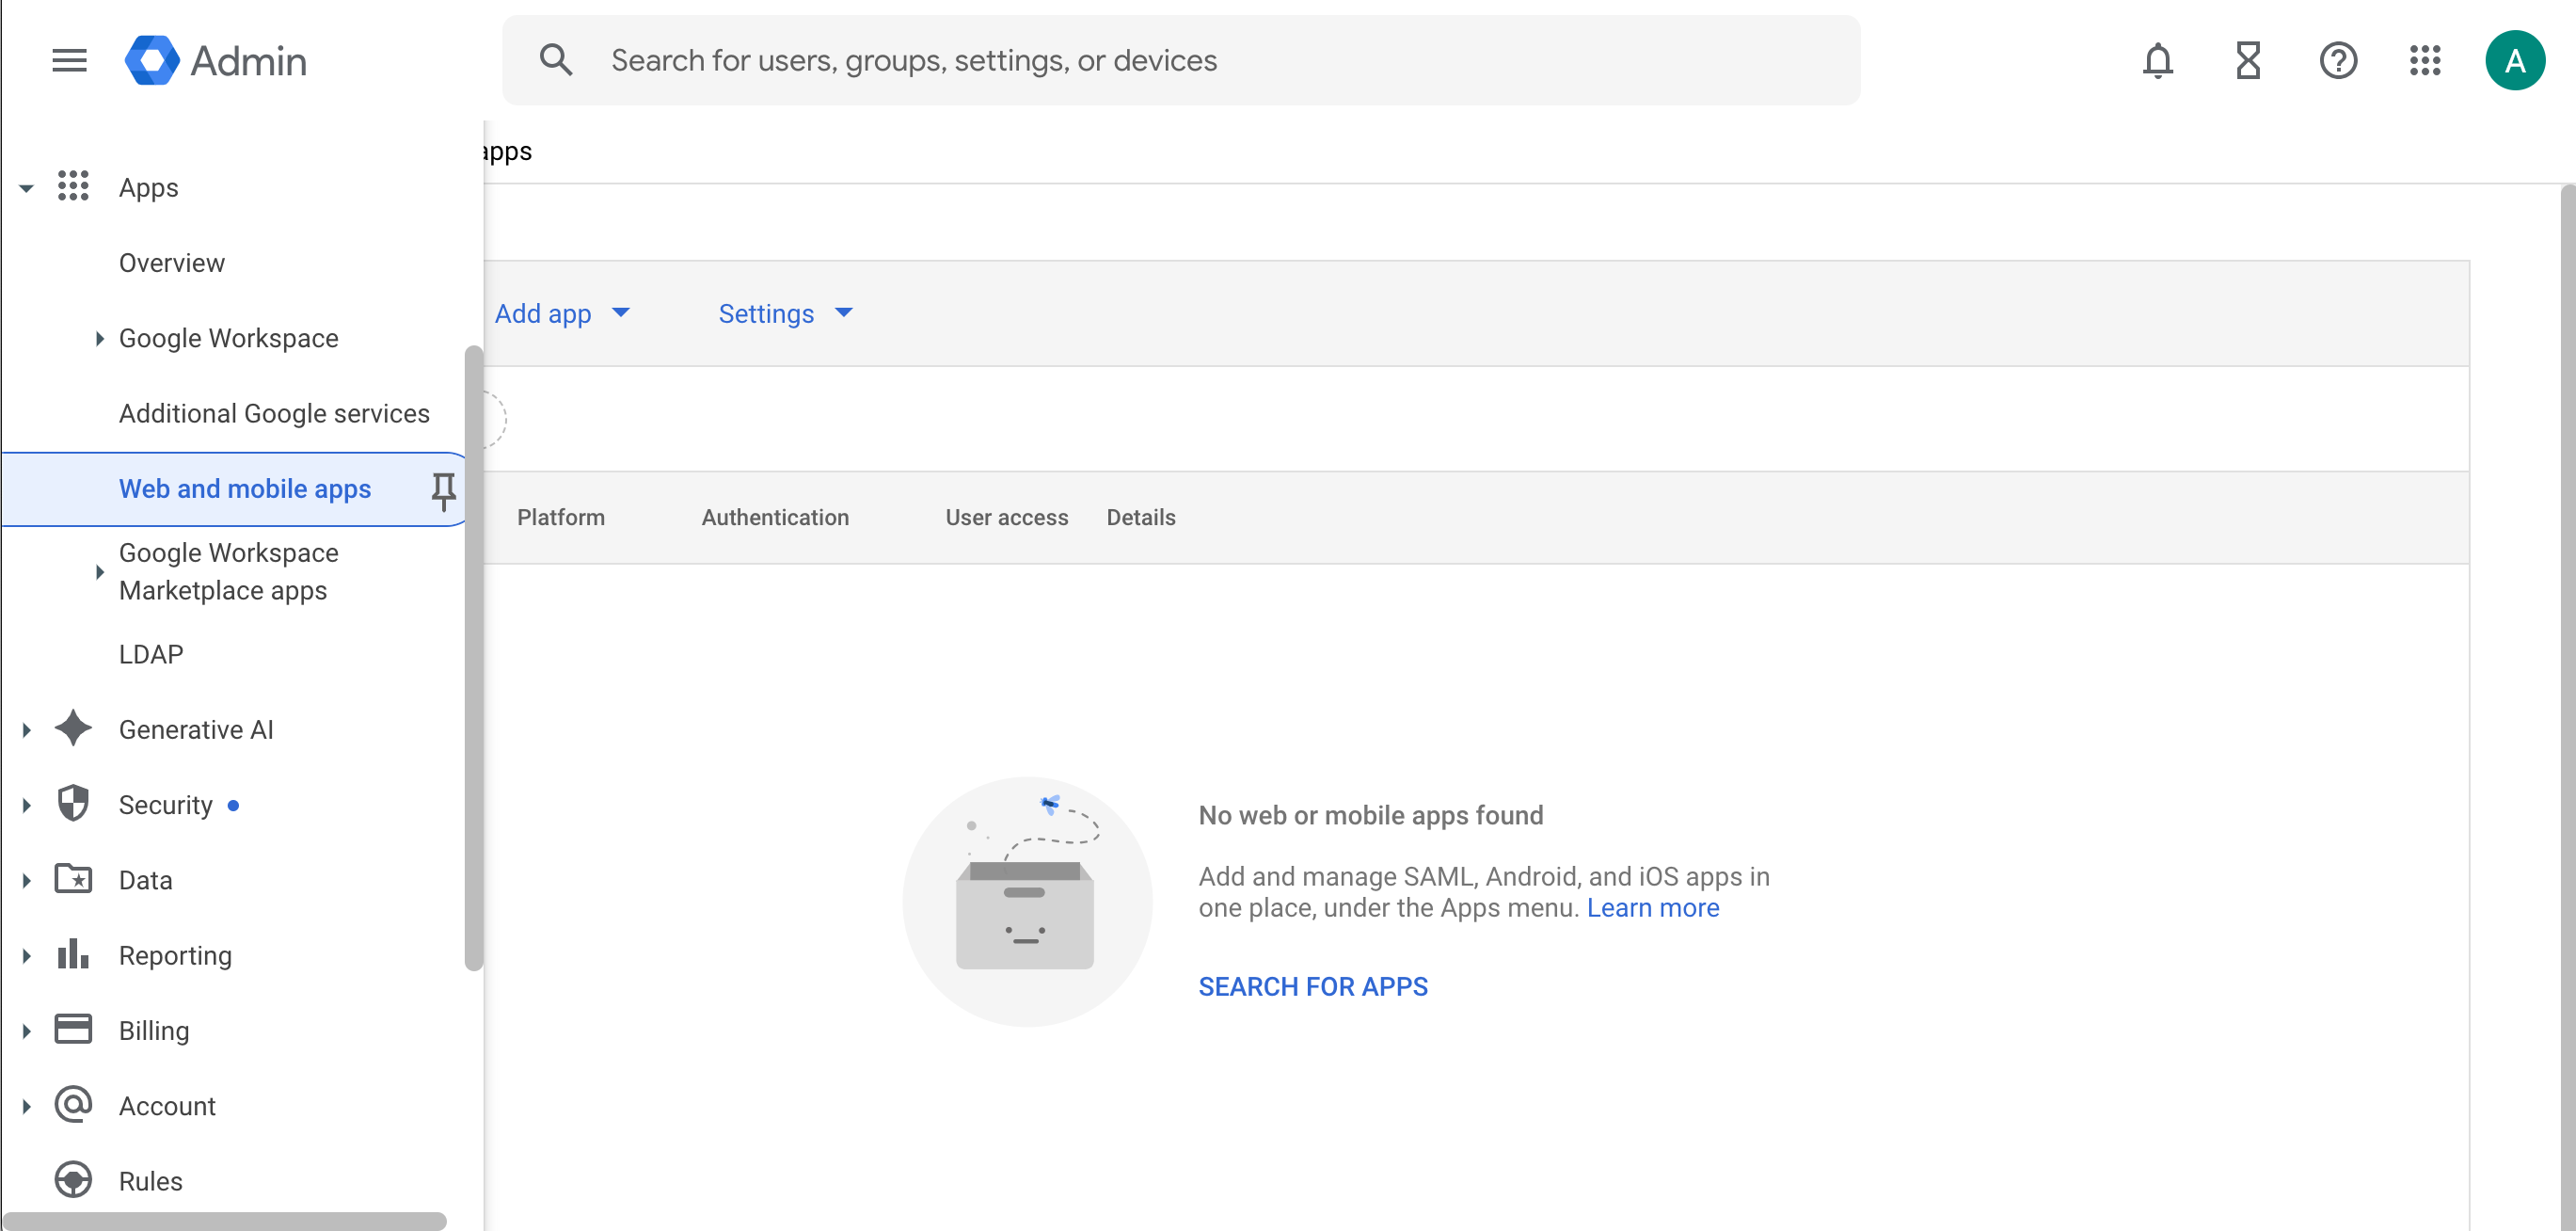
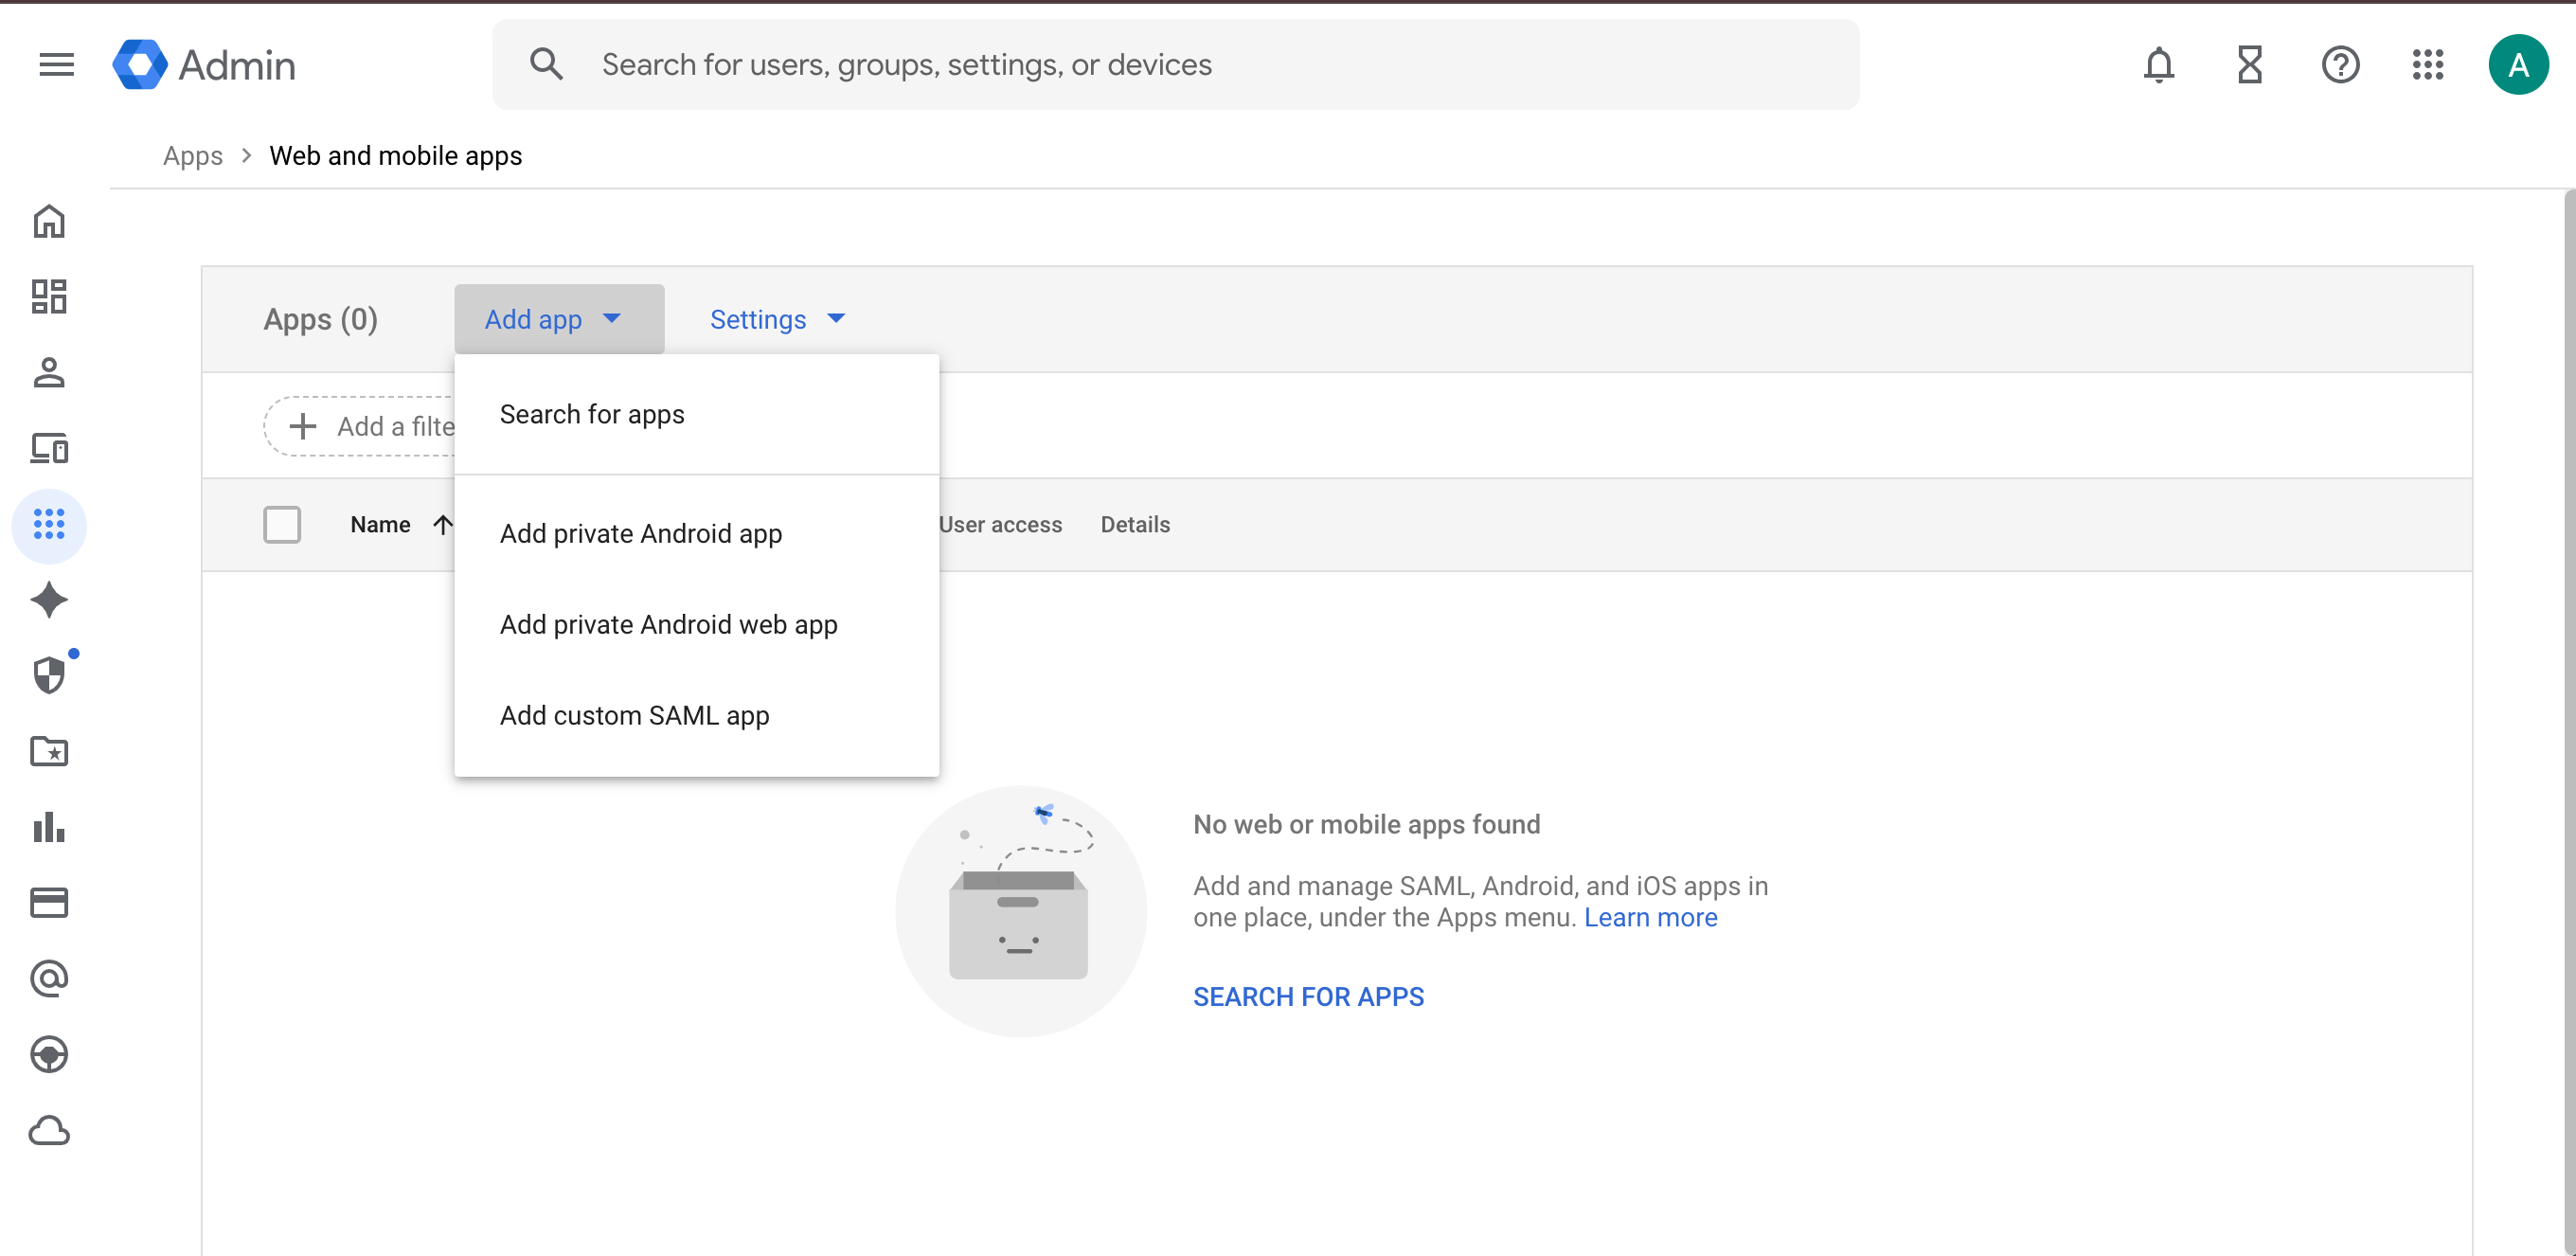
2.2 In the Google Workspace Admin Console, navigate from Apps > Web and mobile apps > Add app > Add custom SAML app.
Step 3: App and Google IDP details - Use values retrieved from the custom SAML app to complete IDP config in Cloud Secure Edge
3.1 On the Add custom SAML app page, enter an App Name: use CSE TrustProvider.
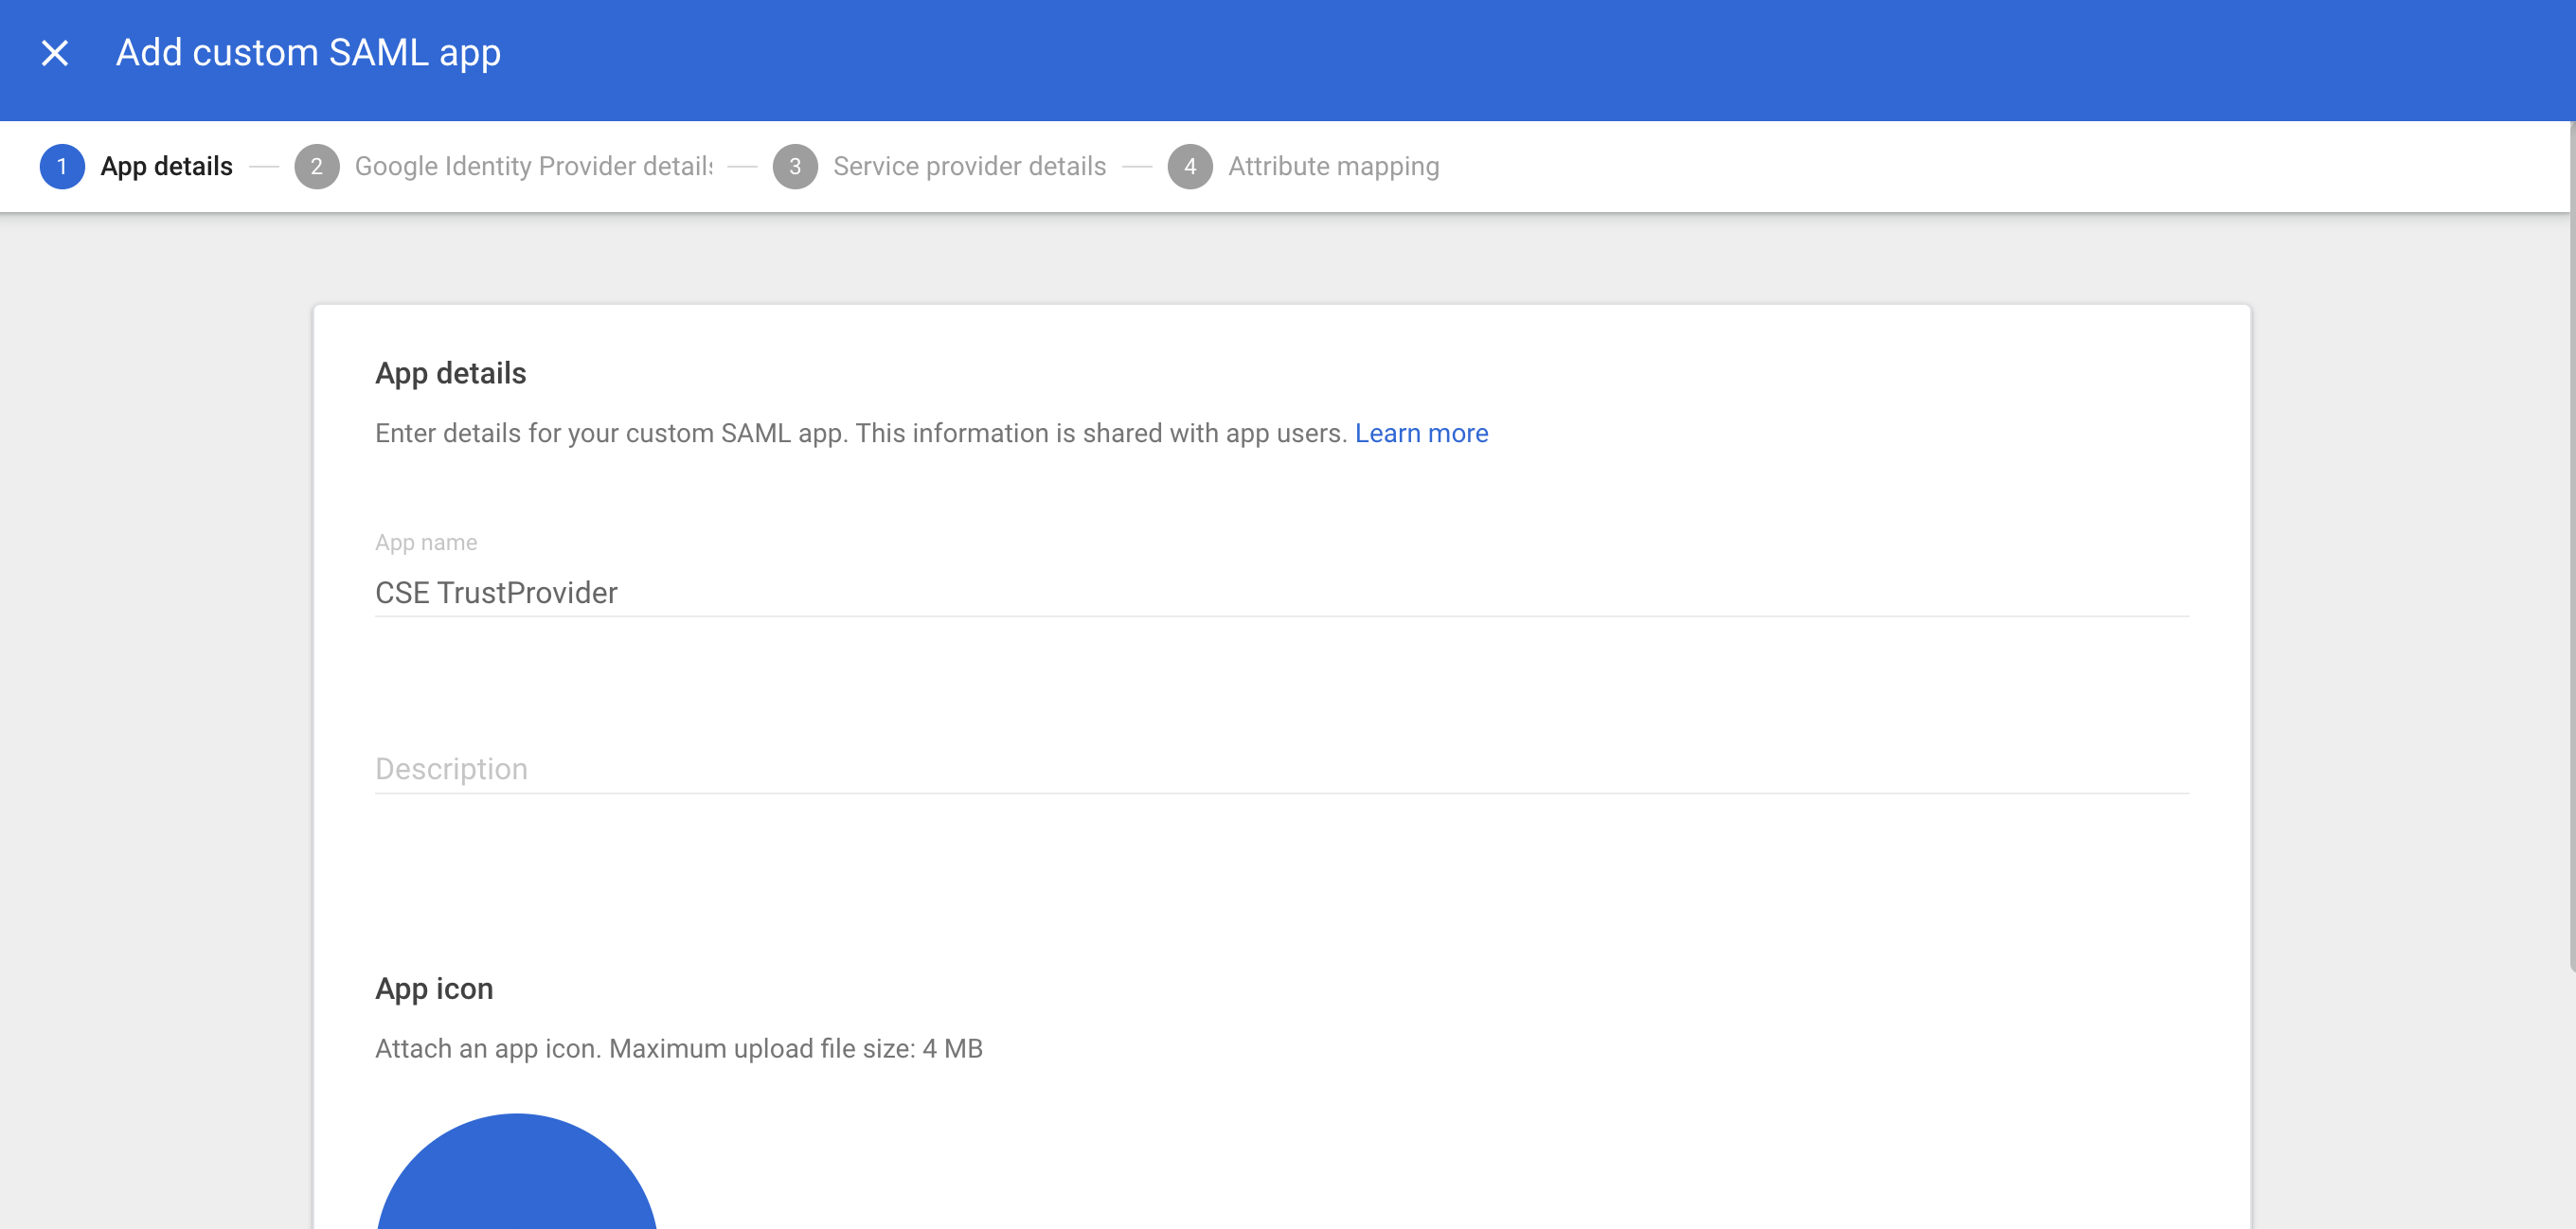
3.2 Select Continue.
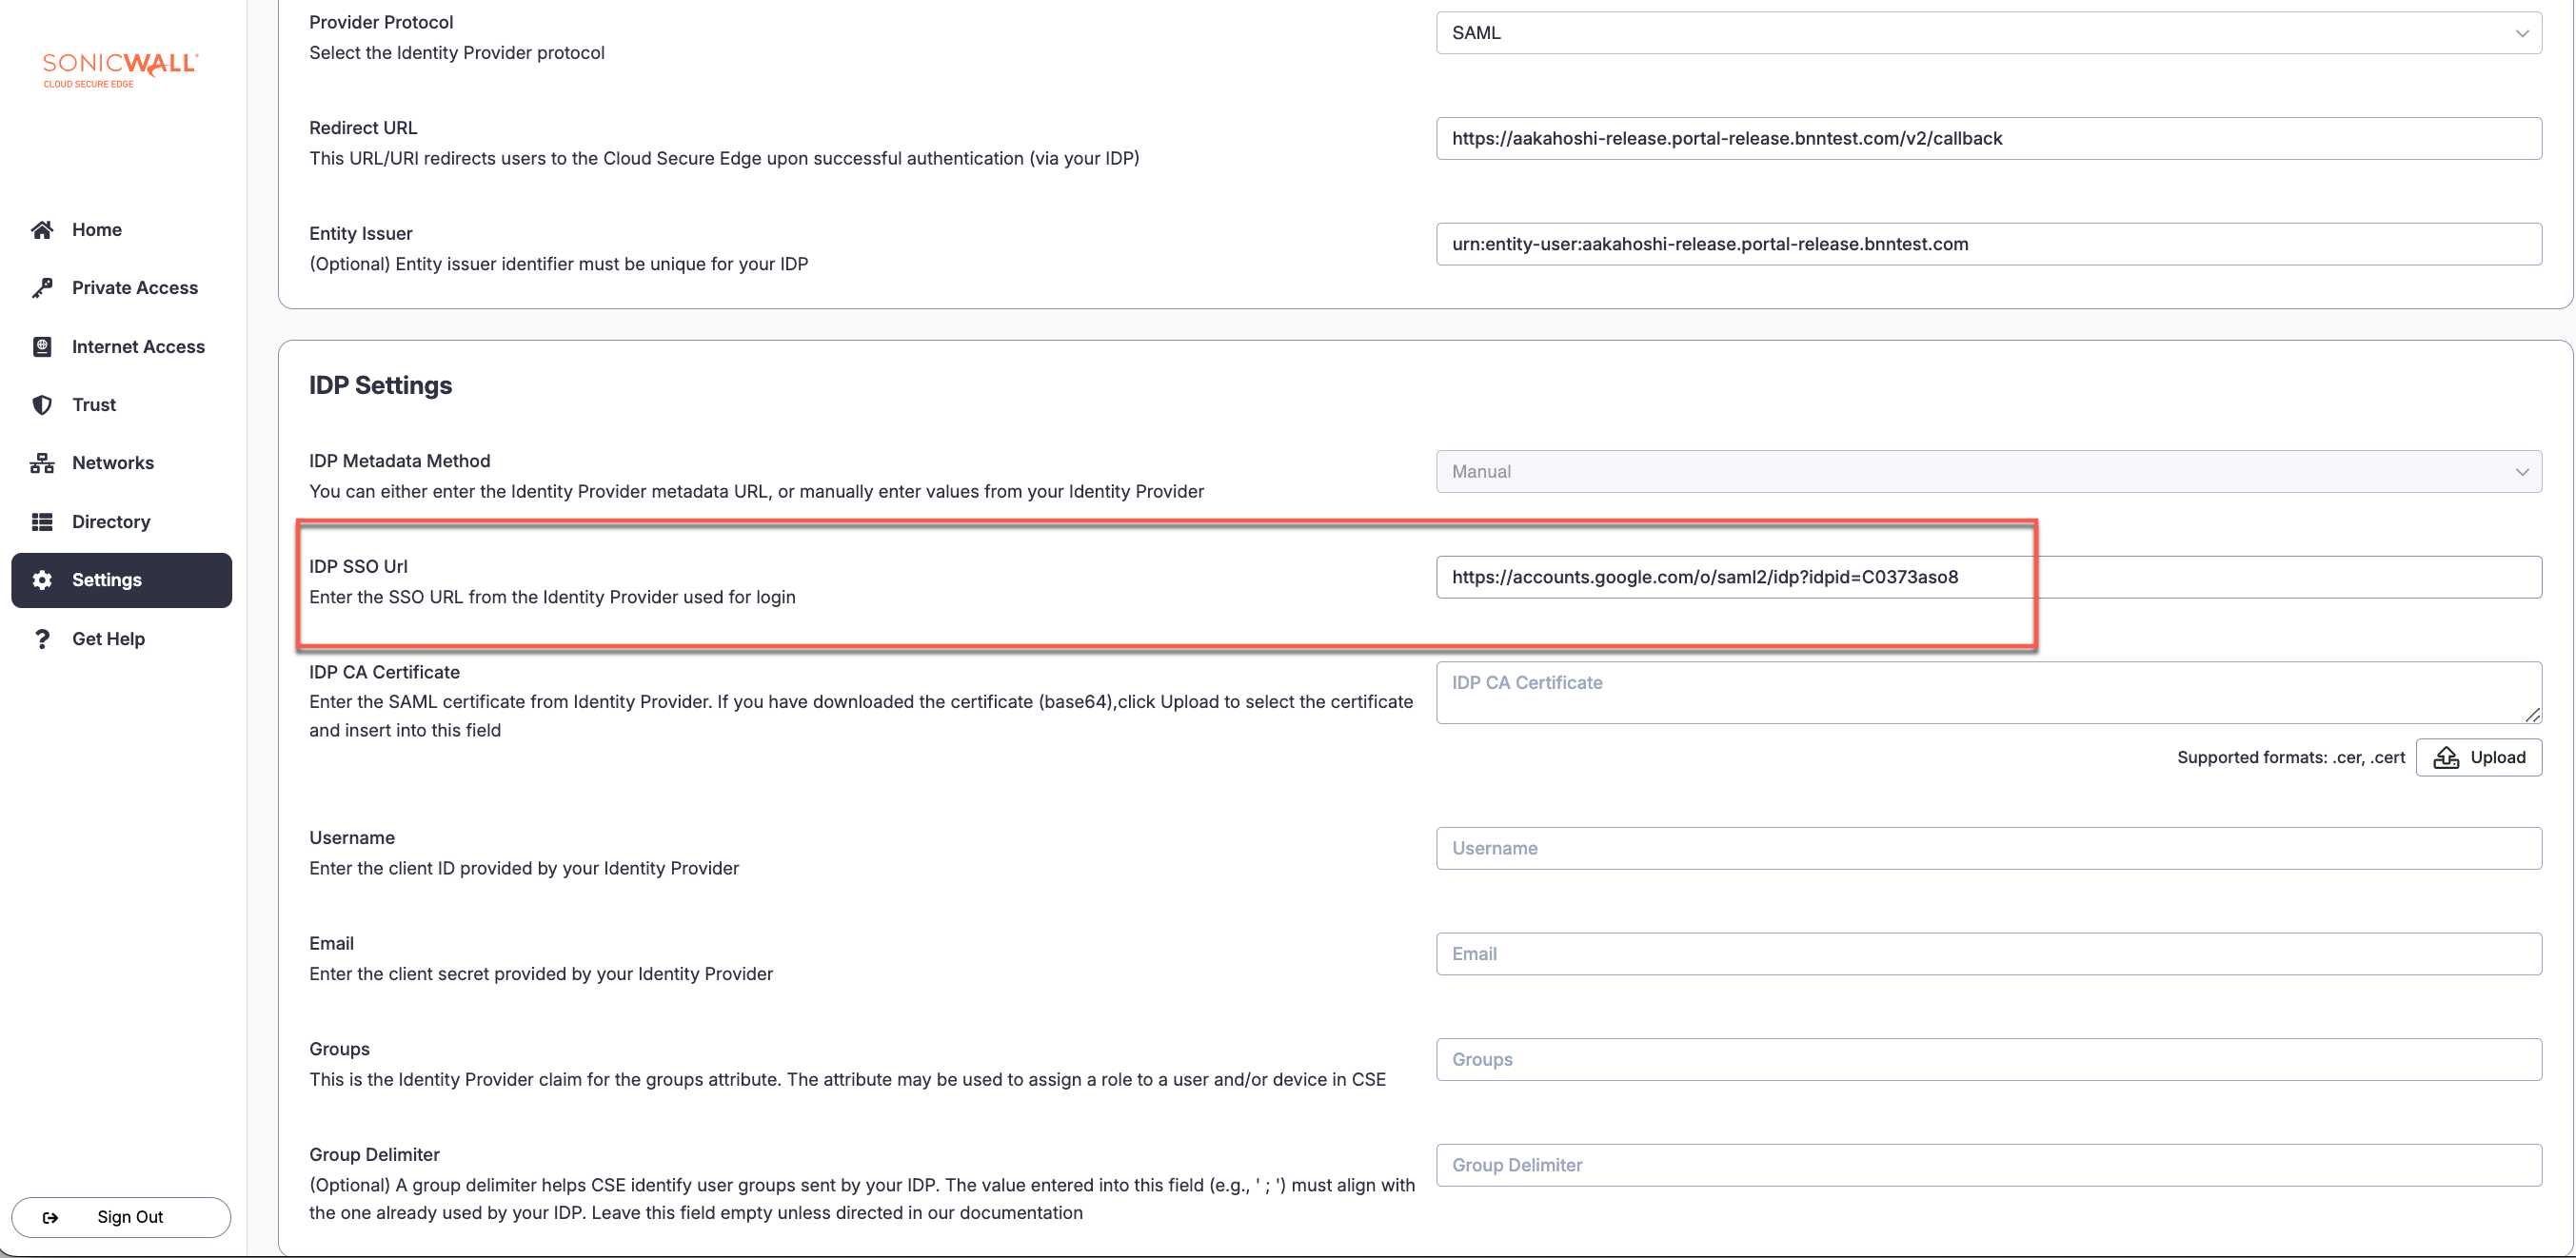
3.3 Copy the SSO URL. This will be pasted in the CSE admin console, in your IDP config, under IDP Settings in the IDP SSO Url field).
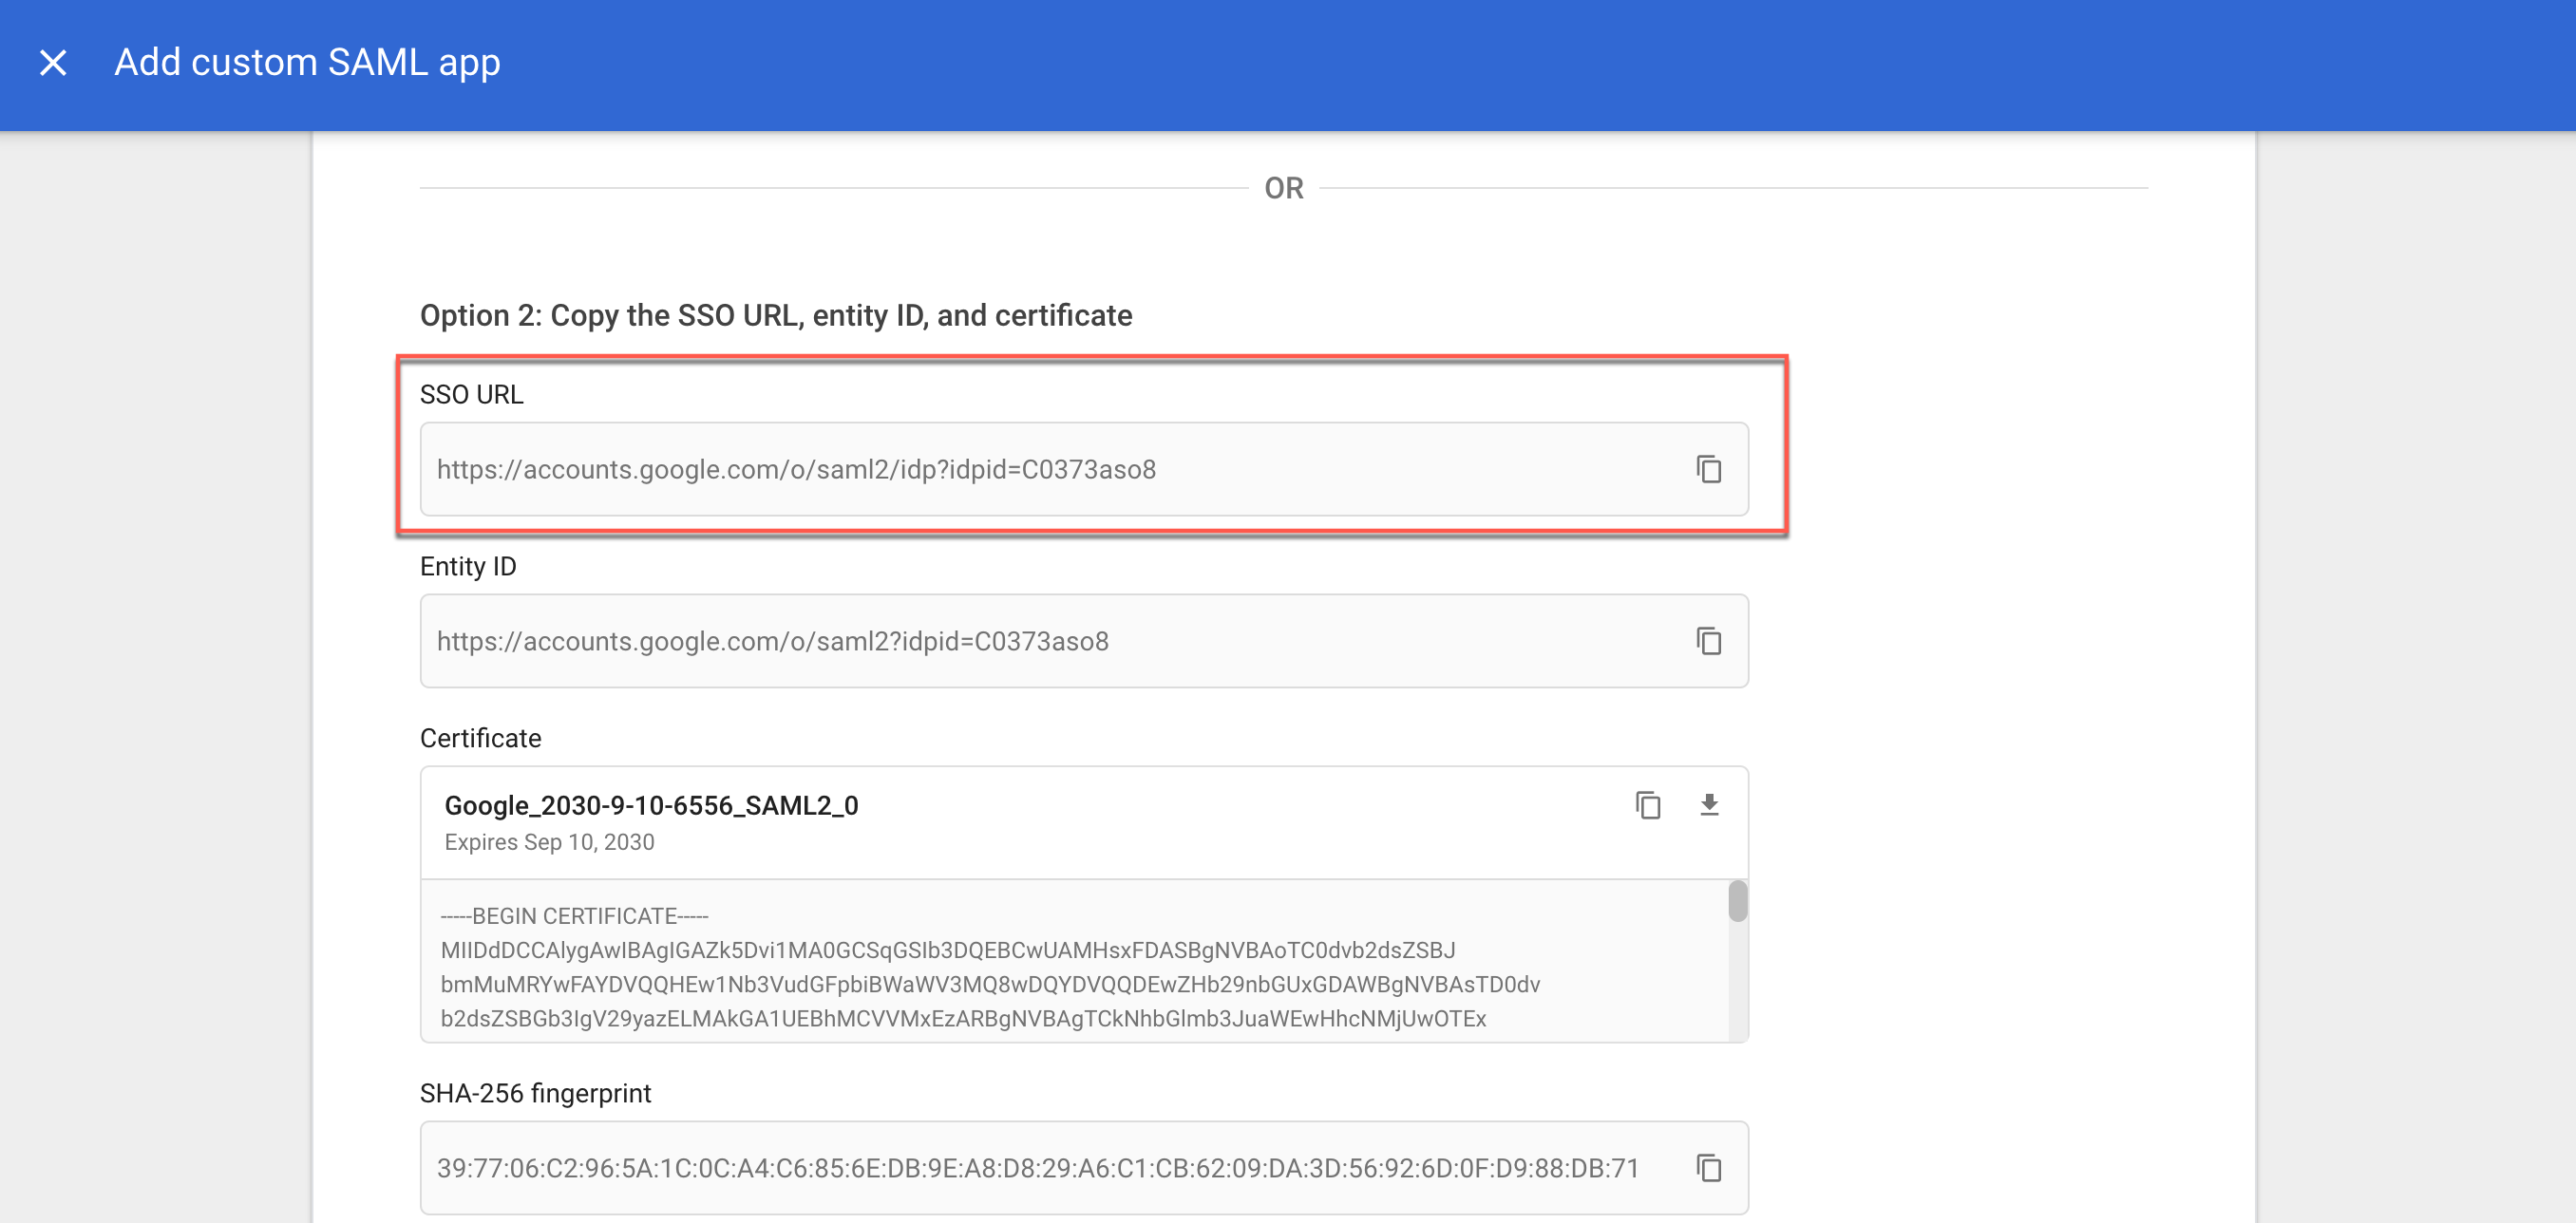
3.4 Back in the Google Workspace Admin Console, copy or download the Google Certificate. This will be pasted or uploaded in the CSE admin console, in your IDP config, under IDP Settings in the IDP CA Certificate field.
3.5 Back in Google Workspace Admin Console, select Continue.
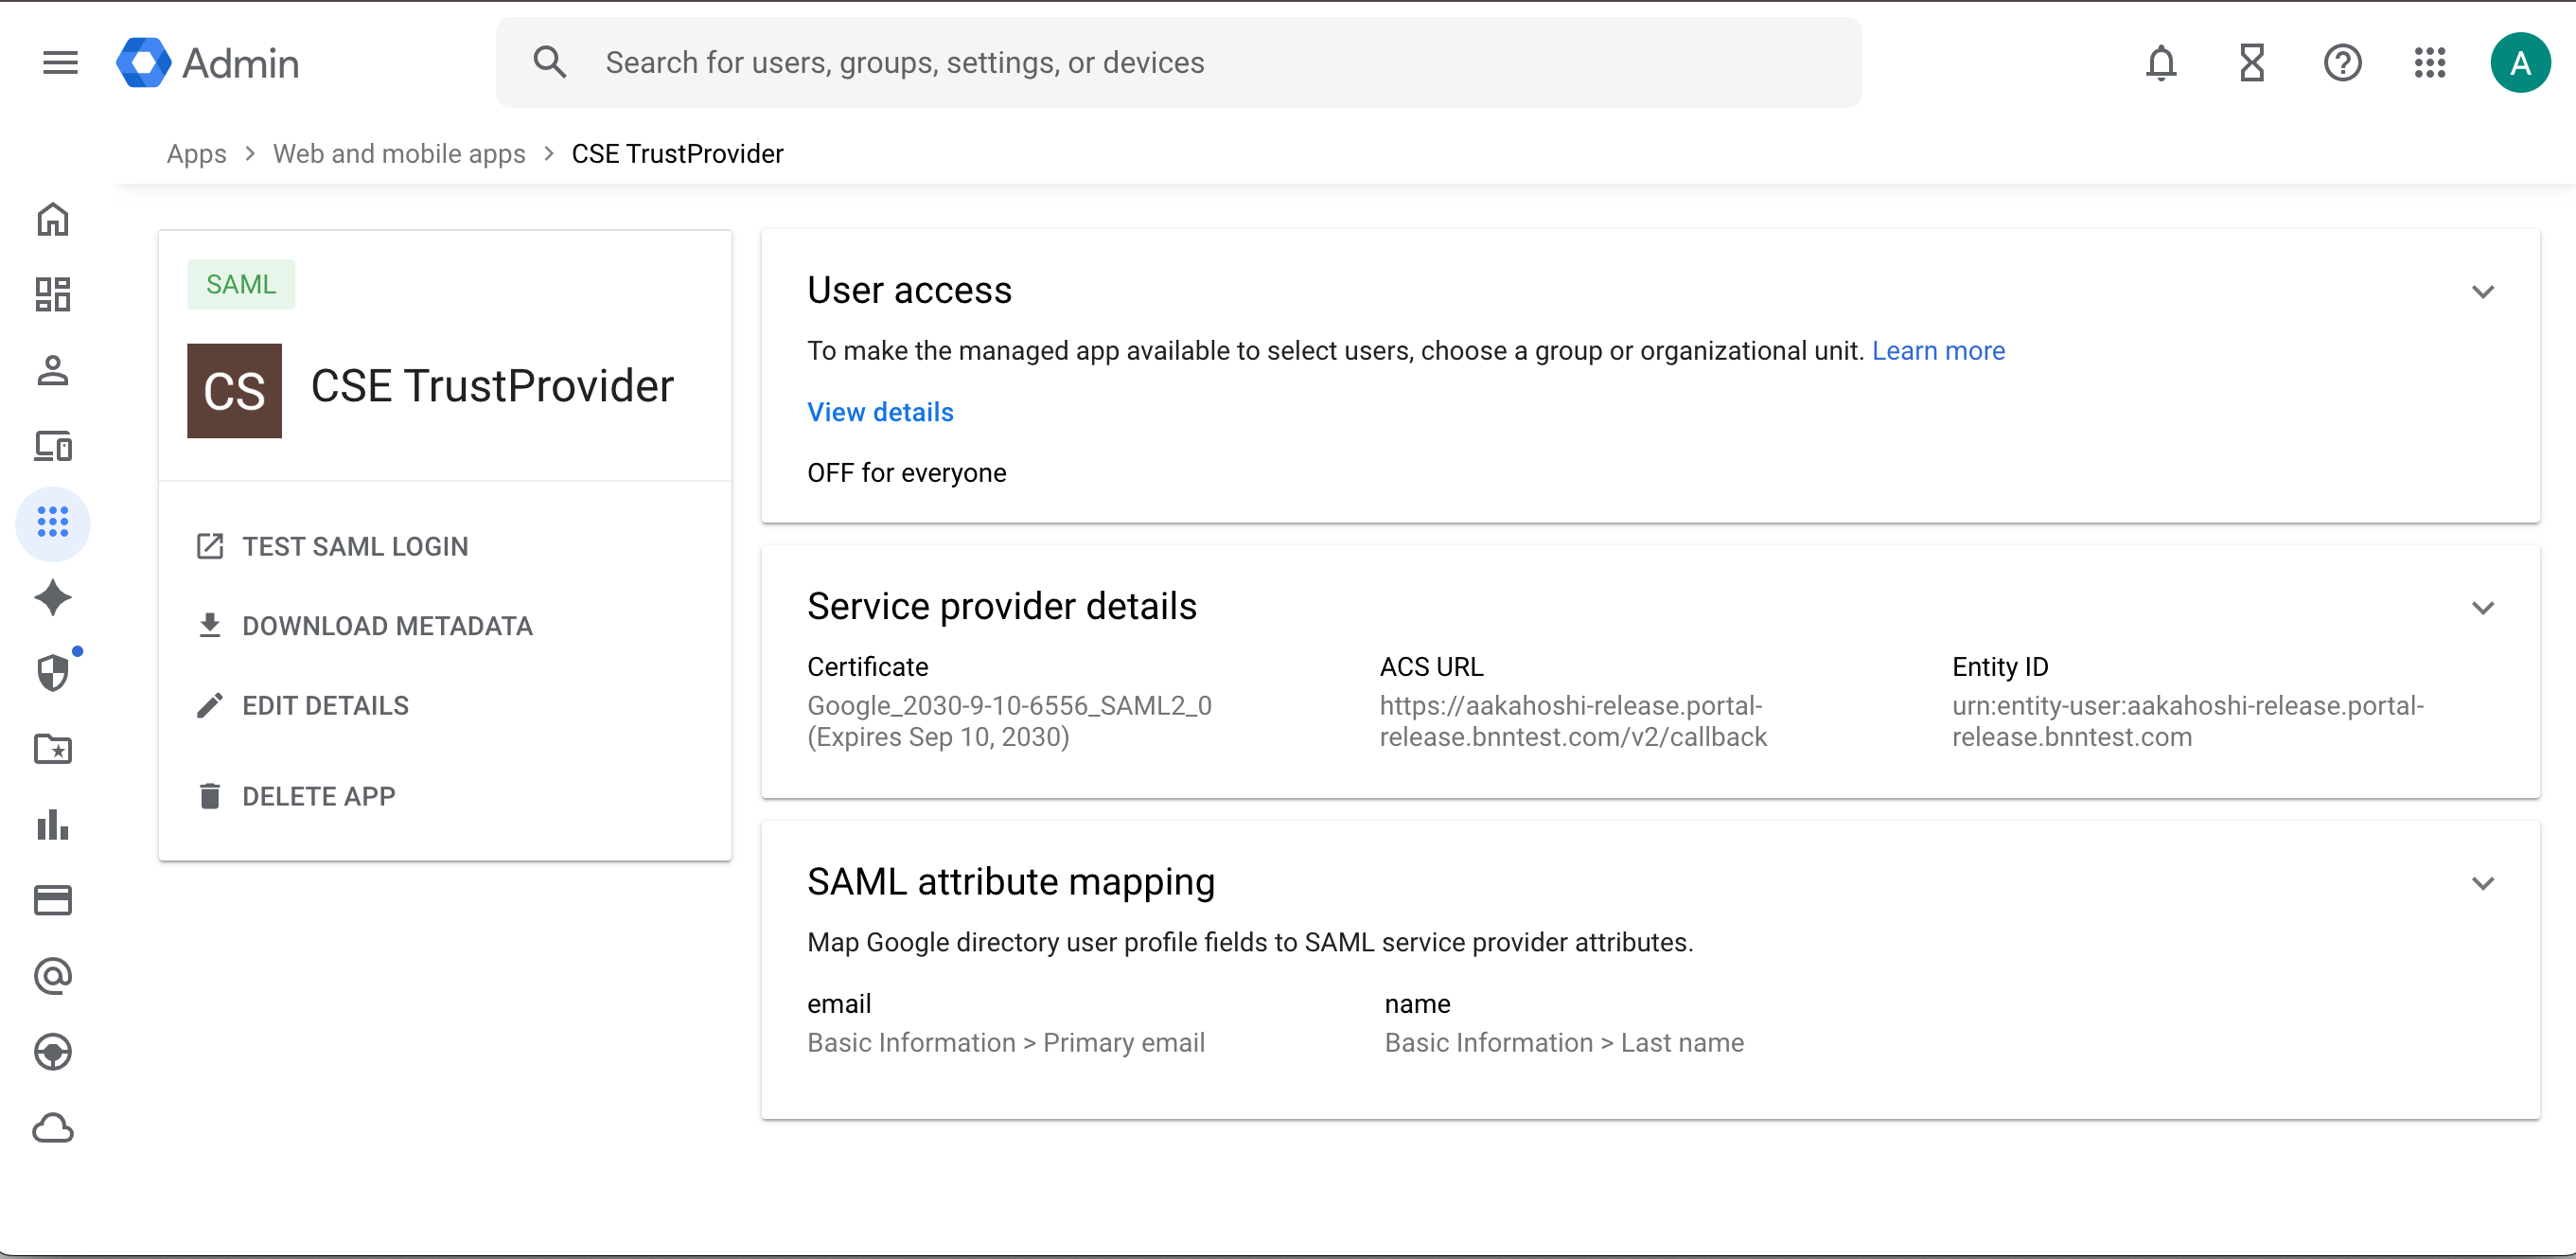
Step 4: Service Provider Details - Use values retrieved from CSE IDP Config to complete Google custom SAML app config
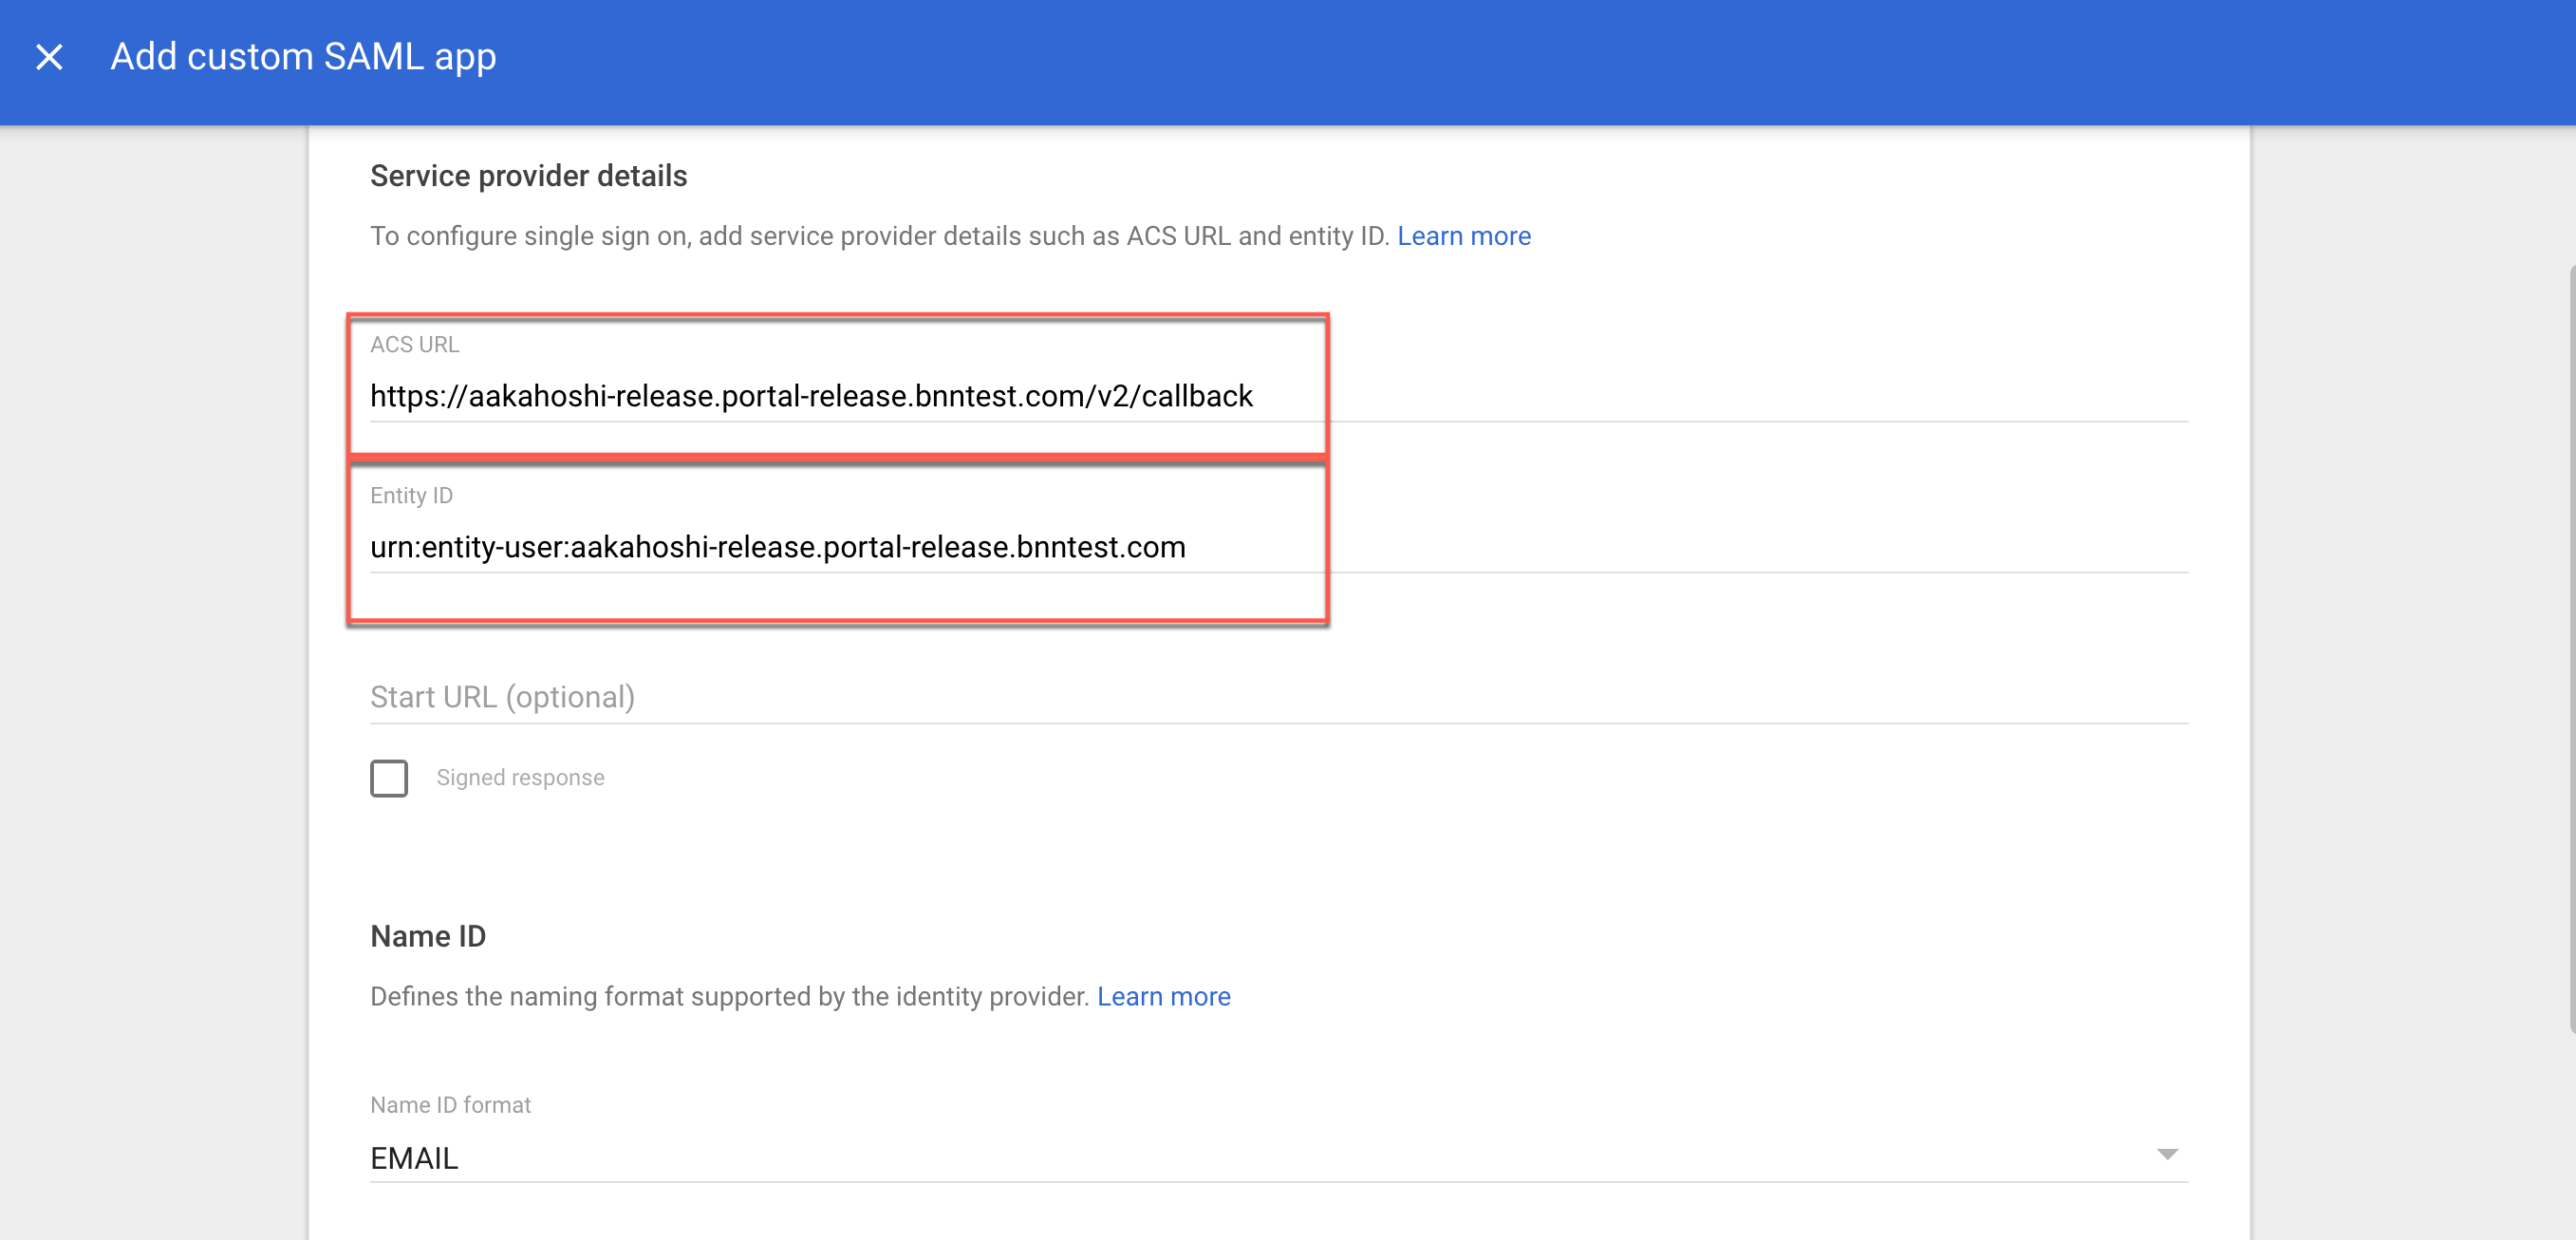
4.1 Copy the Redirect URL value in CSE. Paste this value in the ACS URL field in Google (on your custom SAML app config, under Service provider details).
4.2 Copy the Entity Issuer value in CSE. Paste this value in the Entity ID field in Google (on your custom SAML app config, under Service provider details).
Step 5: Name ID for custom SAML app
5.1 In the Name ID format field, select EMAIL.
5.2 Select Continue.
Step 6: Attribute Mapping for custom SAML app
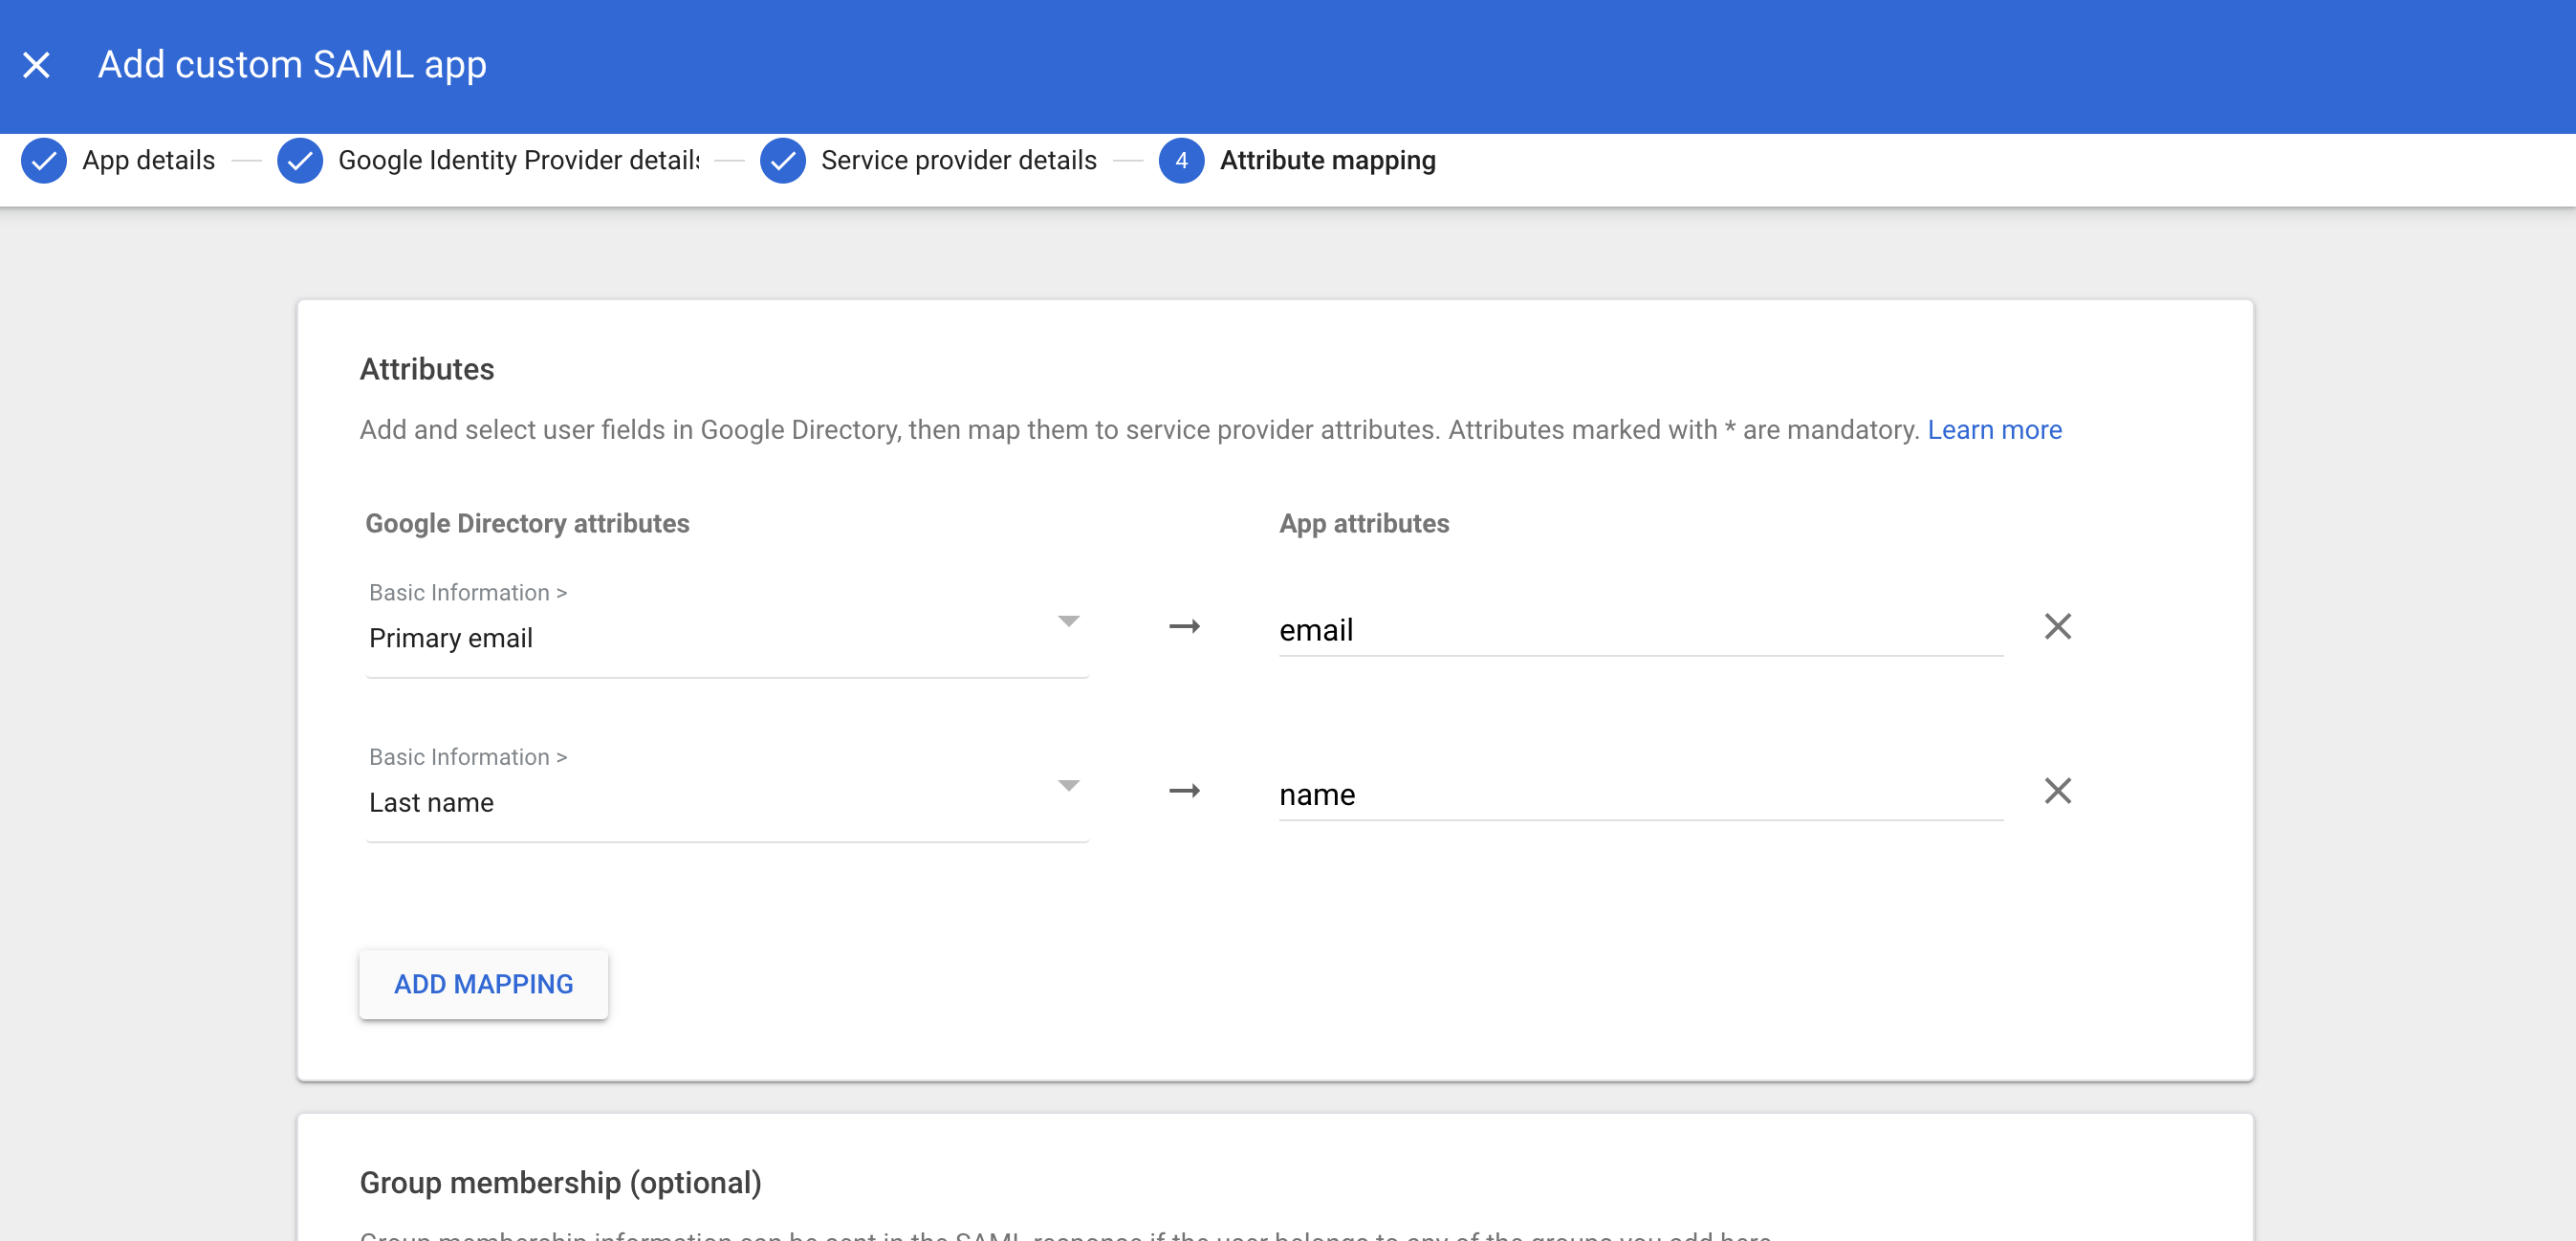
6.1 Under Attributes, select ADD MAPPING.
6.2 Under Google Directory attributes, select Primary email. Map this to email under App attributes.
6.3 Select ADD MAPPING again: Under Google Directory attributes, select Last name. Map this to name under App attributes.
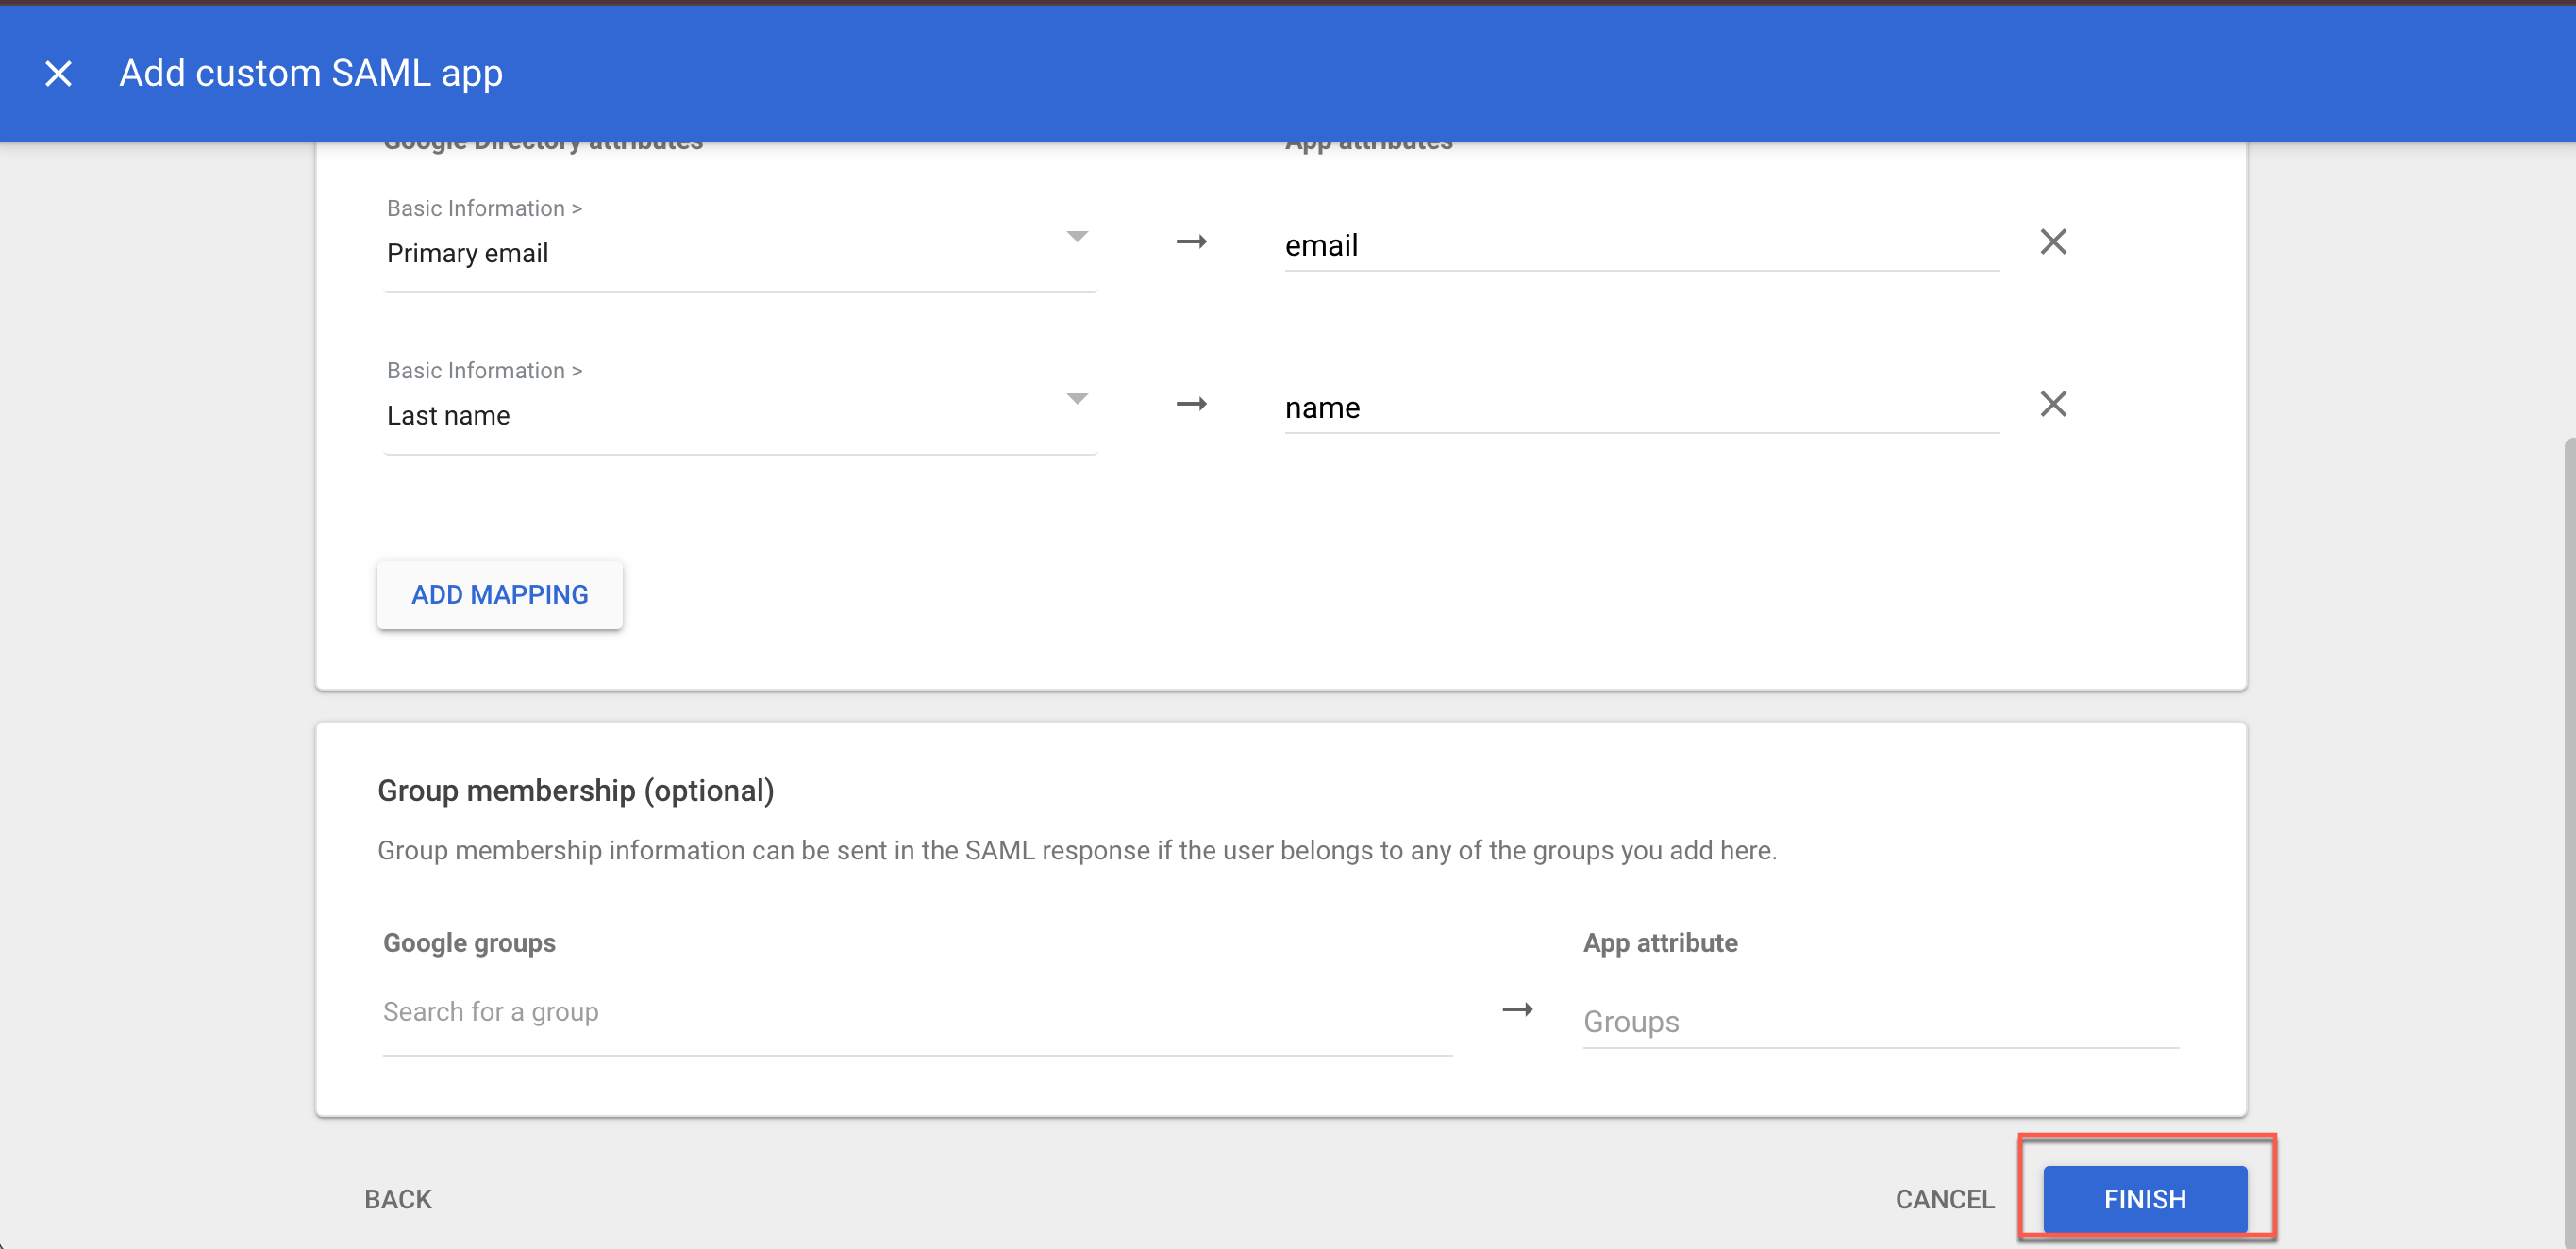
6.4 Group membership: Search for the relevant group under Google groups, and then enter the selected group as mapping to the groups App attribute.
6.5 Select FINISH.
Step 7: Configure User Access on your new custom SAML app
7.1 Select User access.
7.2 Under Service Status, select ON for everyone. This will allow CSE to federate authentication of all users in your organization to your SAML IDP.
7.3 Select SAVE.
Step 8: Complete Google IDP config in Cloud Secure Edge
8.1 Under IDP Settings, complete the attribute configurations: under Username, enter name; under Email, enter email; under Groups, enter groups.

8.2 Save your configuration.