Manage Roles
- Updated on
Overview
The Command Center allows you to define Roles. These roles can be defined by user attributes (e.g., role type or emails), device attributes (e.g., device ownership type, OS, and device serial number), and/or Service Accounts. Once configured, Cloud Secure Edge (CSE) Roles can be attached to Access Policies, and then Access Policies are attached to CSE-protected Services.
Create a Role
Step 1: Add a Role
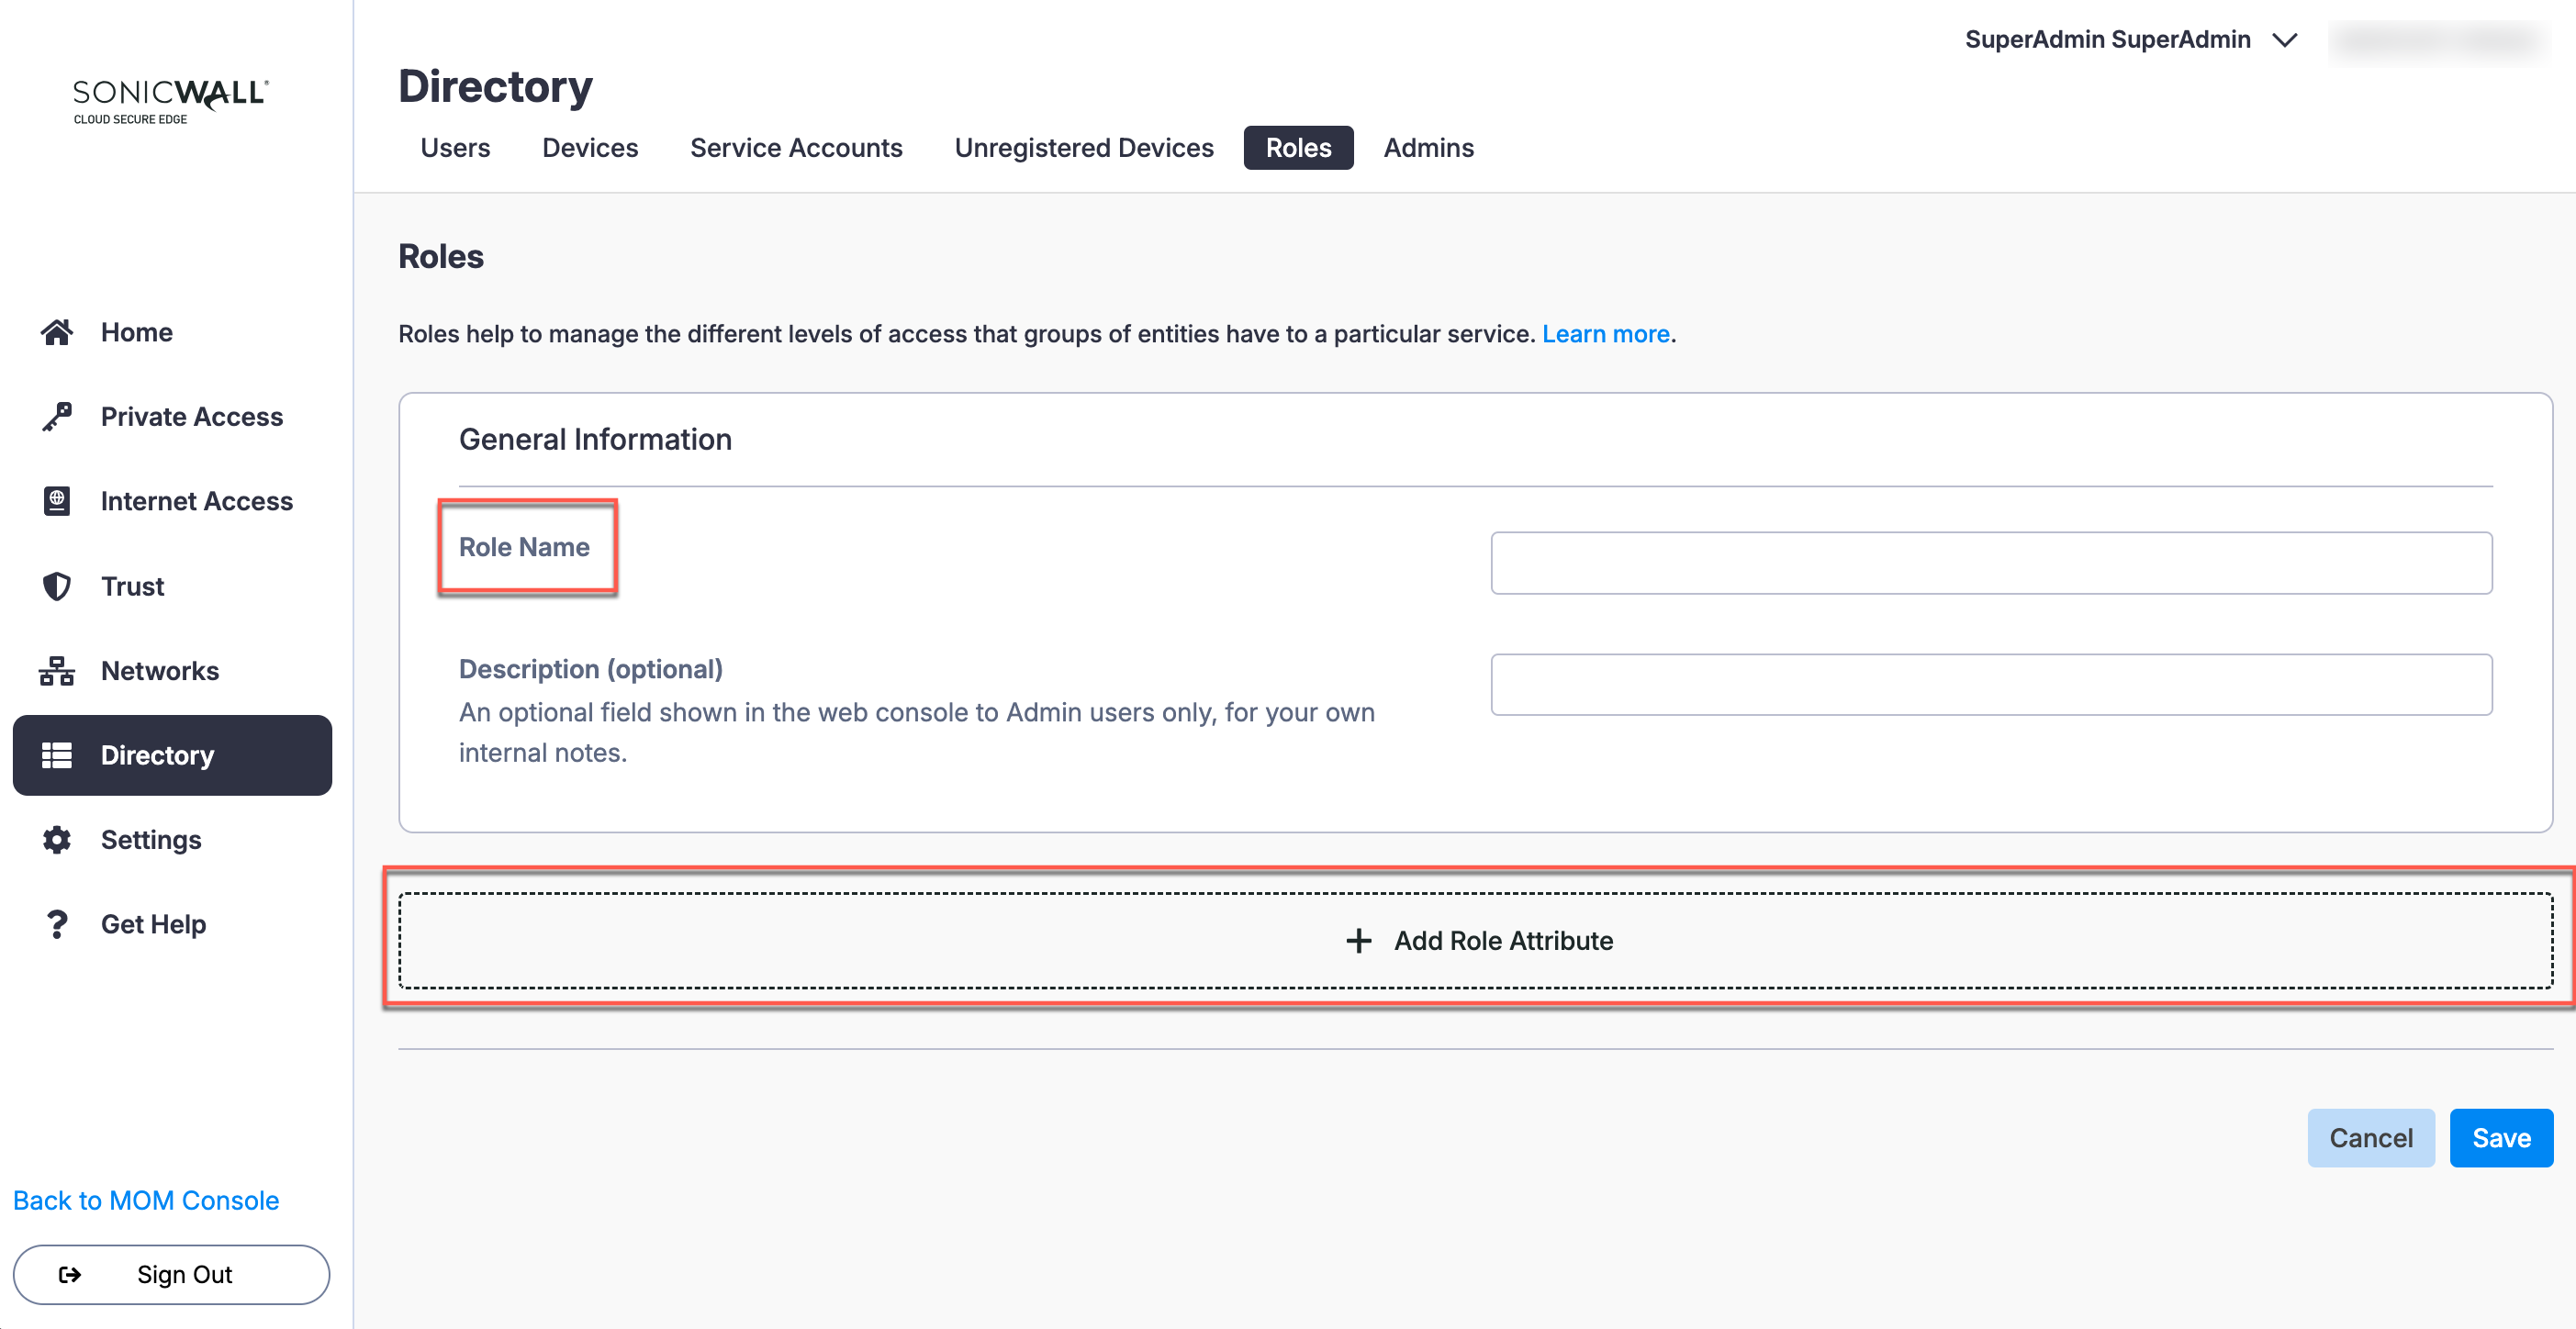
1. In the Command Center, navigate from Directory > Roles, and then select + Add Role.
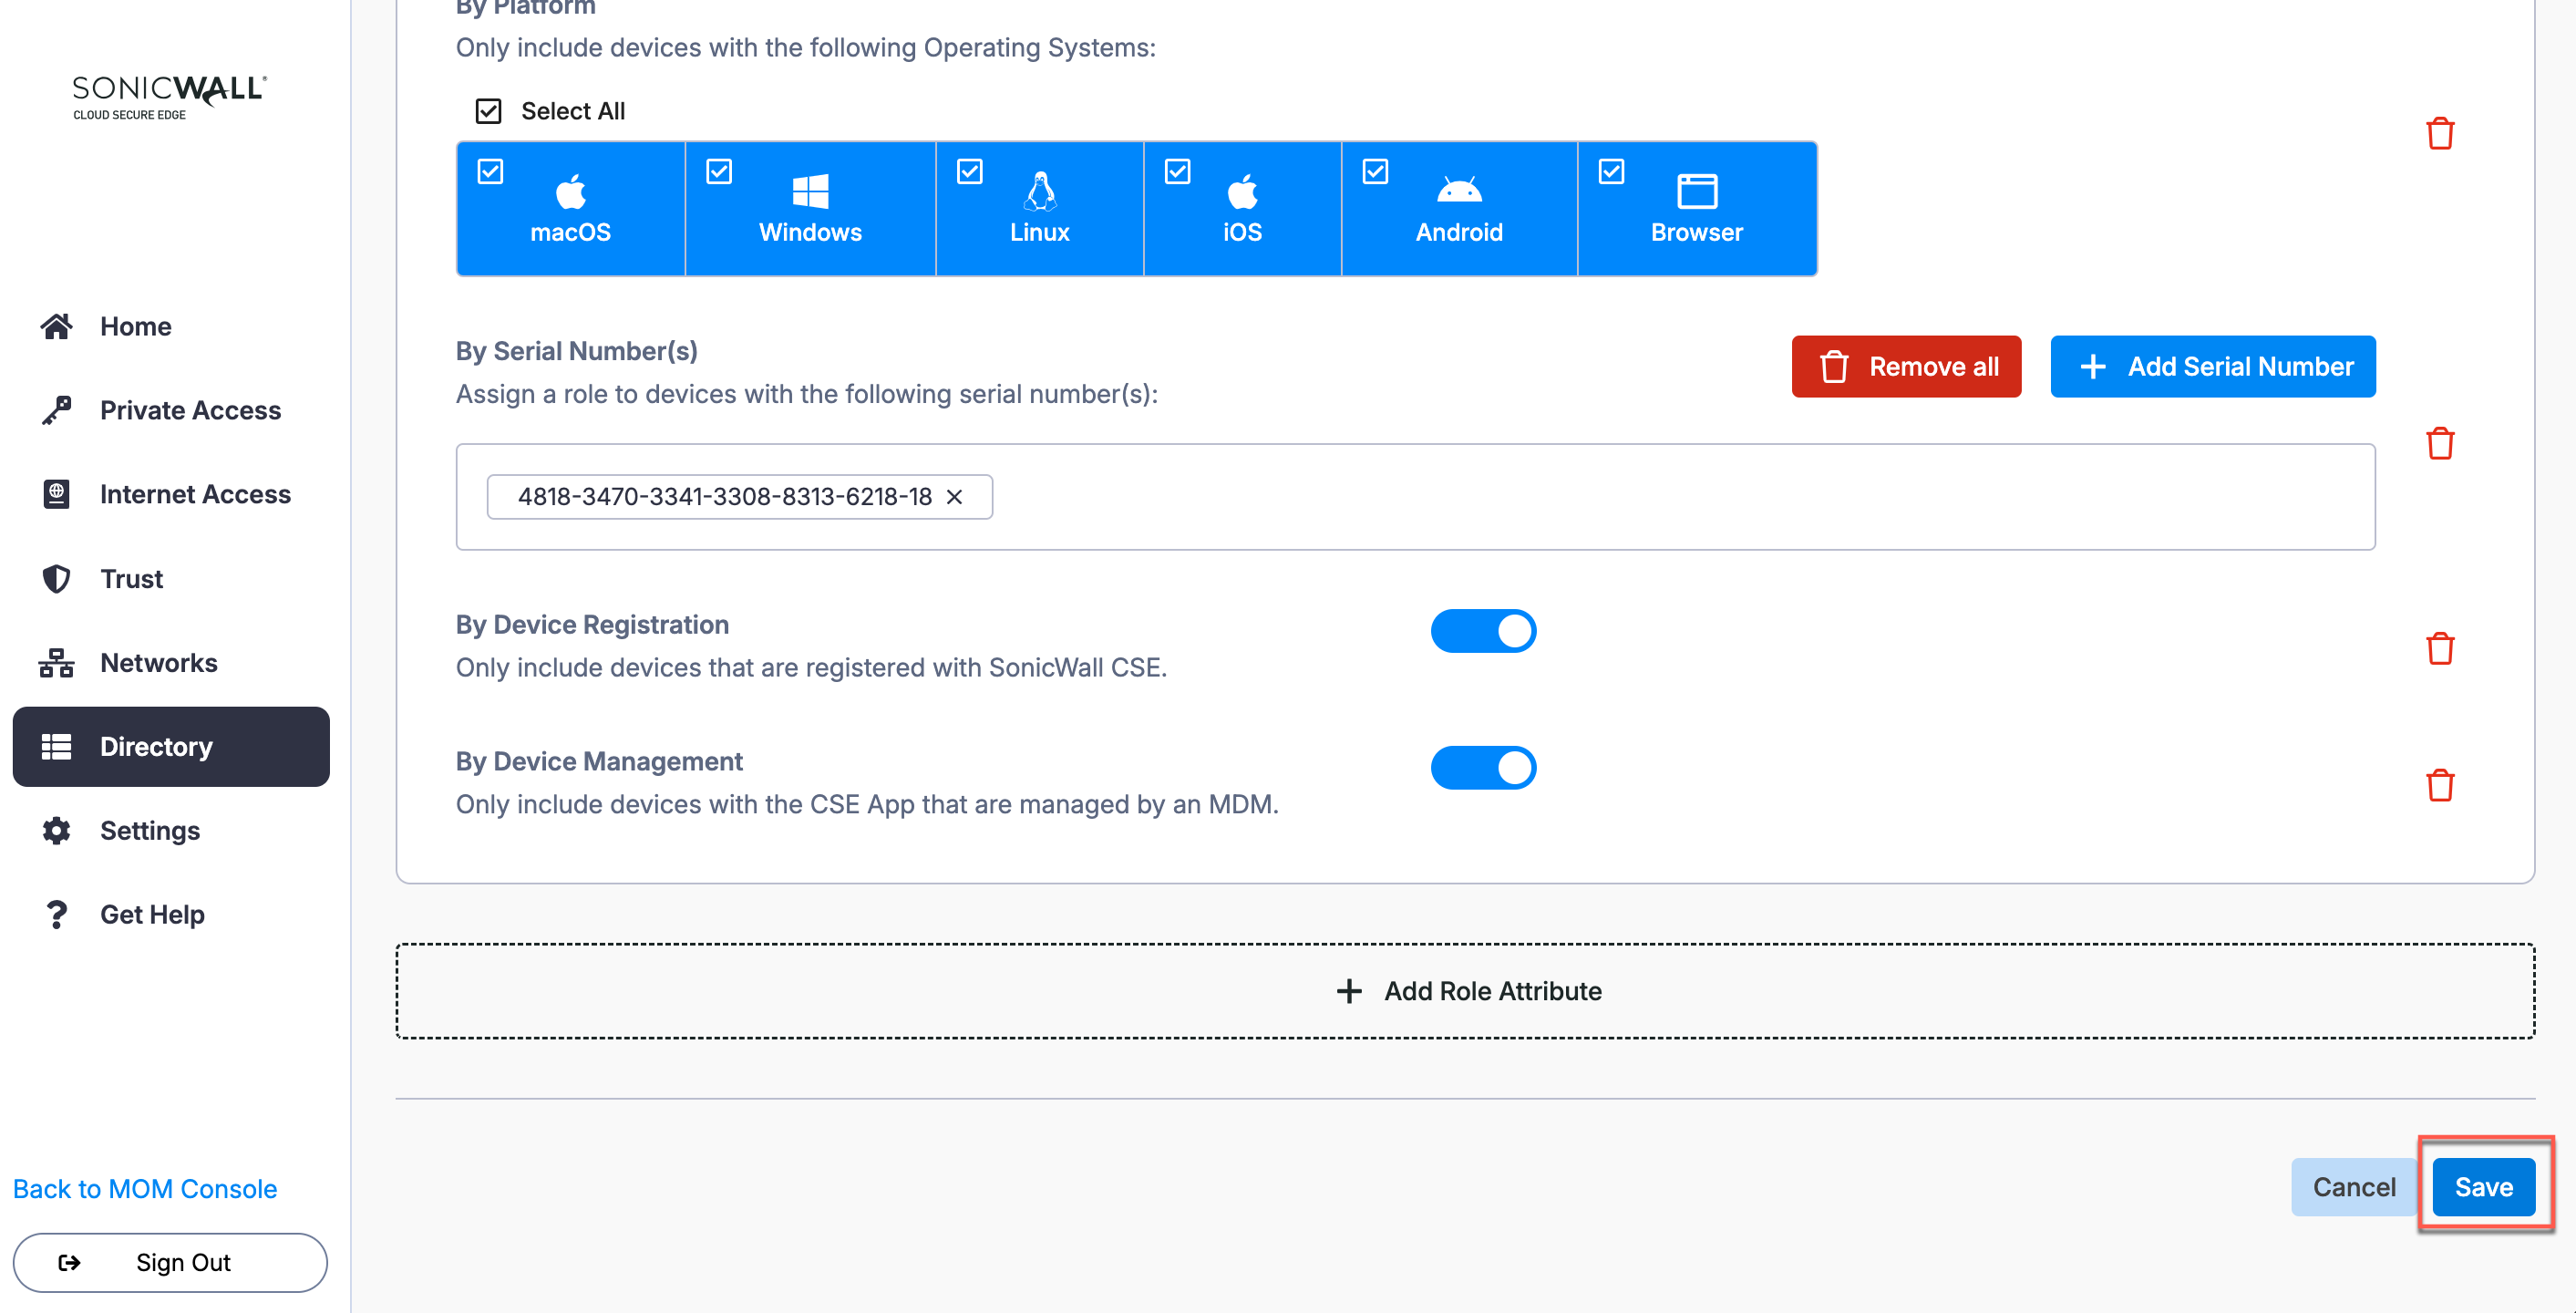
Step 2: Configure your Role based on Users, Devices, and/or Service Accounts
2.1 Name your Role.
2.2 Select + Add Role Attribute,
2.3 Select an attribute to add from the dropdown menu.

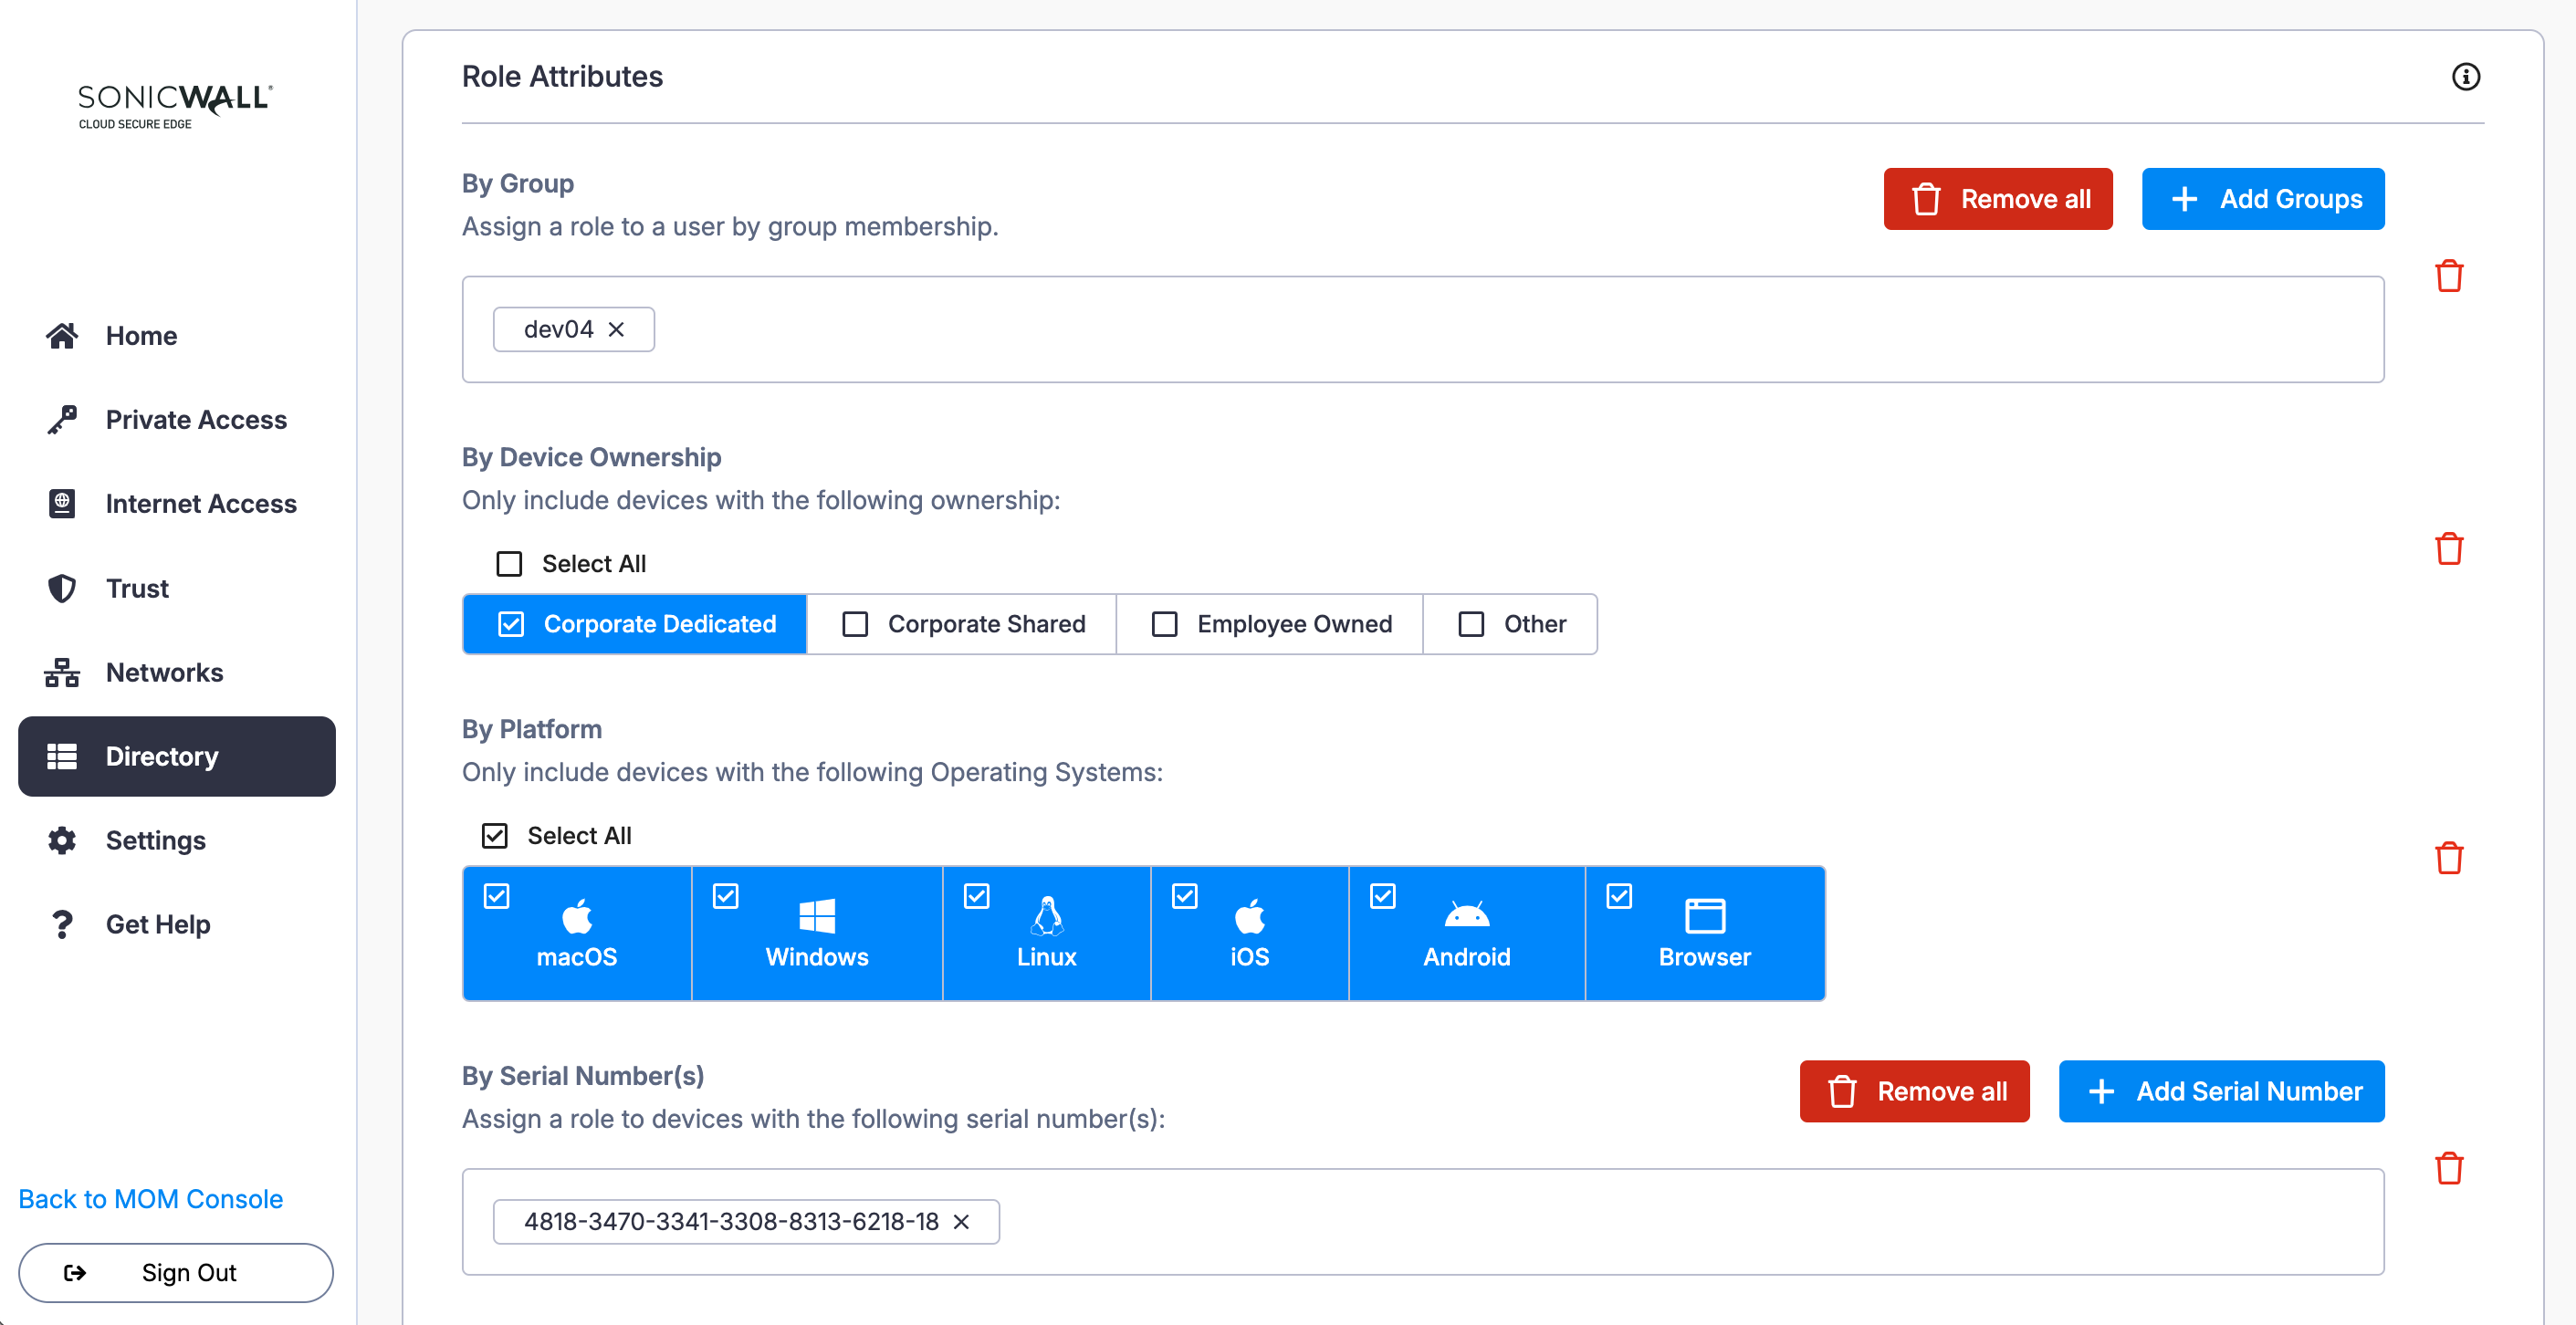
2.4 Configure the selected Role Attribute. For example, if you selected the By Group, add the relevant groups to your attribute.
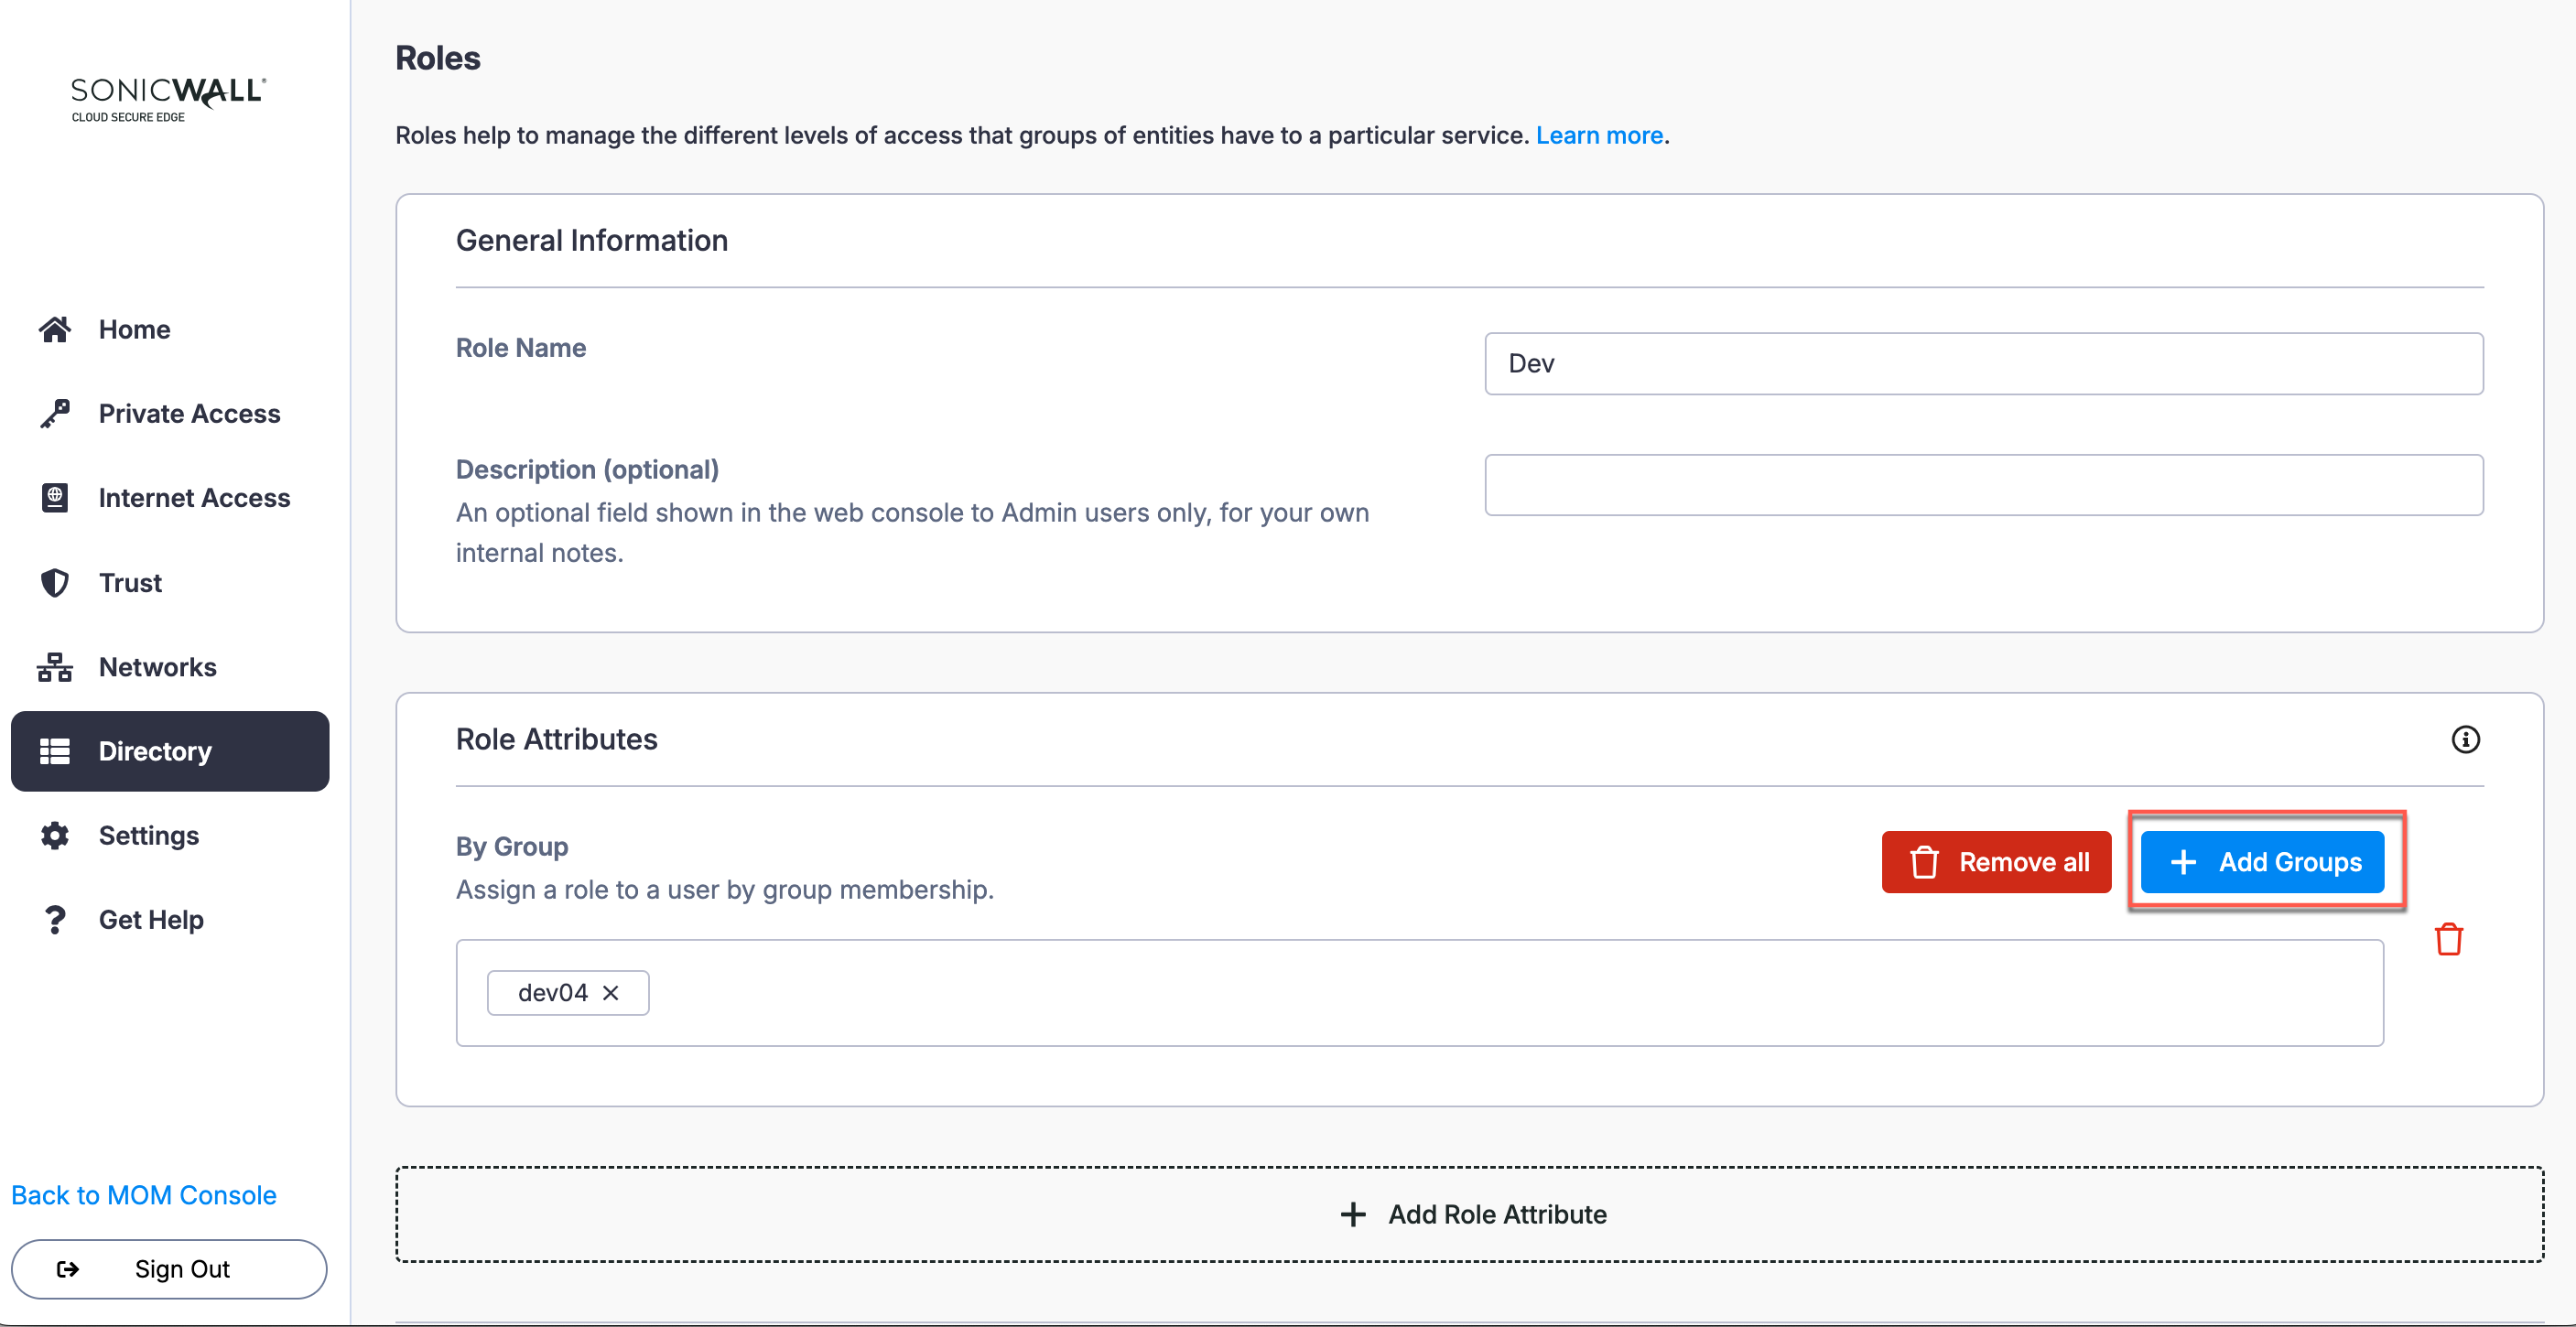
2.5 If you have additional attributes to configure for this role, select + Add Role Attribute again and configure as many attributes as your role requires.
2.6 Save your new Role.
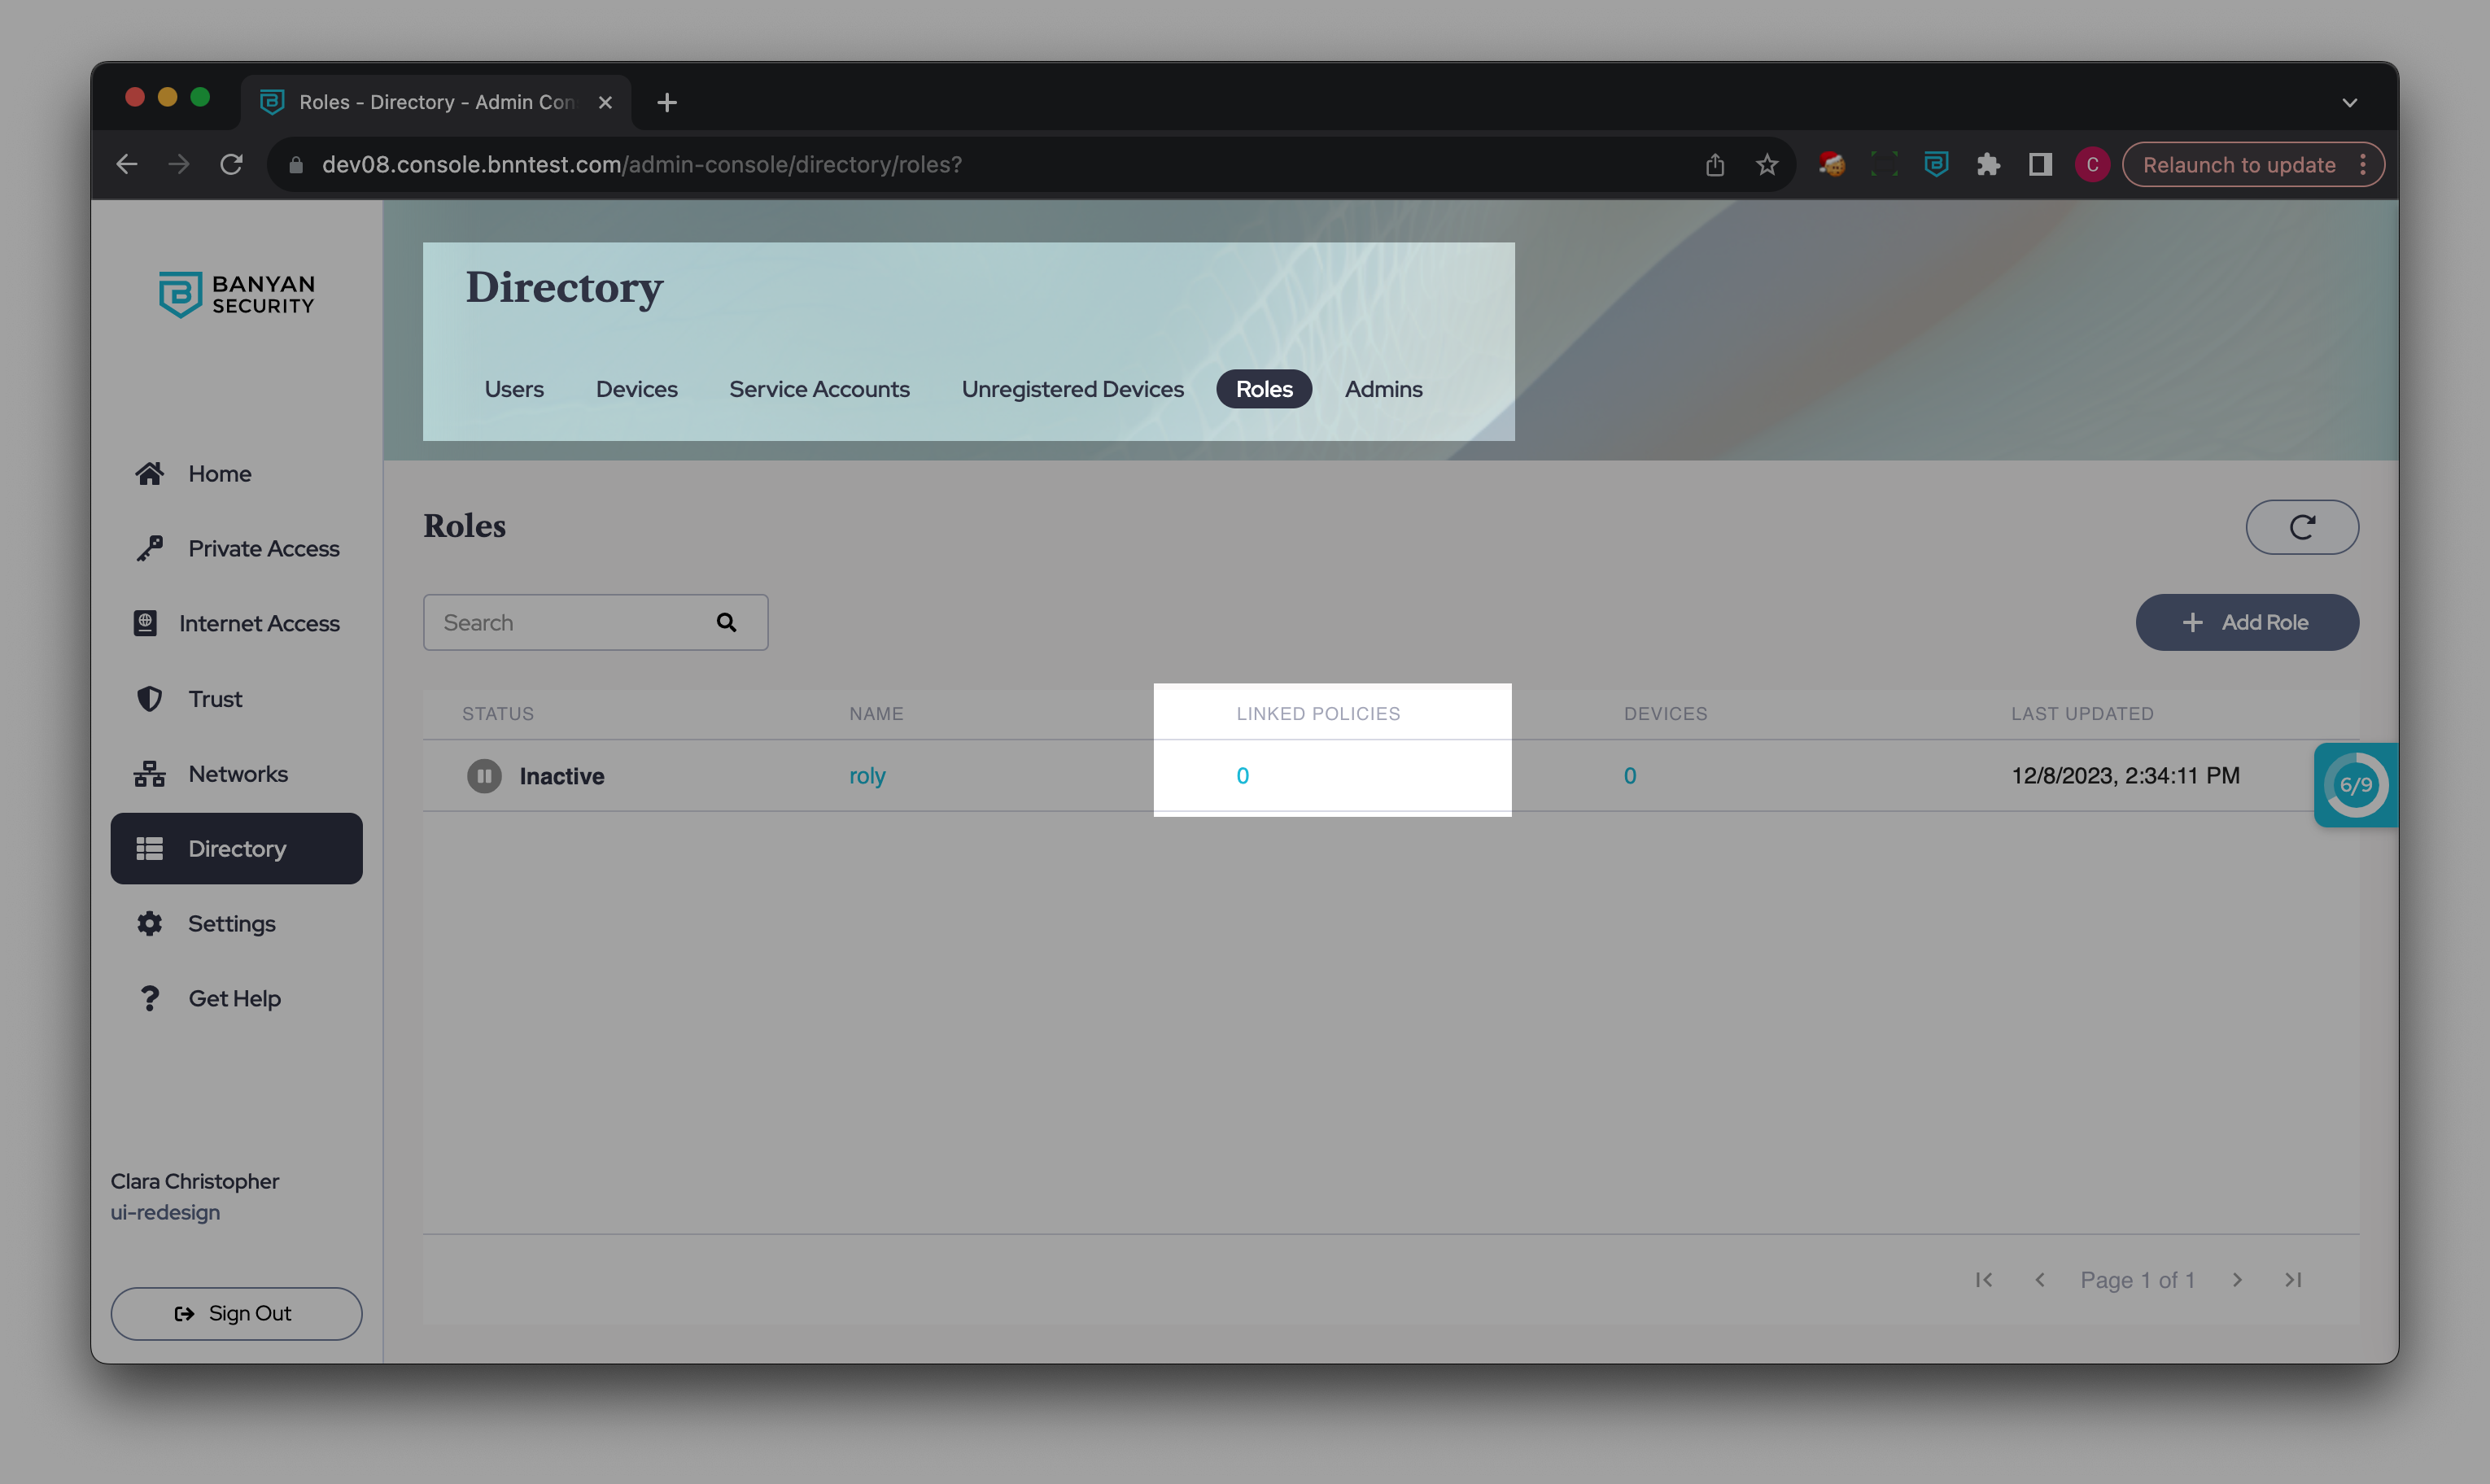
View linked Policies
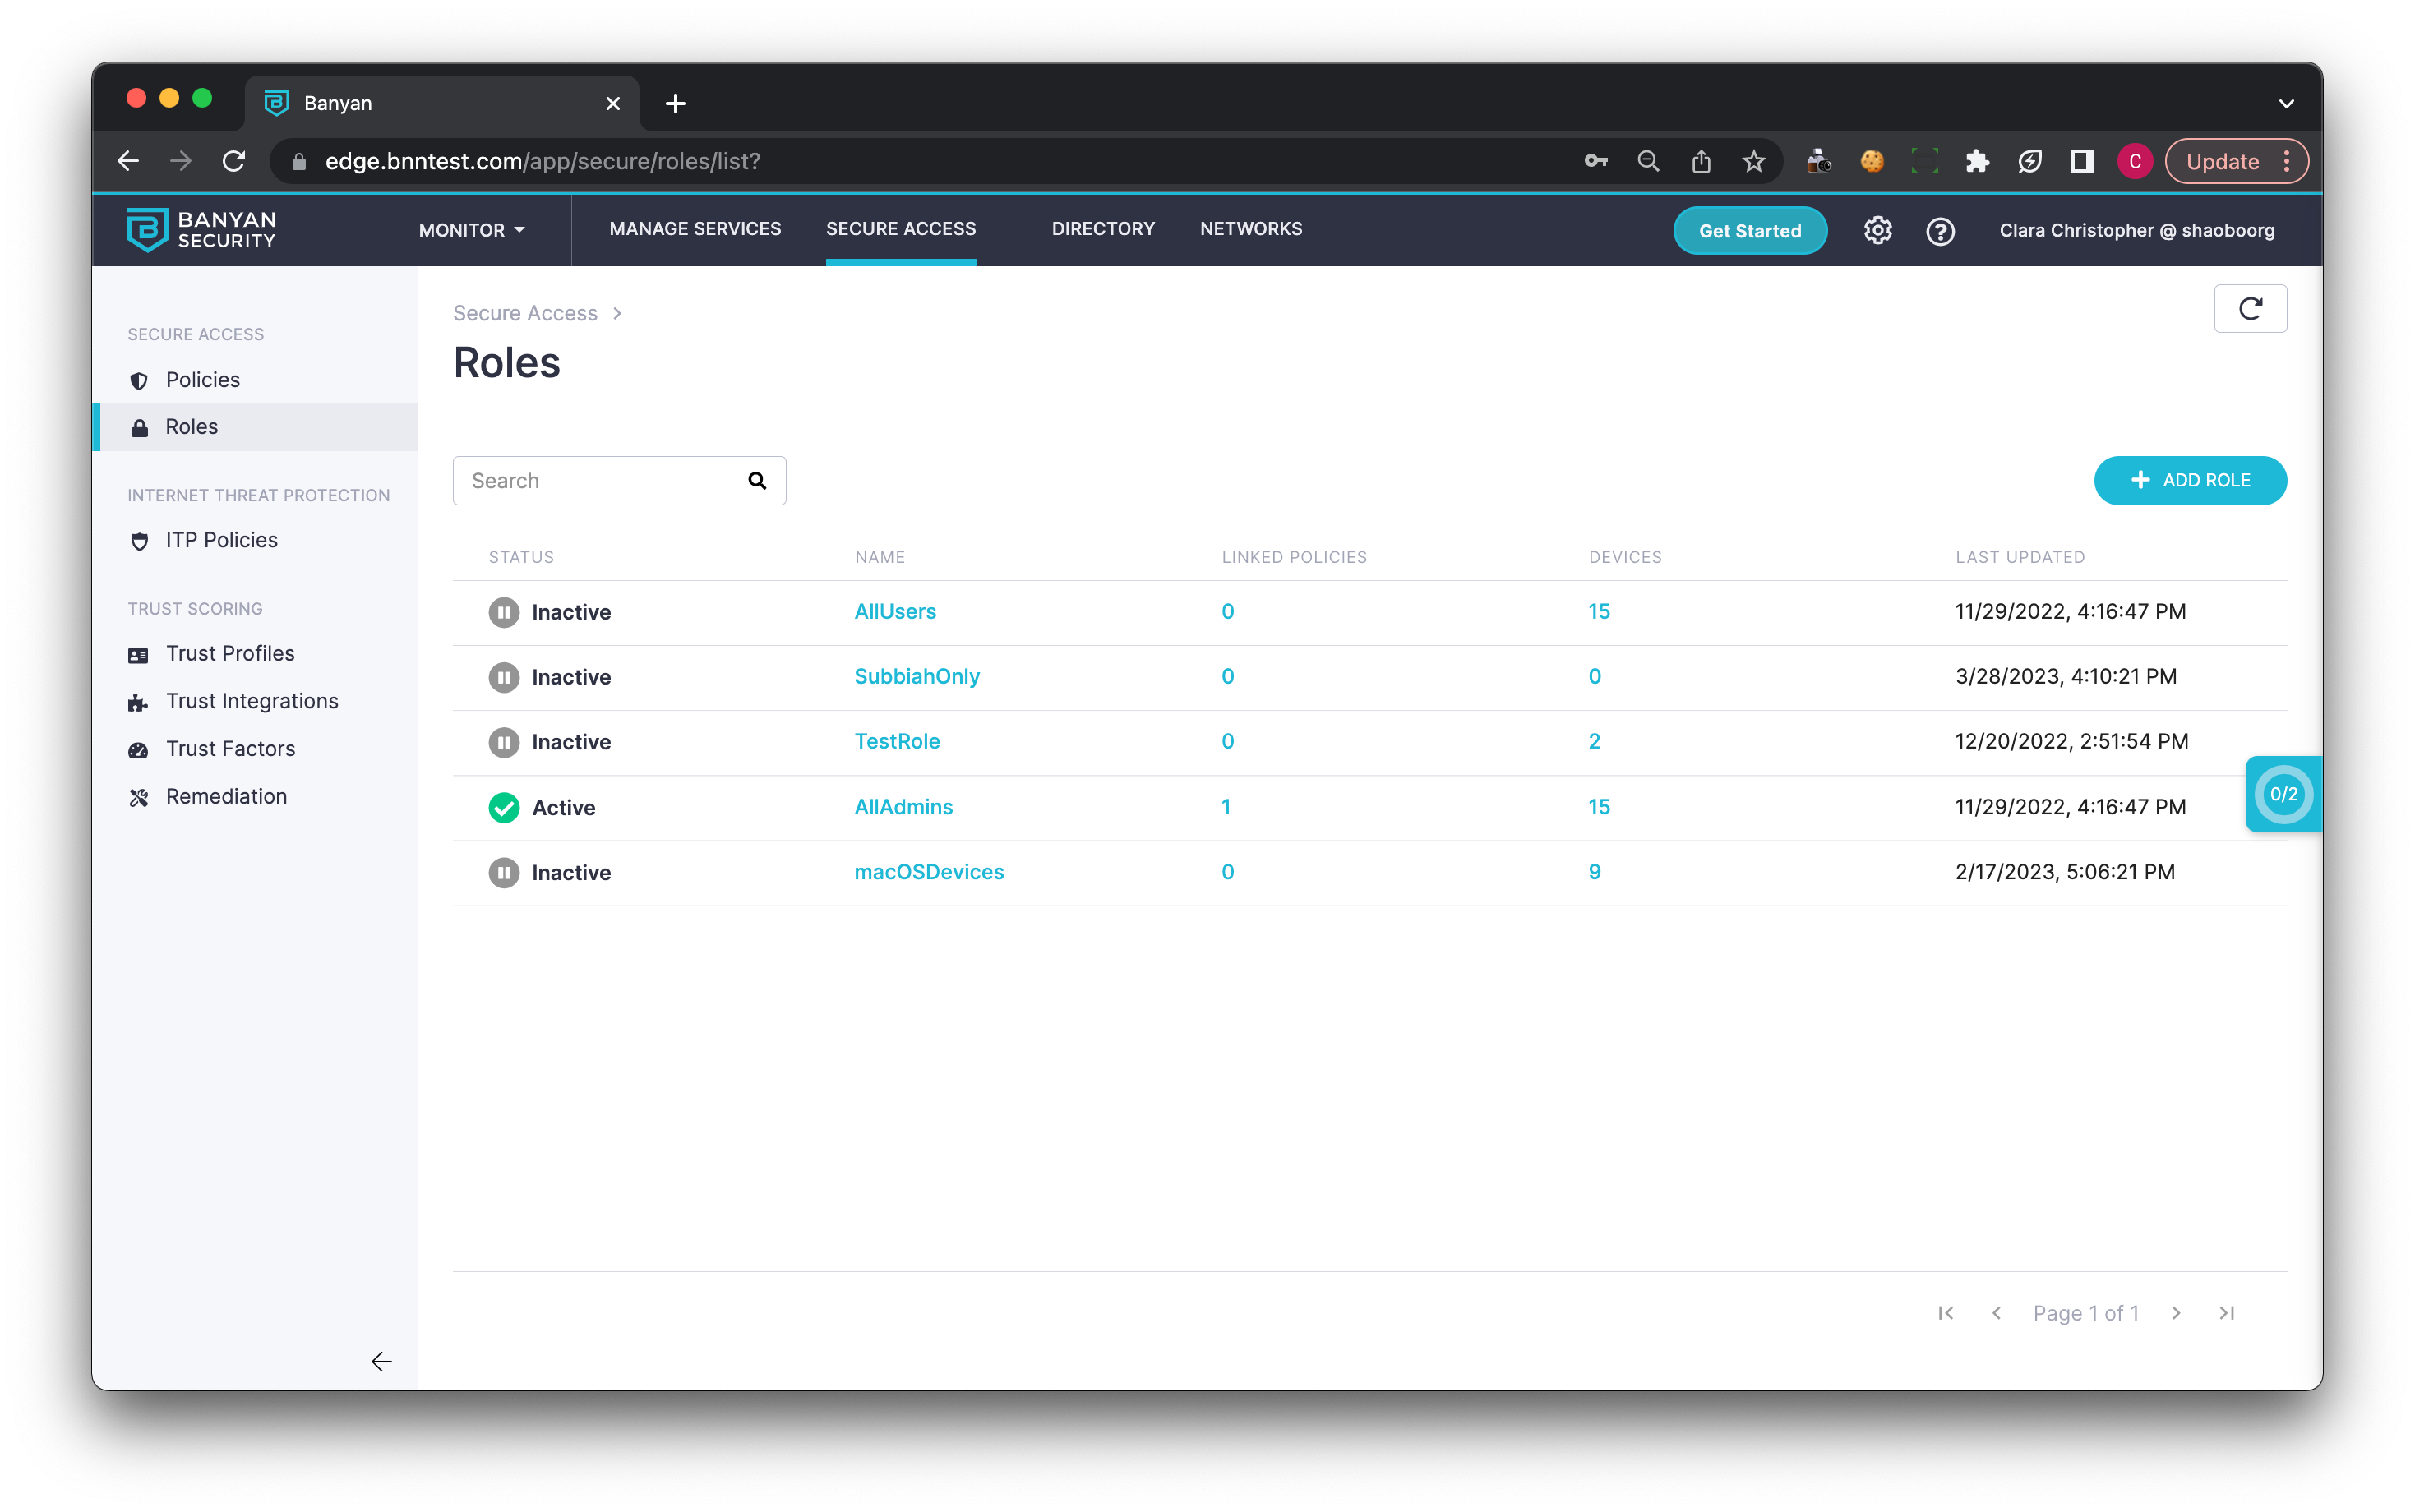
To view which Access Policies your Role has been added to, navigate from Directory > Roles > the Linked Policies tab.
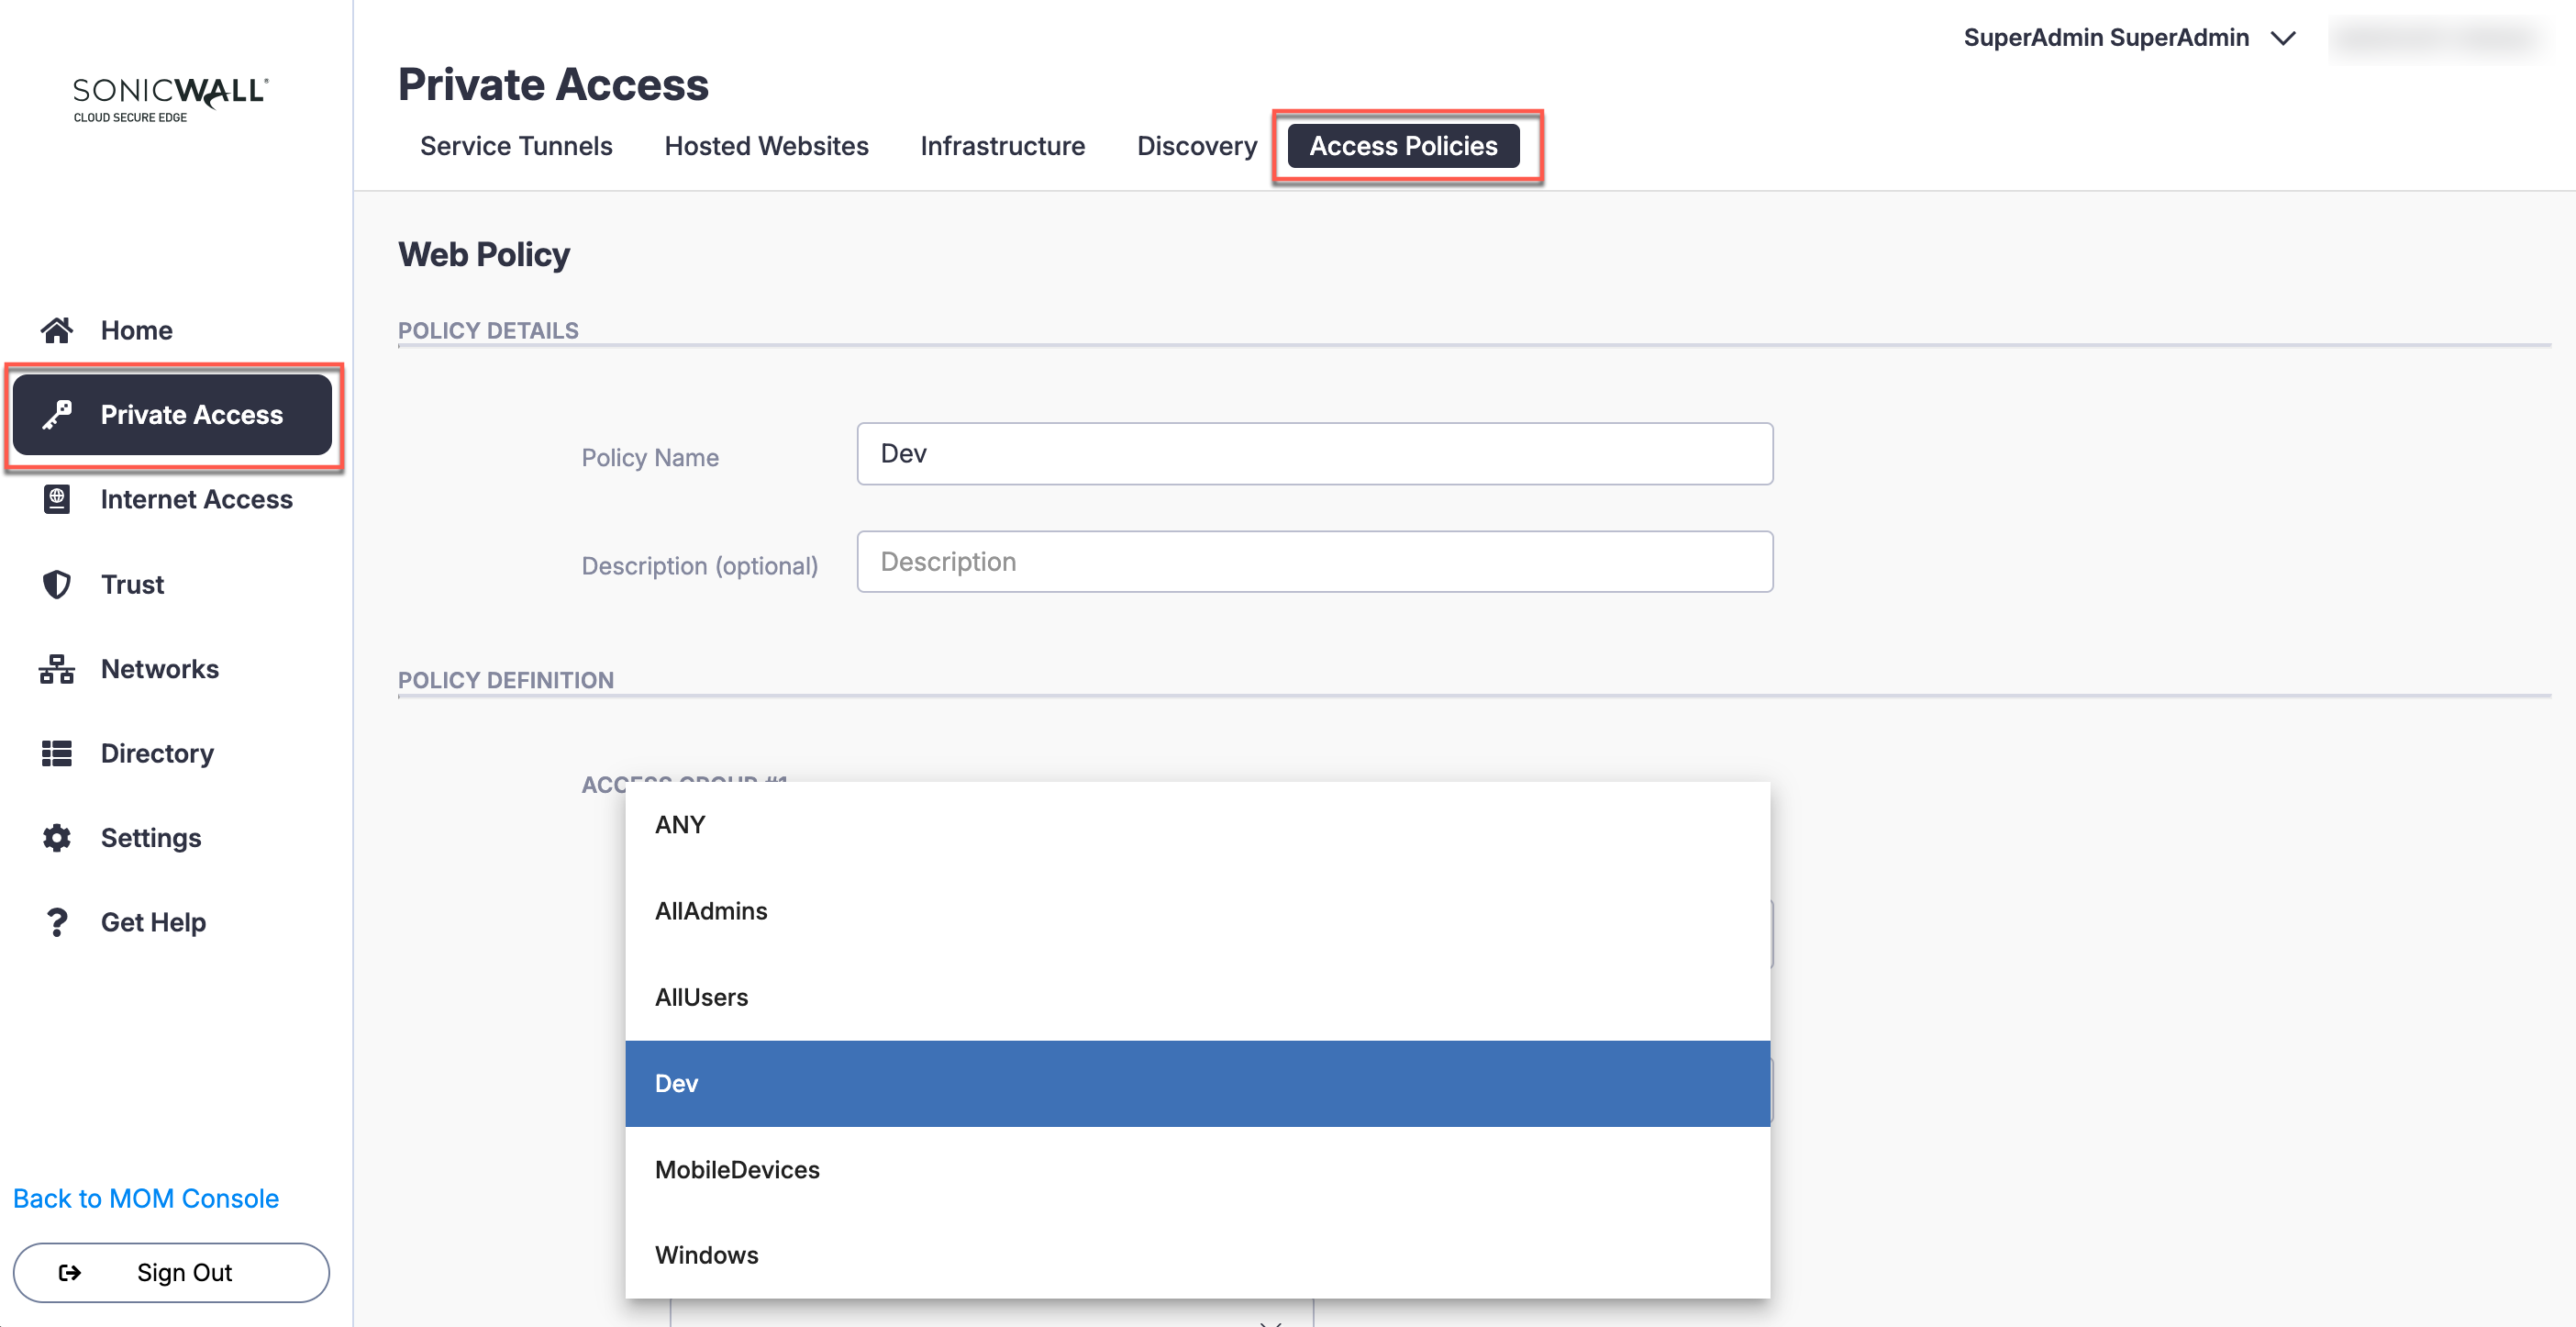
To add your new Role to an Access Policy, edit an existing policy or add a new policy that includes this new role.
View Devices associated with the Role
To view which devices your Role applies to, navigate from Directory > Roles > the Devices tab. Here you can view details related to the device name, the serial number, the device count, and last login time.