Create a Custom Public App
Define, manage, and secure your own public applications in Cloud Secure Edge
Custom public app overview
Cloud Secure Edge’s app discovery feature tracks thousands of public applications, surfacing those resources that are critical to your organization’s security posture. In some cases, however, admins may want to identify and secure apps that Cloud Secure Edge (CSE) hasn’t already surfaced via the discovery feature.
With custom public app creation, admins can identify public apps that CSE has not pre-populated in the app discovery list. This allows admins to easily surface, secure, and monitor apps that are critical to business.
Custom public app pre-requisites
- Public Resource Discovery enabled in your org
Steps to create a custom public app
Step 1: Create a custom app
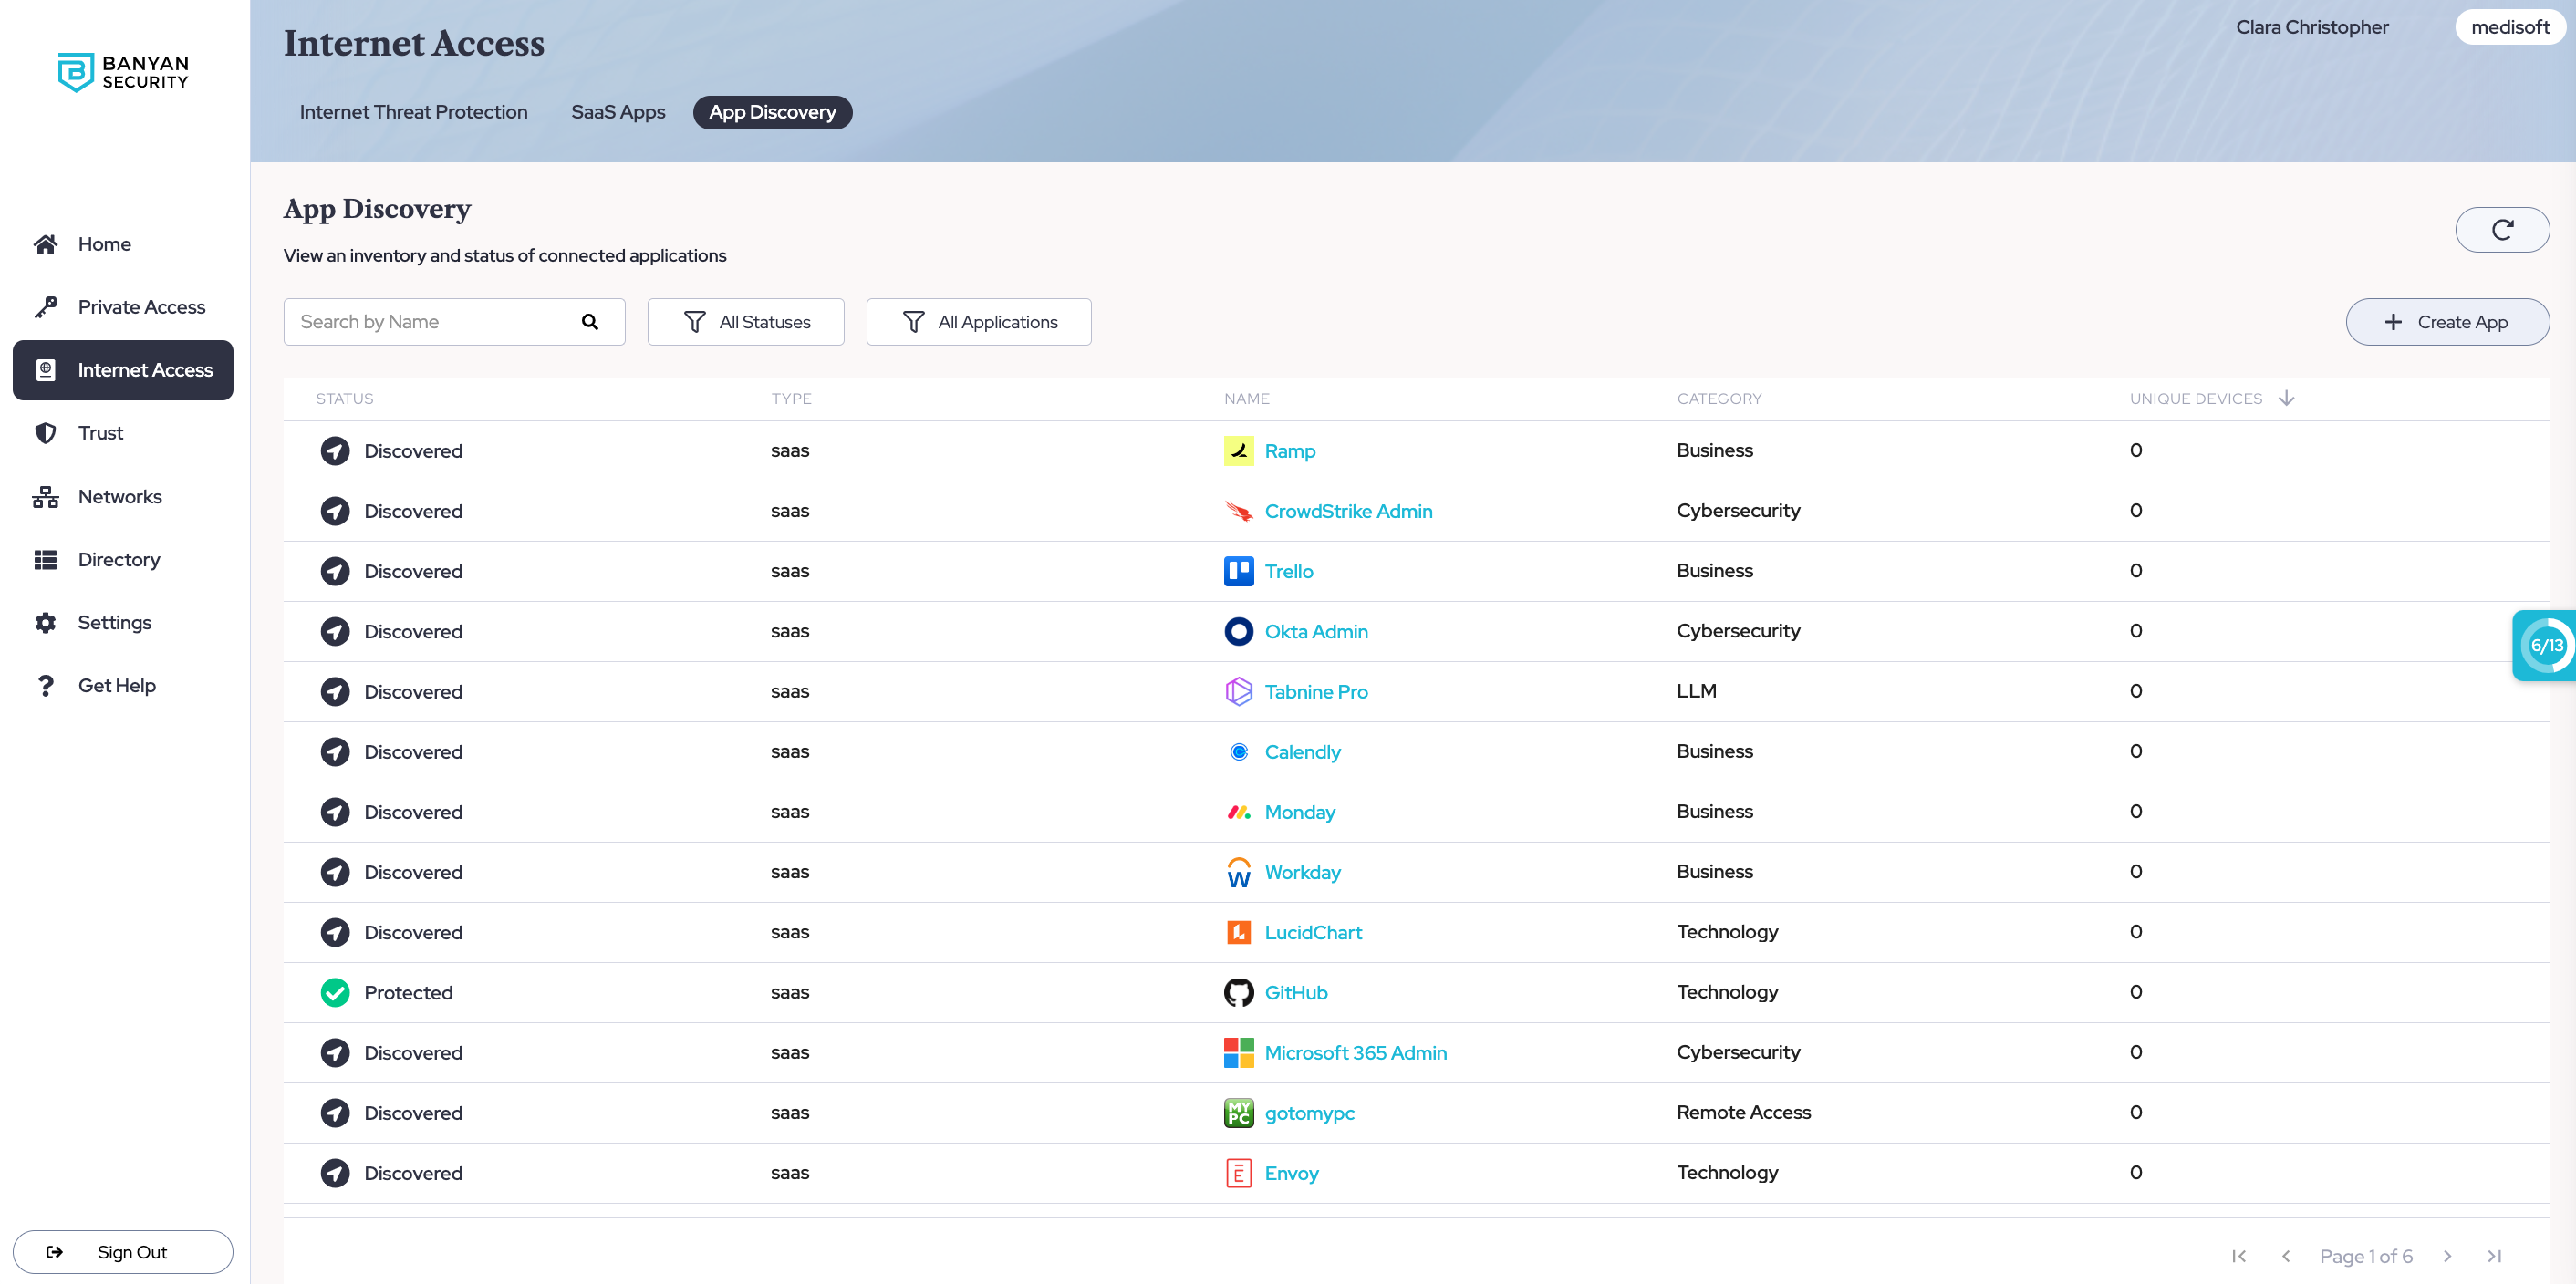
1.1 In the Command Center, navigate from Internet Access > App Discovery.
1.2 Select + Create App.

Step 2: Configure your custom app
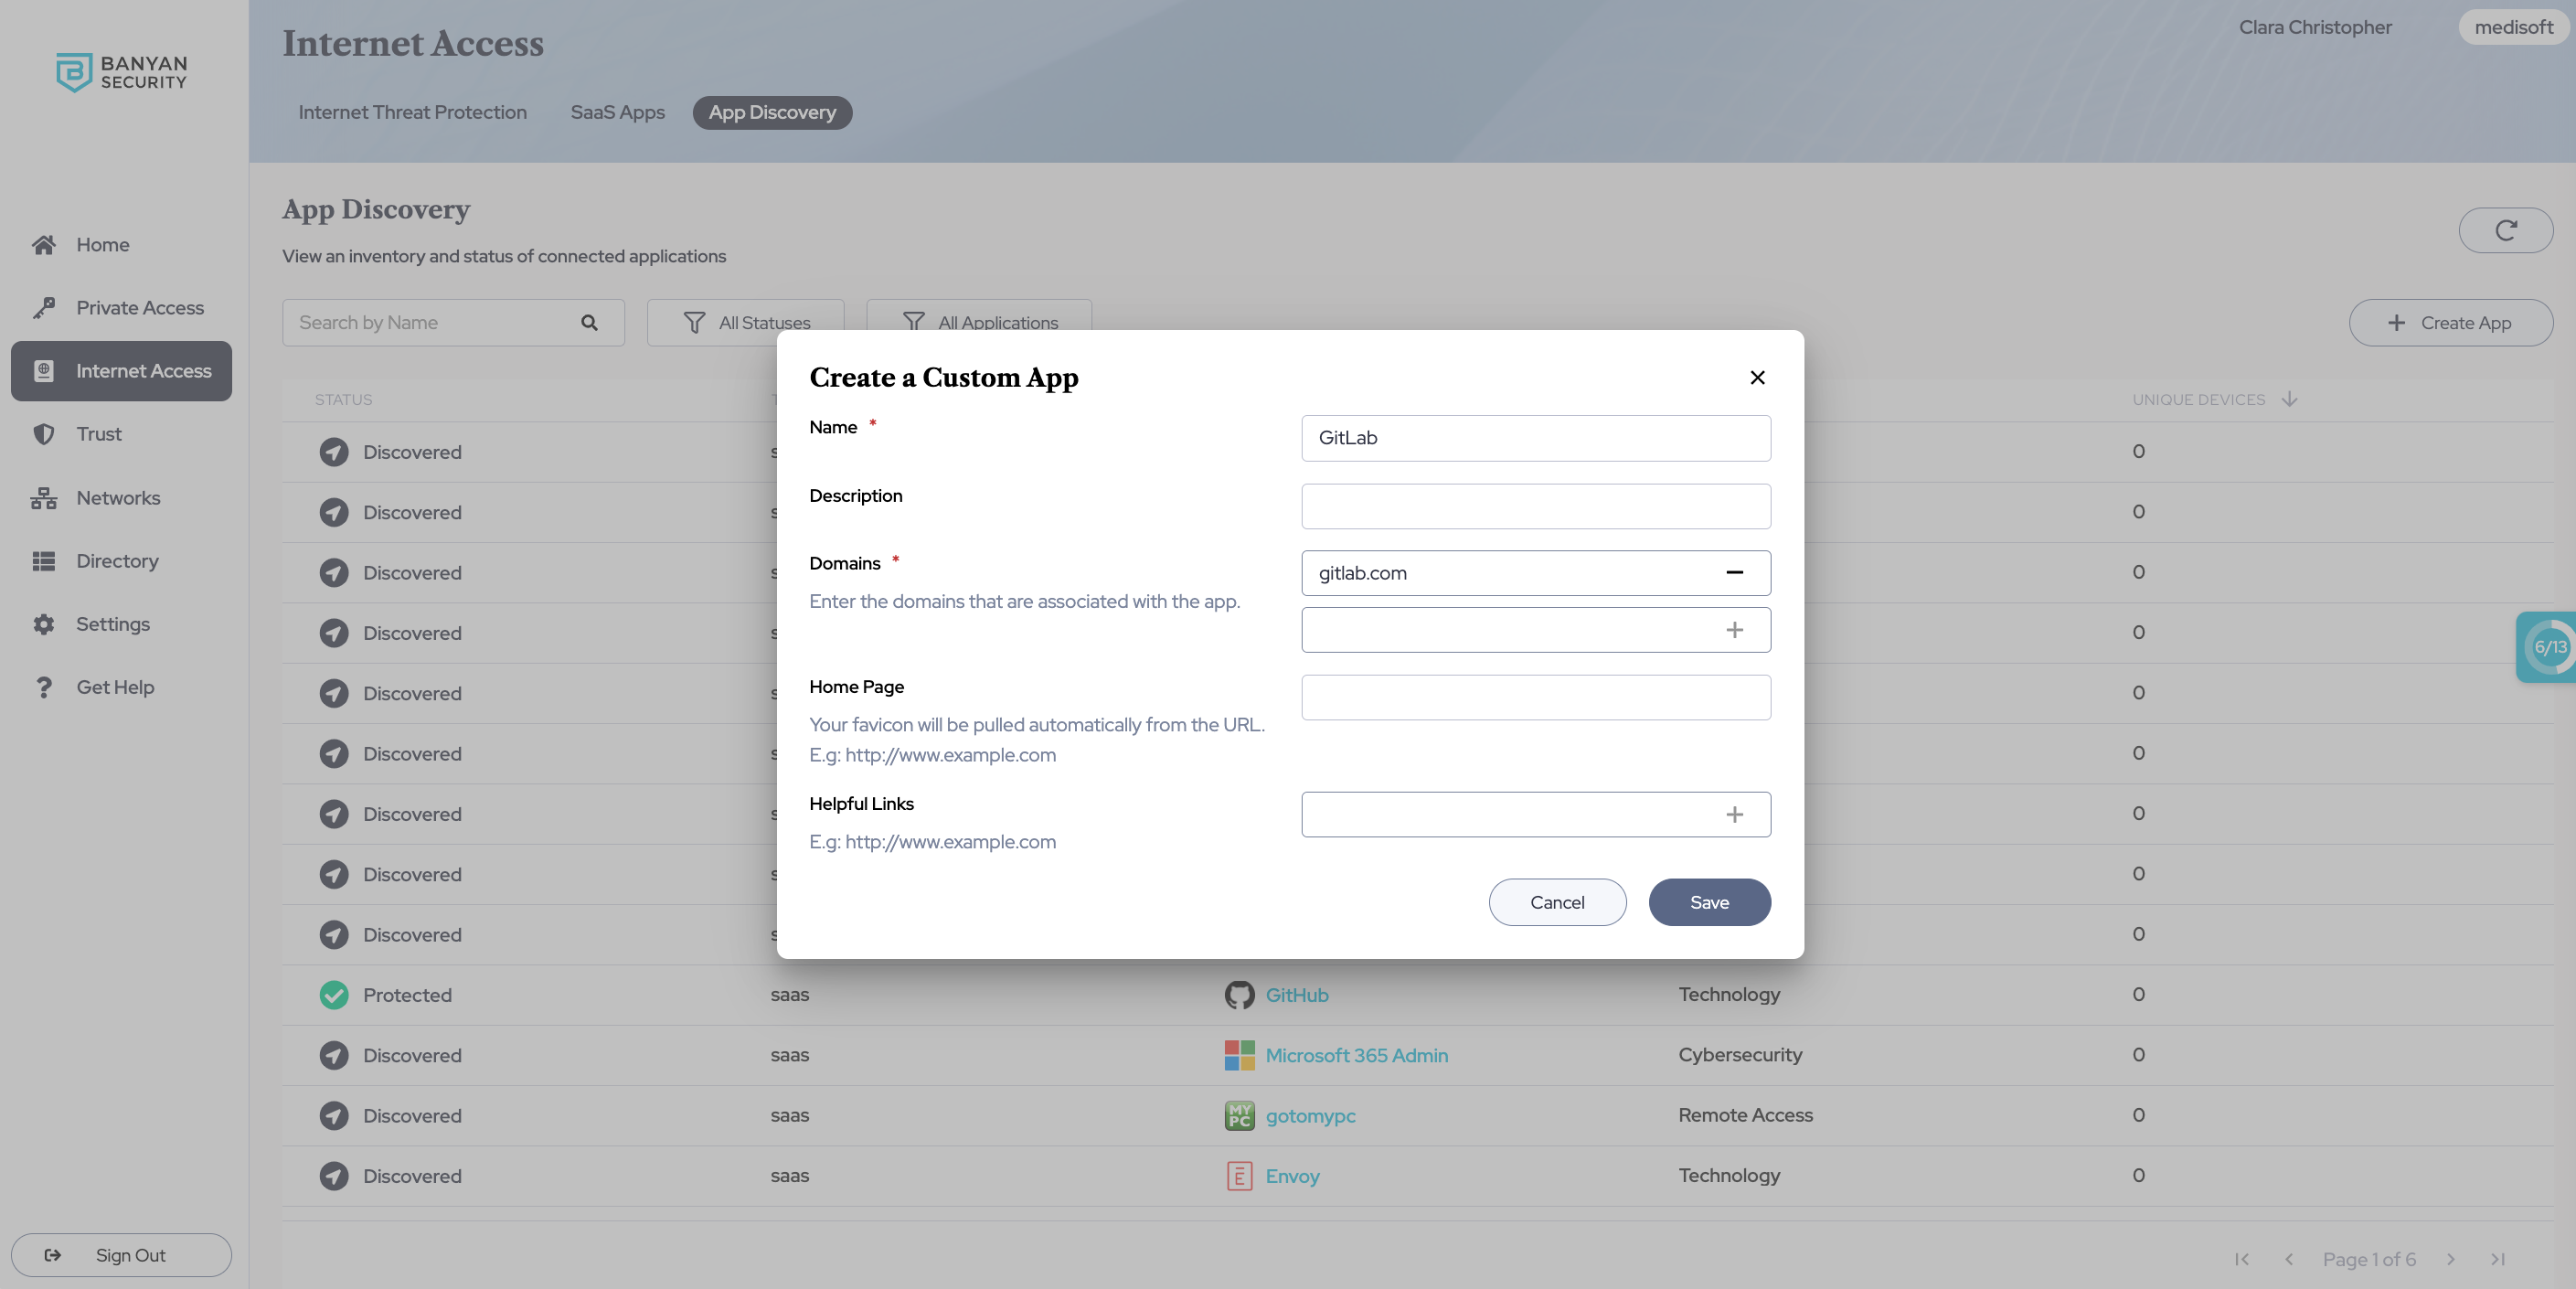
2.1 Enter a name and description for your custom app.
2.2 Enter all domains associated with your custom app.

2.3 Enter the app homepage link (including internet protocol, e.g., http).
2.4 Optional: enter any helpful links.
2.5 Select Save.
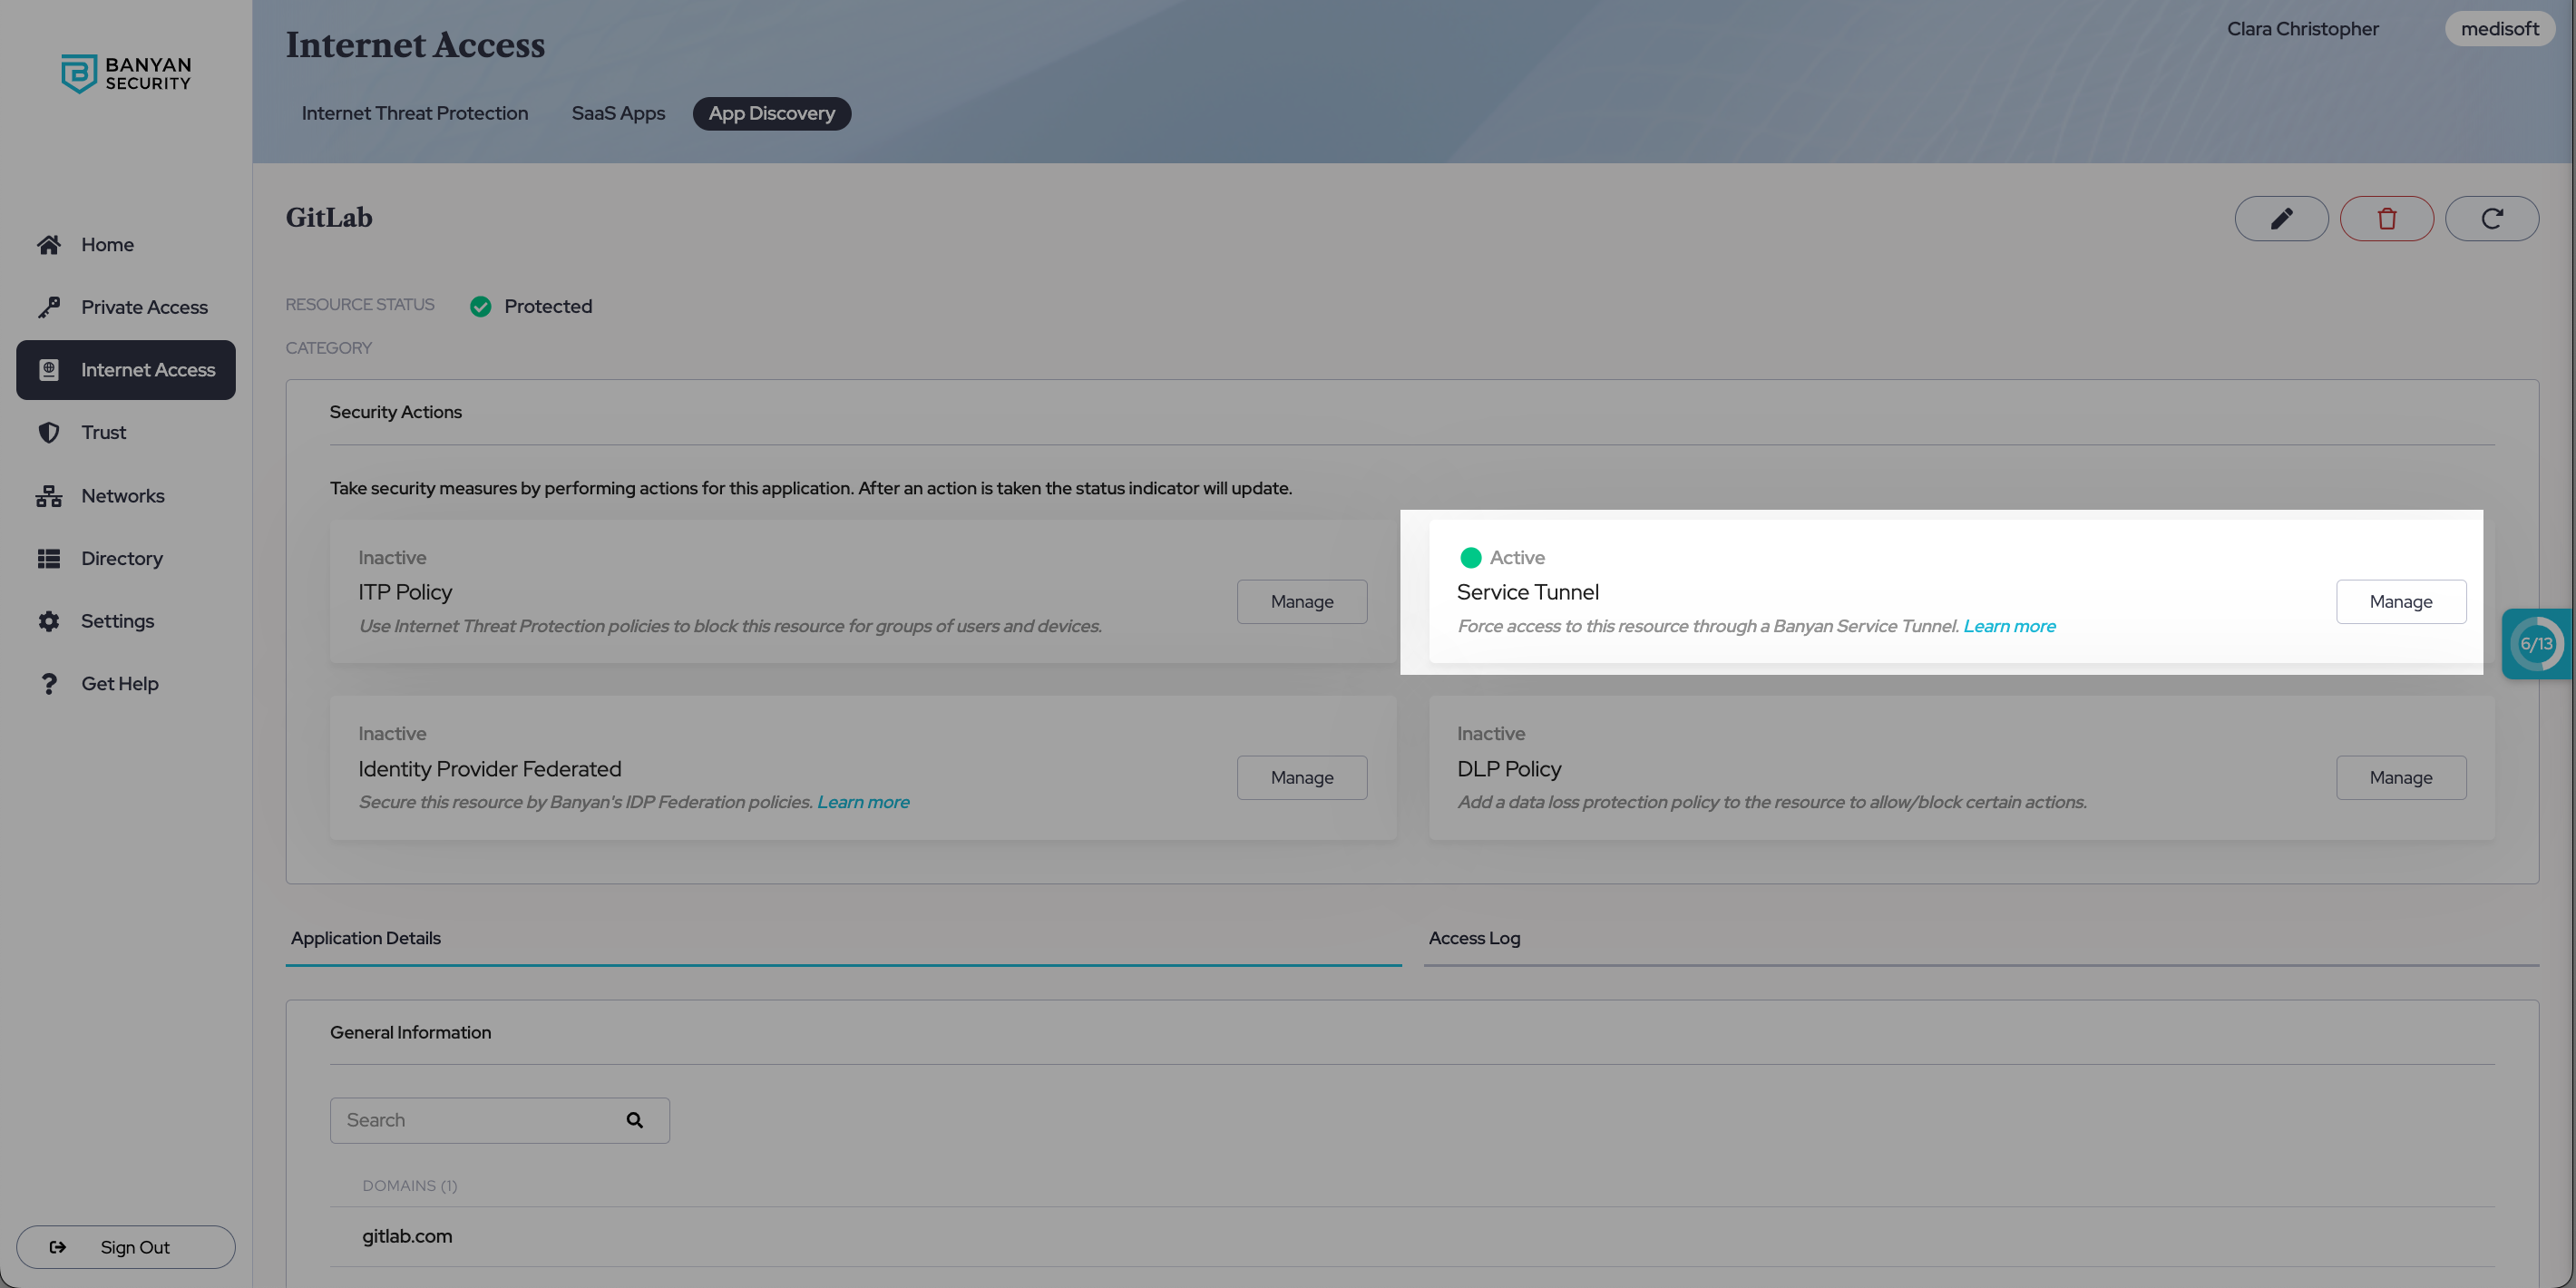
Step 3: Apply services or policies to your custom app using Security Actions
3.1 To apply an existing ITP policy to your custom app:
3.1.1 Navigate to the ITP policy category under Security Actions, and select Manage.
3.1.2 Select an ITP policy from the menu, and choose which Policy Action to apply to your custom app (i.e., Allow, Block, or Remove).
3.1.3 Select Save. Once saved, the status should update to Active.
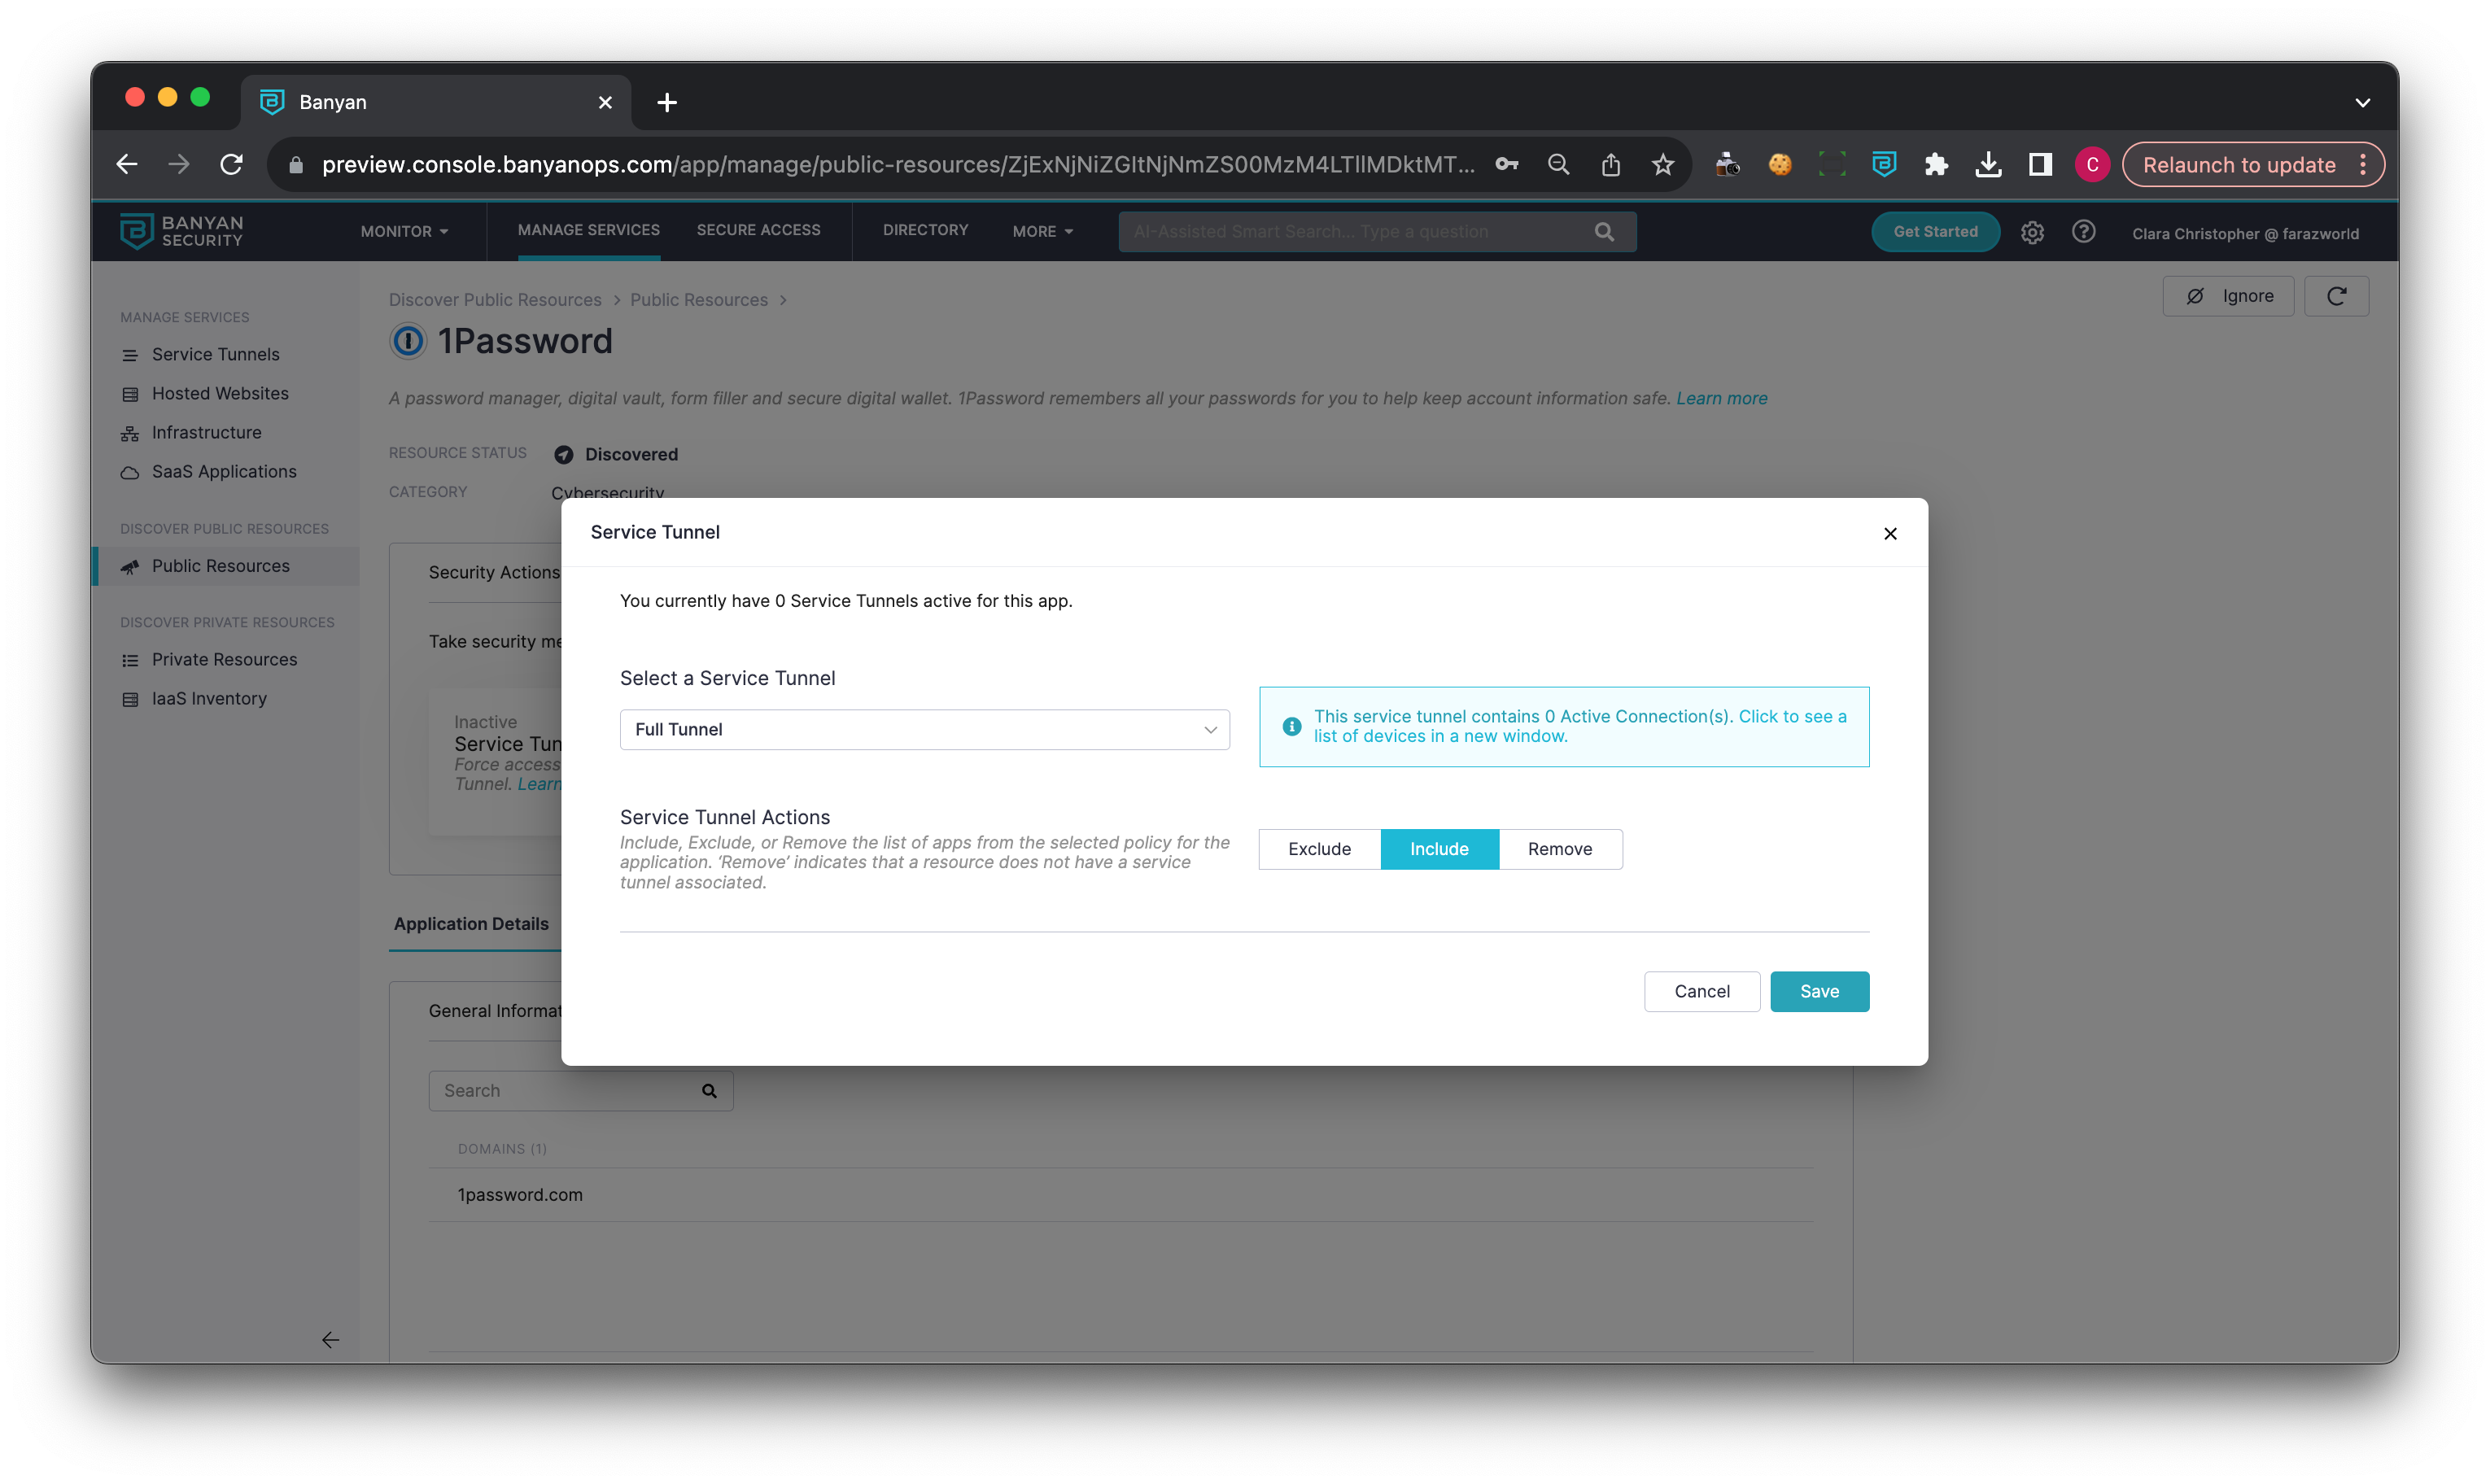
3.2 To route your custom app through an existing Service Tunnel:
3.2.1 Navigate to the Service Tunnel category under Security Actions, and select Manage.
3.2.2 Select a Service Tunnel from the menu, and choose which action to apply to your custom app (i.e., Exclude from Service Tunnel, Include in Service Tunnel, or Remove from Service Tunnel).

3.2.3 Select Save. Once saved, the status should update to Active.

View access activity
To view access activity for your custom public app, navigate to the Access Log tab at the bottom of your custom app details page.