Simplify Real VNC configs needed to connect to remote servers
Pre-define VNC configurations and enforce security policies for users connecting to remote servers using Real VNC.
- Last validated: Jul 15, 2026
- 10 minutes to read
-
Contributors

Overview
RealVNC provides remote access software that consists of a server (VNC Server) and client (VNC Viewer) application for the Virtual Network Computing (VNC) protocol to control another computer or server. As a CSE Administrator, you can pre-define all necessary TCP configurations your user(s) need to connect from their VNC Viewer to a VNC Server, while leveraging RealVNC’s built-in security and multi-factor authentication options.
Prerequisites
This guide assumes you have:
- Created the application integration called “CSE TrustProvider” following our instructions to set up an IdP as your Identity Provider.
- Installed a CSE Access Tier in the same network segment as the server to be exposed using CSE.
- Installed the latest CSE App on your desktop machine, and registered with a valid organization.
- Installed and configured RealVNC Viewer on the computer you want to control from, and RealVNC Server on the server you want to control.
Setup
Step 1. Create a Policy
1.1 Log in to the CSE Command Center and navigate to Private Access > Access Policies > + Create Policy.
1.2 Select Basic Authorization Policy for Users.
1.3 Enter a Policy Name (such as,hosted-service) and a Description.
1.4 Configure the Policy Attributes for minimal controls:
- Specify this policy is intended for
TCP - for remote access using a TCP-based protocol - Only allow access from the following role: ANY
- Only allow users and devices with the following Trust Levels: No Trust Level - ignore TrustScore (or a Trust Level according to your organization’s security requirements)
1.5 Click Create Policy.
Step 2. Register Real VNC as a Hosted Service
2.1 Navigate to Private Access > Infrastructure > + Register Service.
2.2 Select the template Other TCP Service.
2.3 Enter the Service Name (such as, RealVNC) and Description (shown to end users) (such as Access to Real VNC Server).
2.4 Select an icon (such as server).
2.5 Select the cluster where the applicable Access Tier is located.
2.6 Configure the Service Attributes:
- Enter the Service Domain Name of the Access Tier behind which the VNC service is deployed and leave the Port as
8443. - Set the enforcement model to Site-based (Access Tier) and select the applicable Site (Access Tier).
2.7 Configure the Service Connection Settings:
- Set the Assigned Listen Port to any free port for
banyanproxyto listen for connection from VNC Viewer. (Also, make note of this port. You will use it in step 3.2 below.) - Optionally, allow or deny end users the ability to override these settings in the CSE Desktop App.
2.8 Attach the policy we had previously created in Step 1, and then set enforcement mode to Enforcing.
2.9 Click Register.
Step 3. Configure VNC Viewer
In order to leverage CSE’s device authentication and end-to-end encryption, you must first configure your VNC Viewer proxy settings.
3.1 On your desktop, launch VNC Viewer and then navigate to Preferences > Proxy.
3.2 Select Use these proxy settings: and then enter localhost:(Assigned Listen Port number you configured in Step 2) in the Server field. Also ensure the Type is set to HTTP CONNECT.
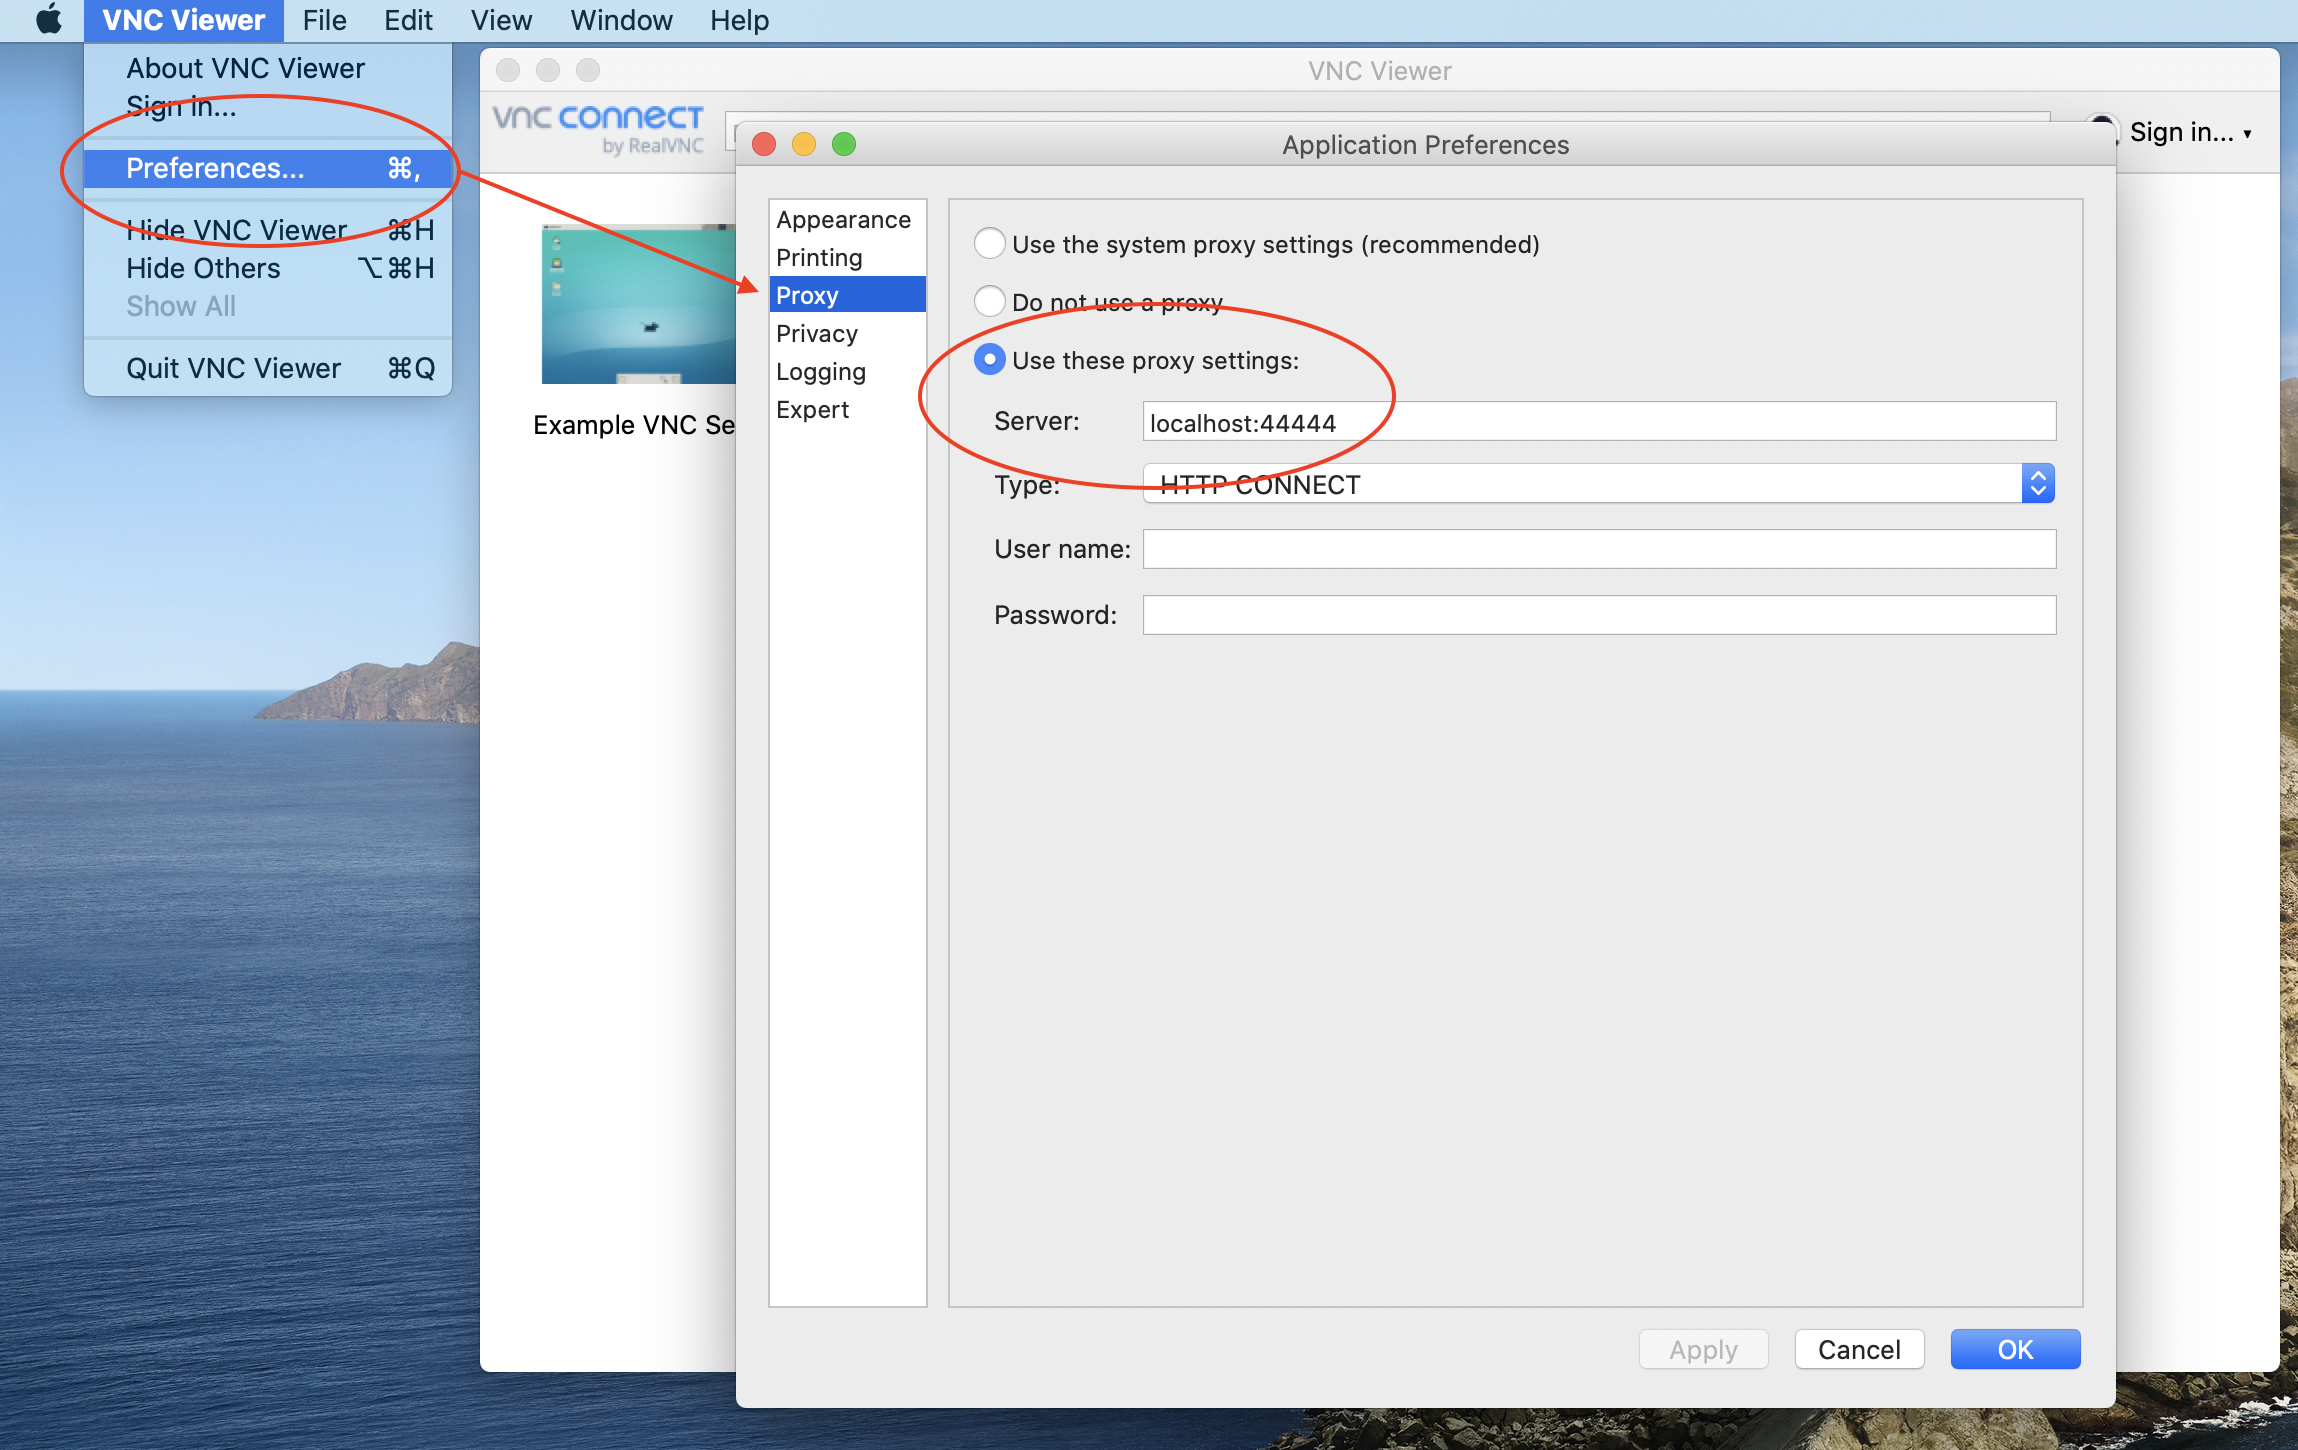
3.3 Click OK.
Step 4. Connect to CSEProxy and Access Real VNC server
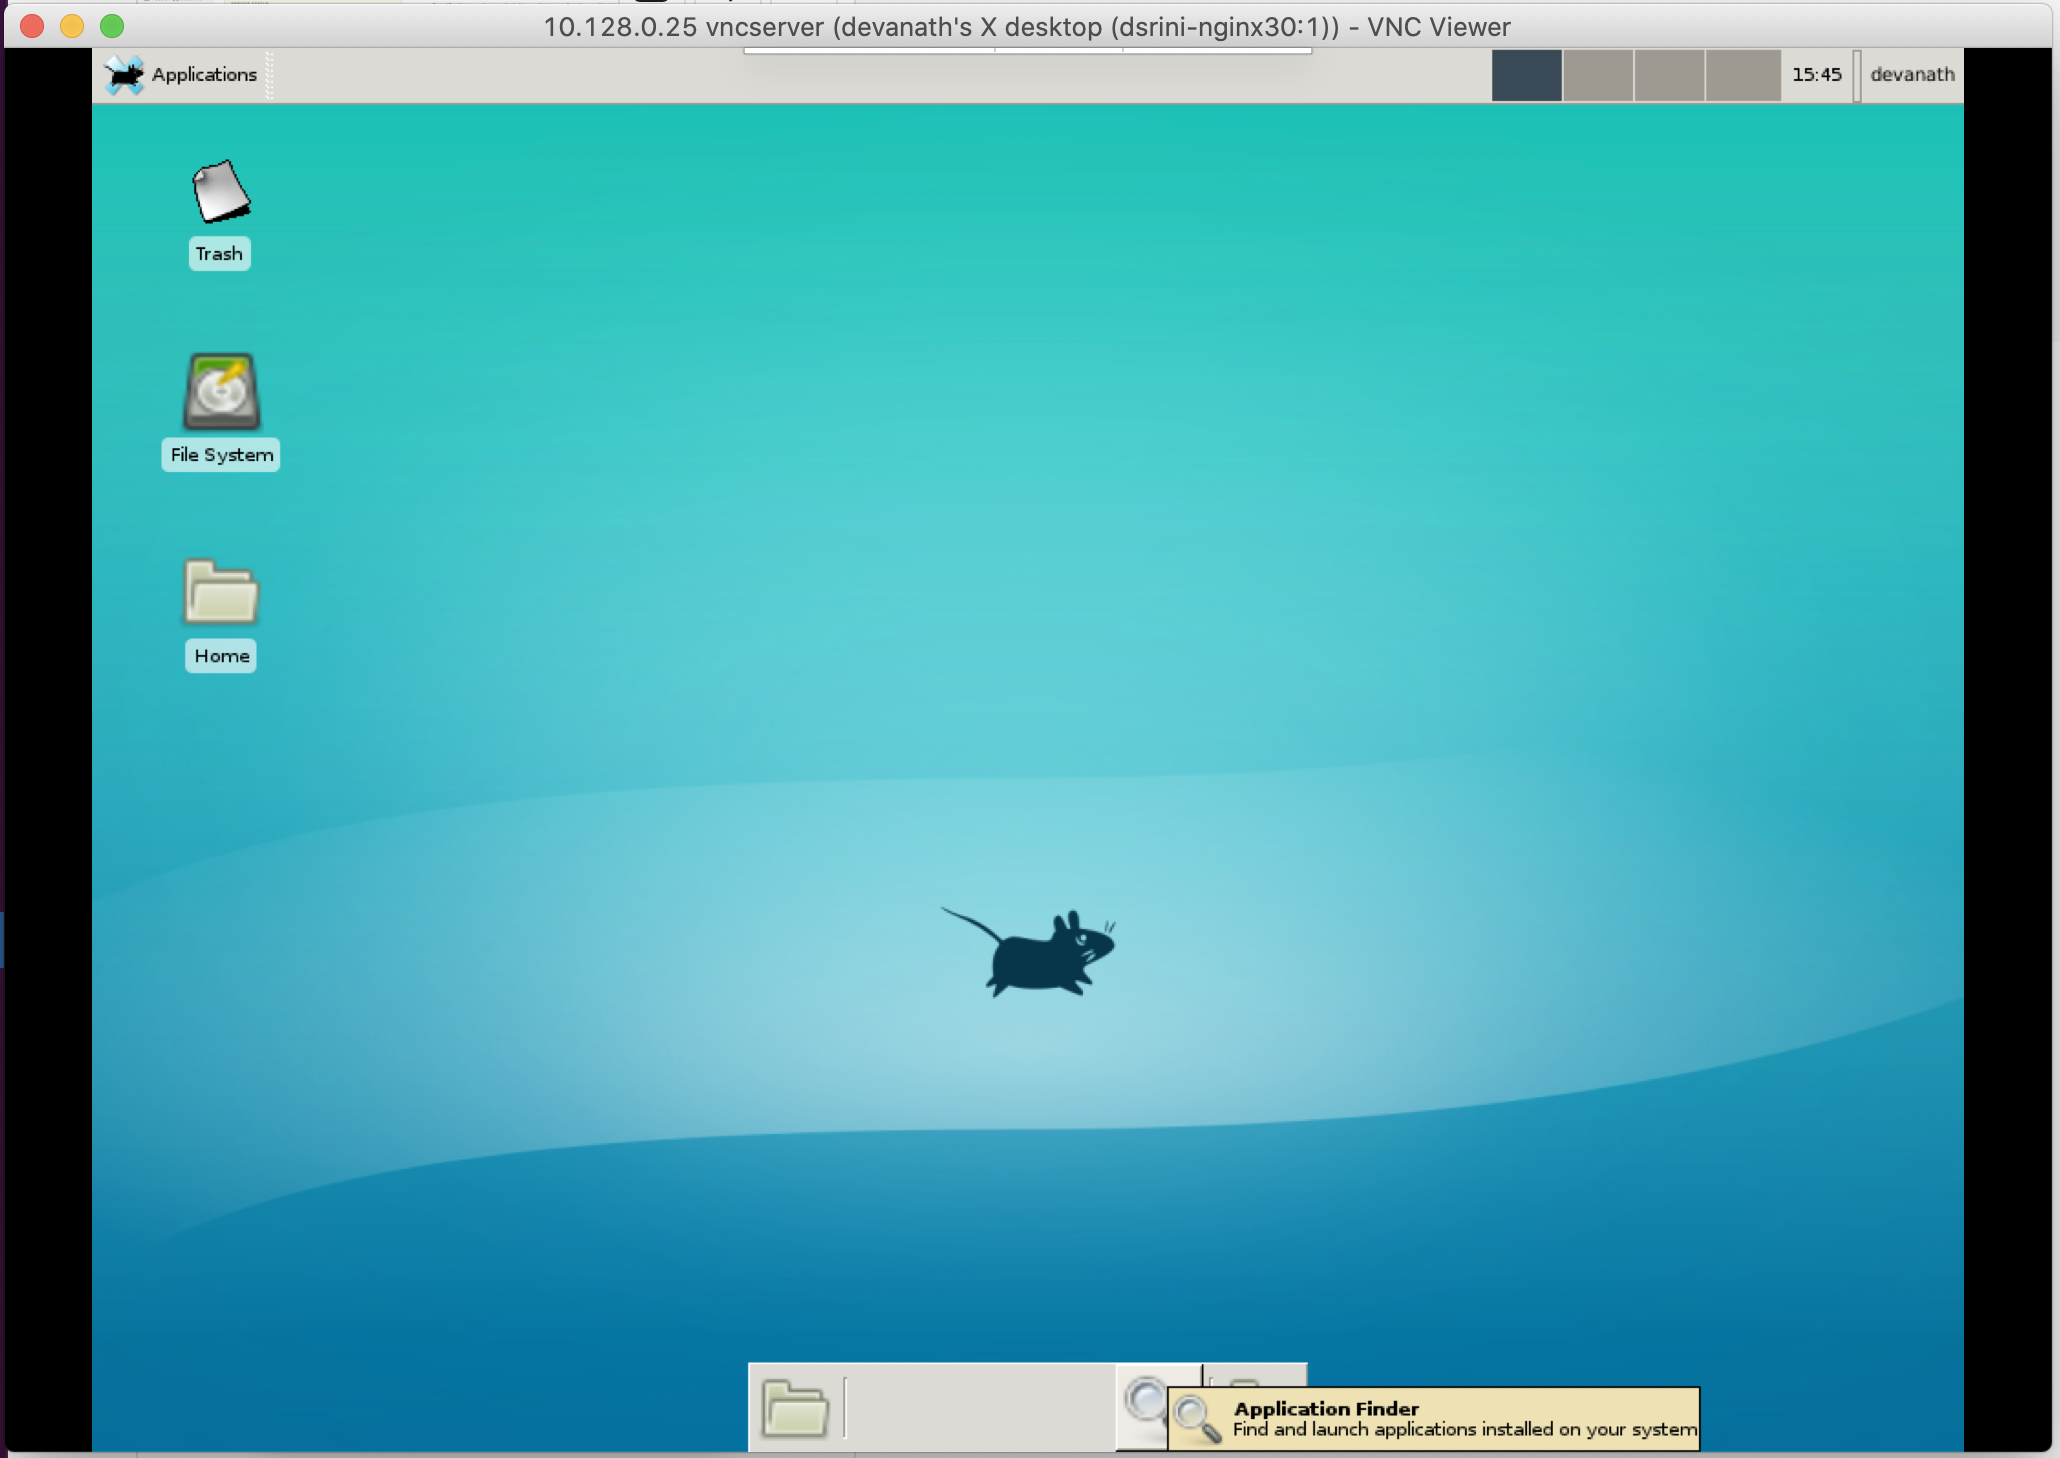
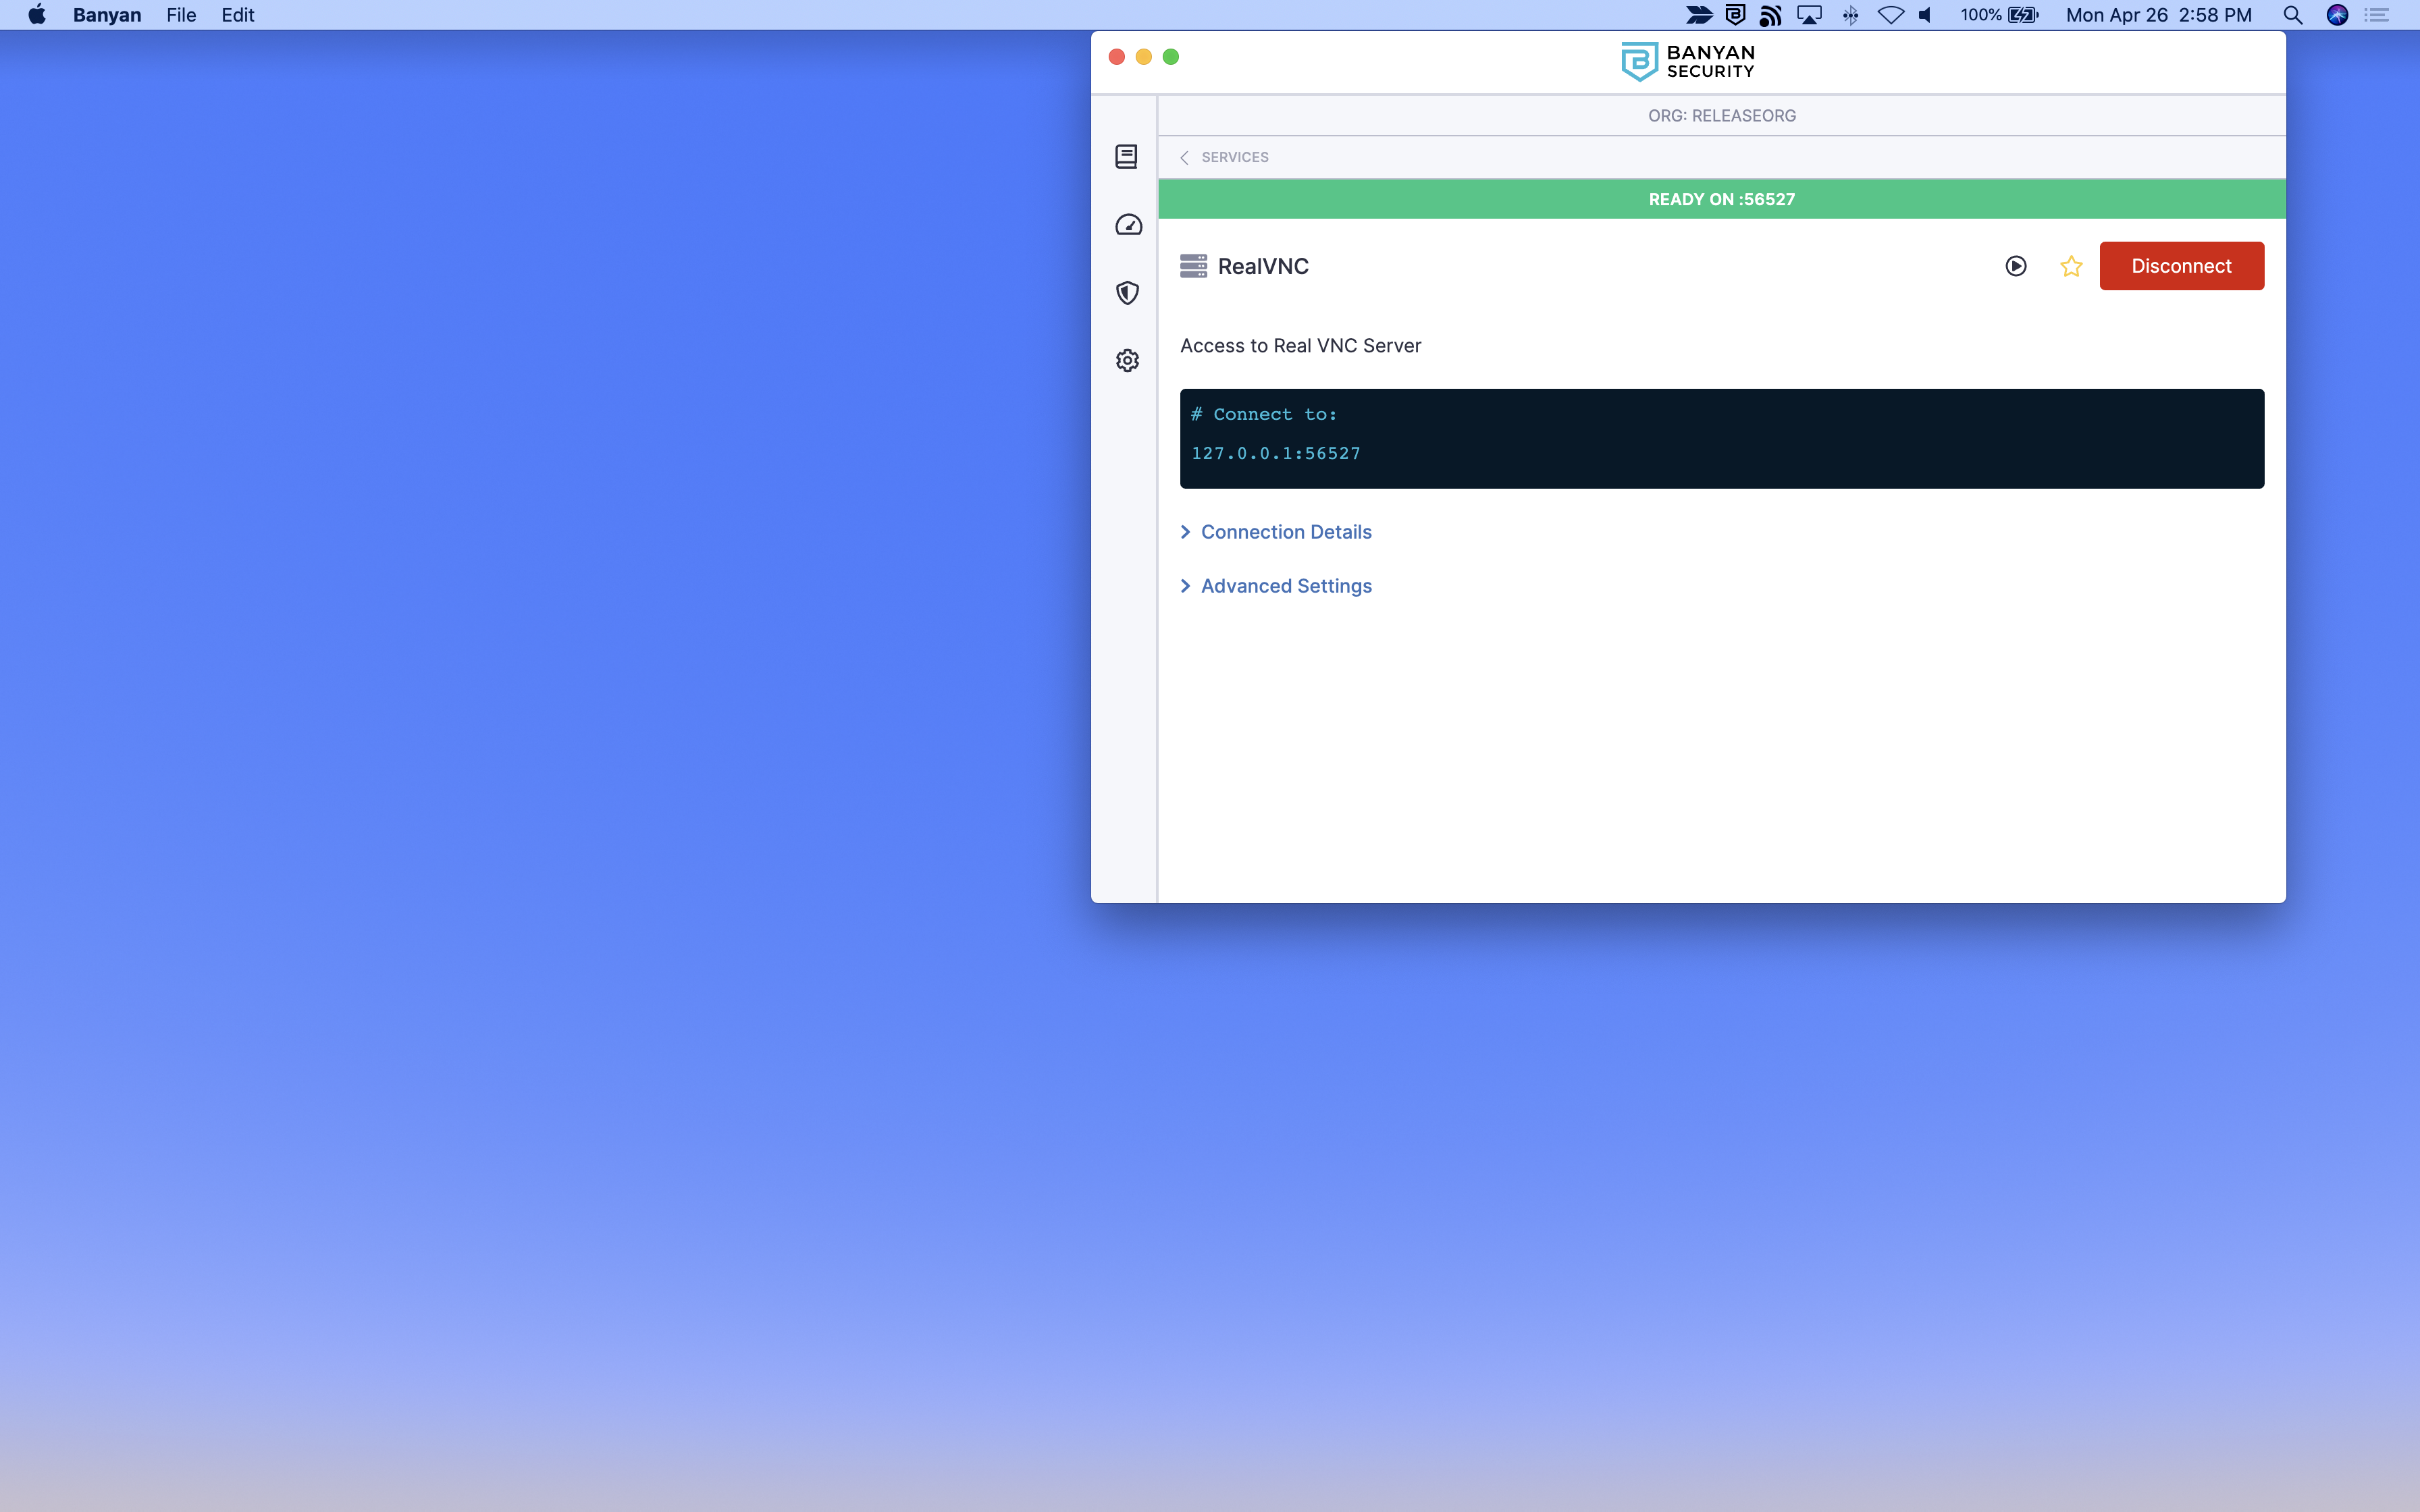
4.1 Launch the CSE Desktop App, locate the hosted VNC server from the list of TCP Services, and then click Connect. A green status message appears.
4.2 In your VNC Viewer, locate and then launch a new connection to the applicable VNC server.
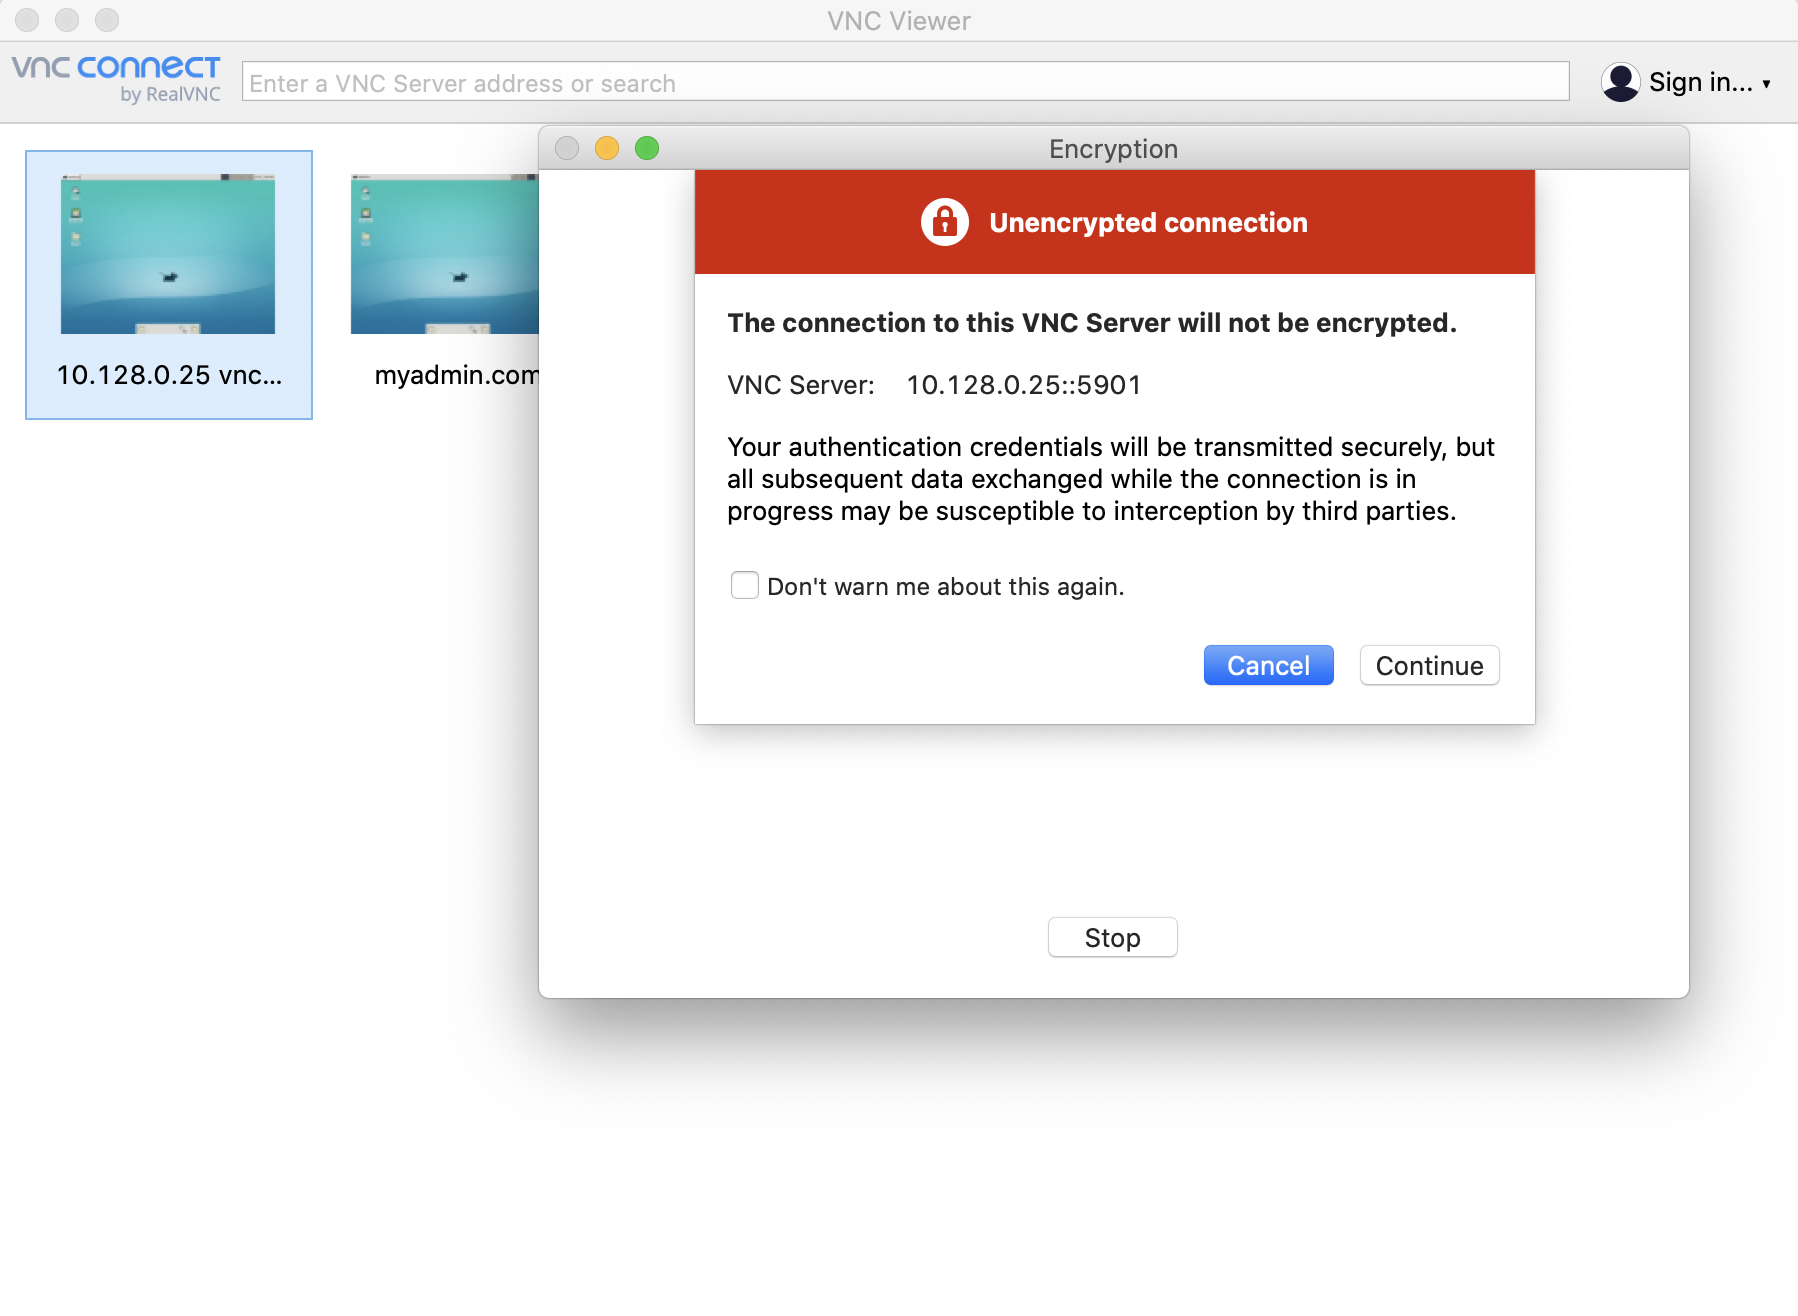
4.3 If necessary, enter your credentials to authenticate.
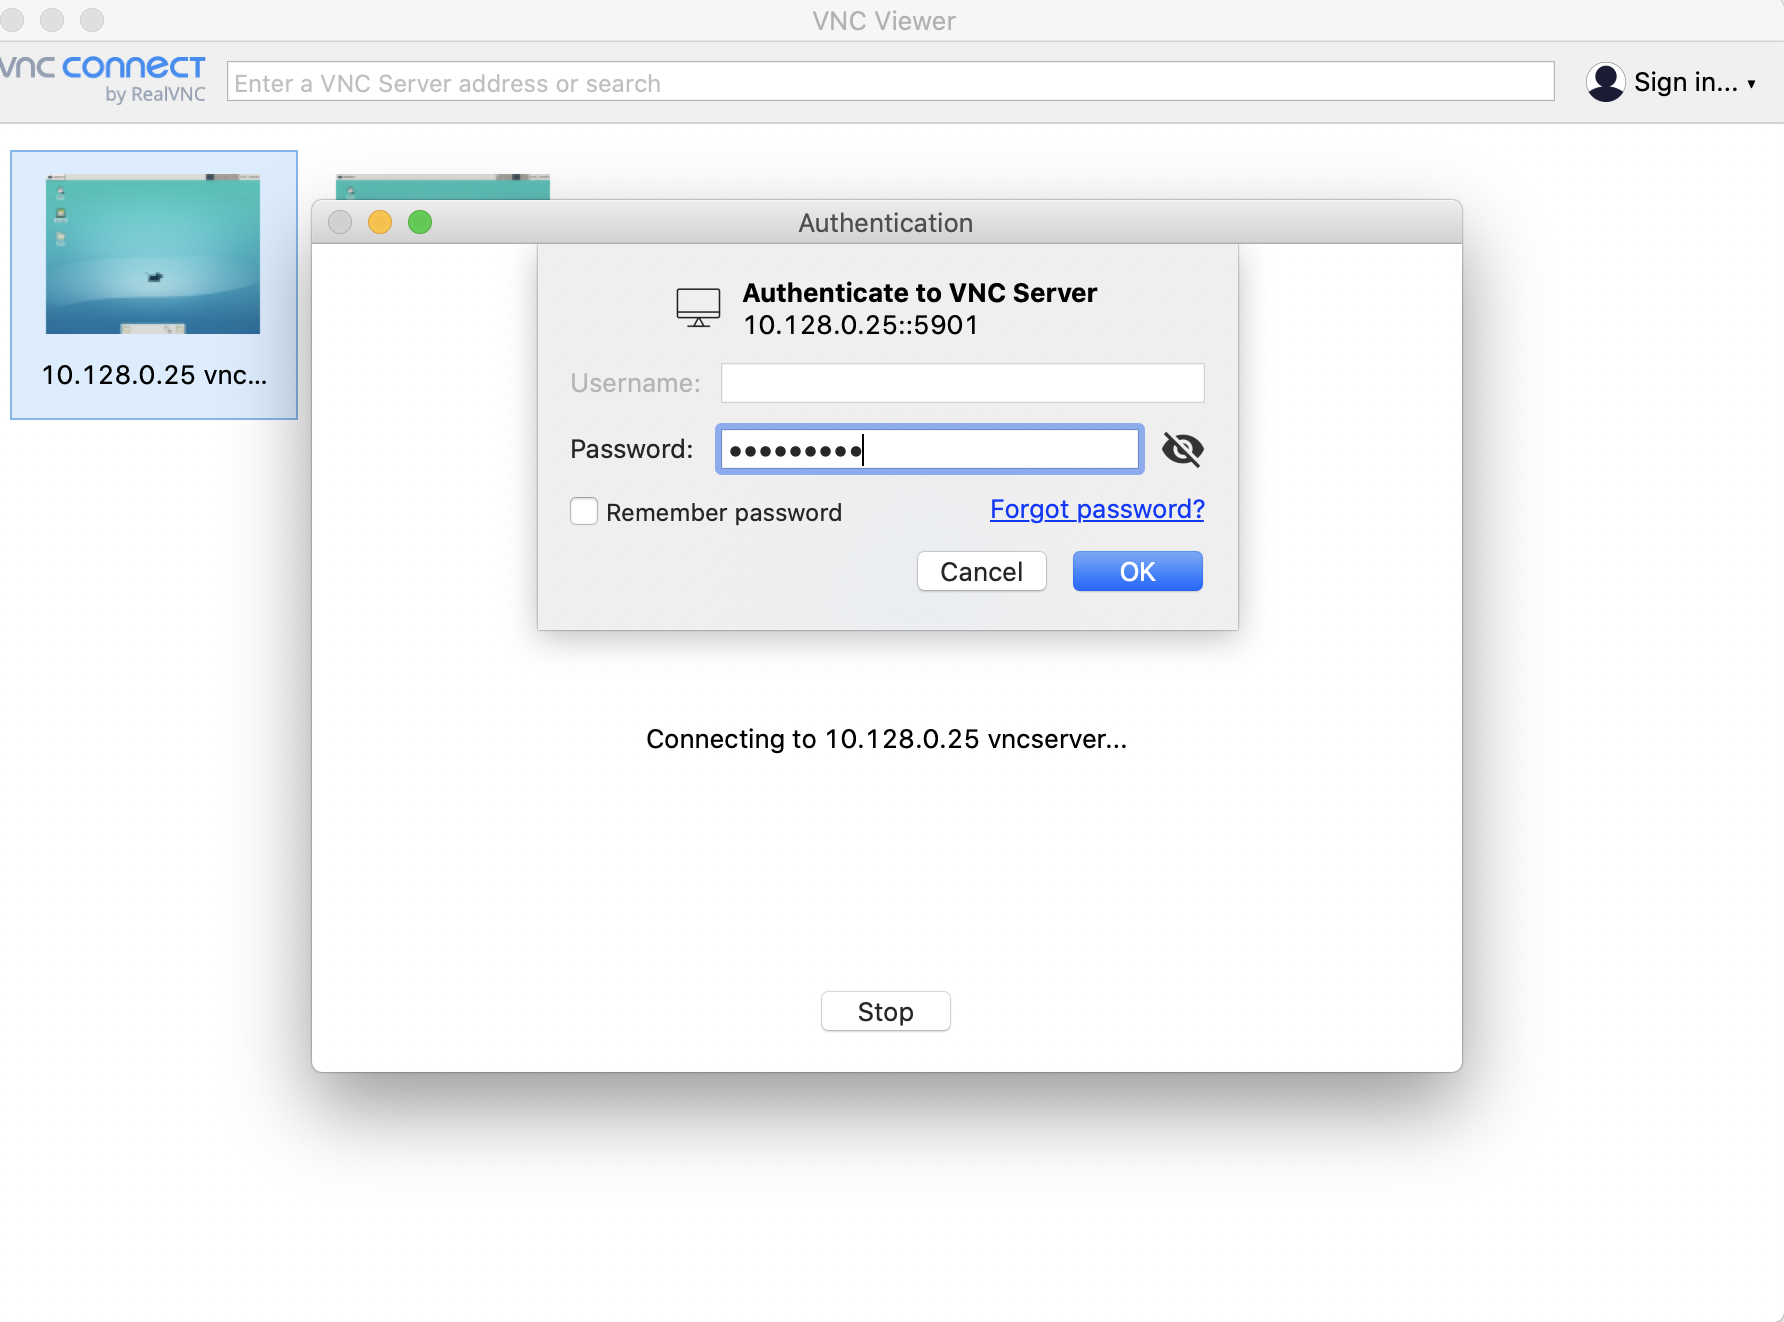
Behind the scenes, CSE evaluates your device posture, enforces your security policies, and grants access accordingly.