Secure access to your self-hosted Jira instance – without a VPN
Provide access to Jira based on user and device identity, with first-class support for mobile devices. No need to backhaul traffic through a VPN.
- Updated on
- 5 minutes to read
-
Contributors


Overview
Jira is an industry-leading tracking tool used to plan, track, release, and report virtually any task or activity related to software development.
This solution guide shows how you can use CSE to manage access to your self-hosted Jira instance - enhancing productivity and security.
Prerequisites
This guide assumes you have:
- A Jira self-managed Data Center plan (to enable SAML support)
- Administrative access to your Jira account and project
- SSO enabled and properly configured in Jira
- An NGINX reverse proxy configured in front of your Jira server
- Created the application integration called “CSE TrustProvider” following our instructions to set up an IdP as your Identity Provider
- Installed a CSE Access Tier in the same network segment as the server to be exposed using CSE
- Installed the latest CSE App on your desktop machine, and registered with a valid organization
Setup
Step 1. Create a Policy
1.1 Log in to the CSE Command Center and navigate to Secure Access > Policies > + Create Policy.
1.2 Select Basic Authorization Policy for Users.
1.3 Enter a Policy Name (such as, Jira Access Policy) and a Description.
1.4 Configure the Policy Attributes for minimal controls:
- Specify this policy is intended for
Web - for accessing HTTP services via web browser - Only allow access from the following role: ANY
- Only allow users and devices with the following Trust Levels: No Trust Level - ignore TrustScore (or a Trust Level according to your organization’s security requirements)
1.5 Click Create Policy.
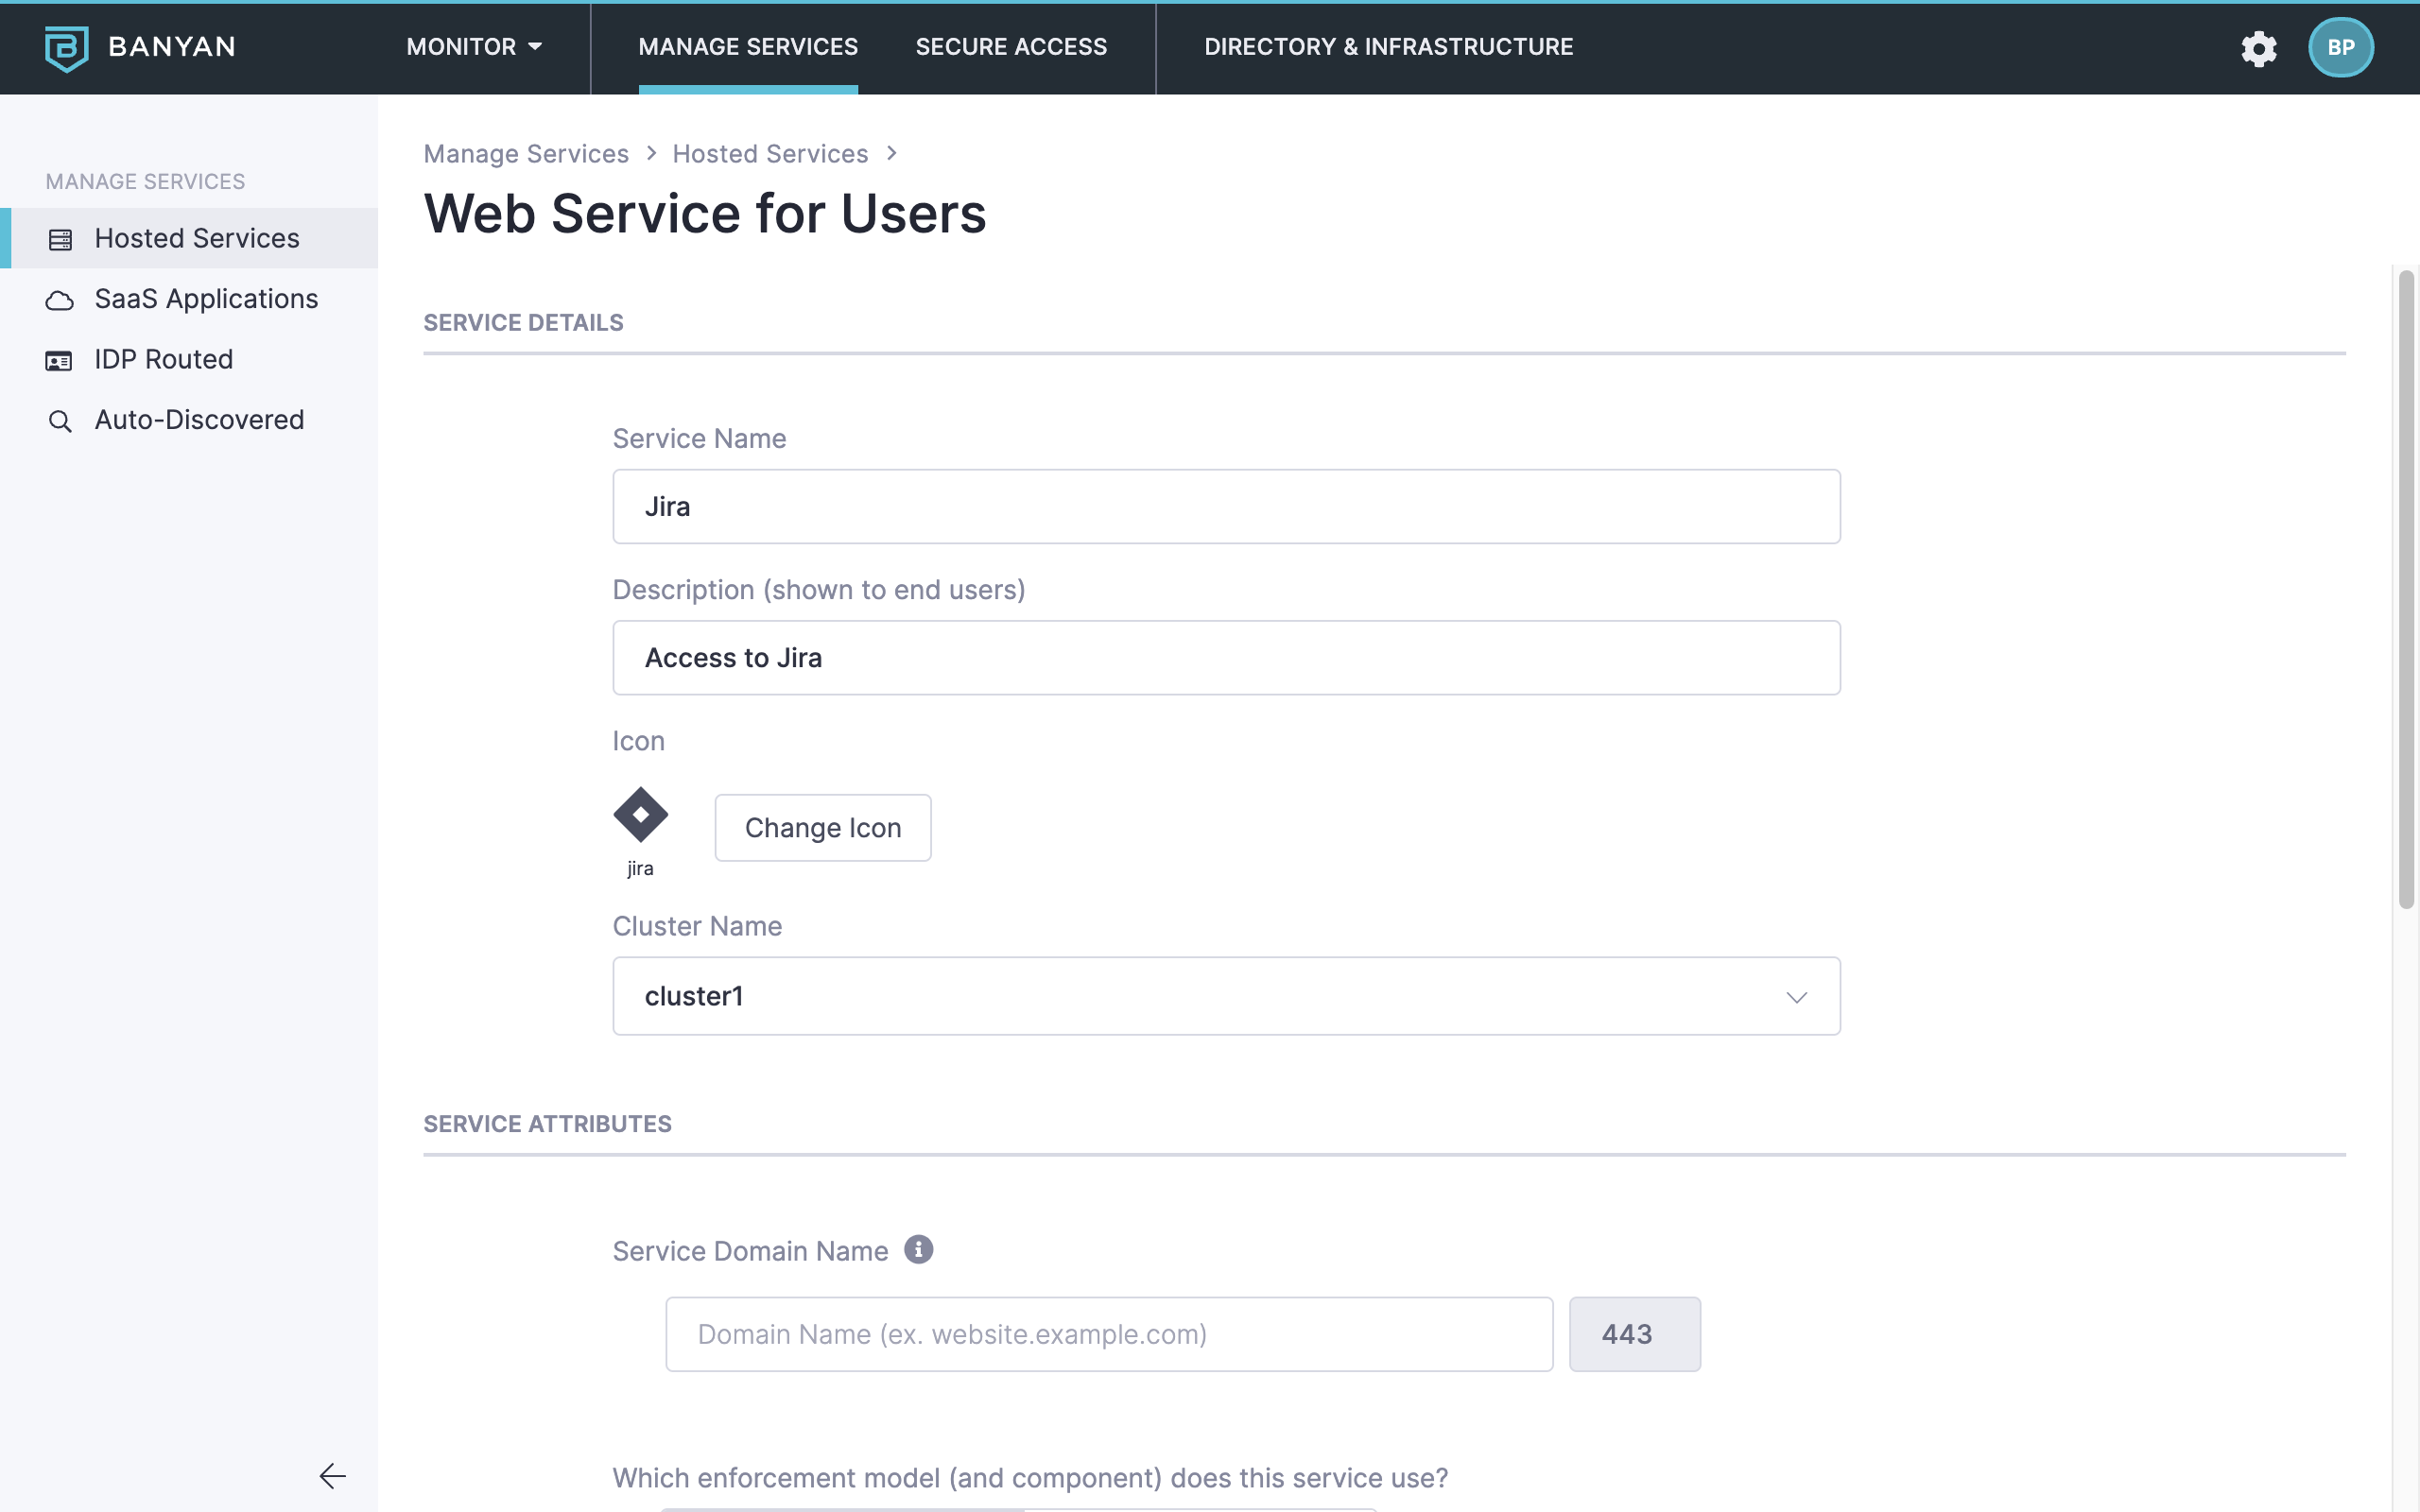
Step 2. Register Jira as a Hosted Web Service
2.1 Navigate to Manage Services > Hosted Services > + Register Service.
2.2 Select Standard Website.
2.3 Enter the Service Name (such as, Jira-On-prem) and Description (shown to end users) (such as On-premises Jira).
2.4 Optionally, select an icon. Search for Jira, and then select the Jira icon.
2.5 Select the cluster where the applicable Access Tier is located.
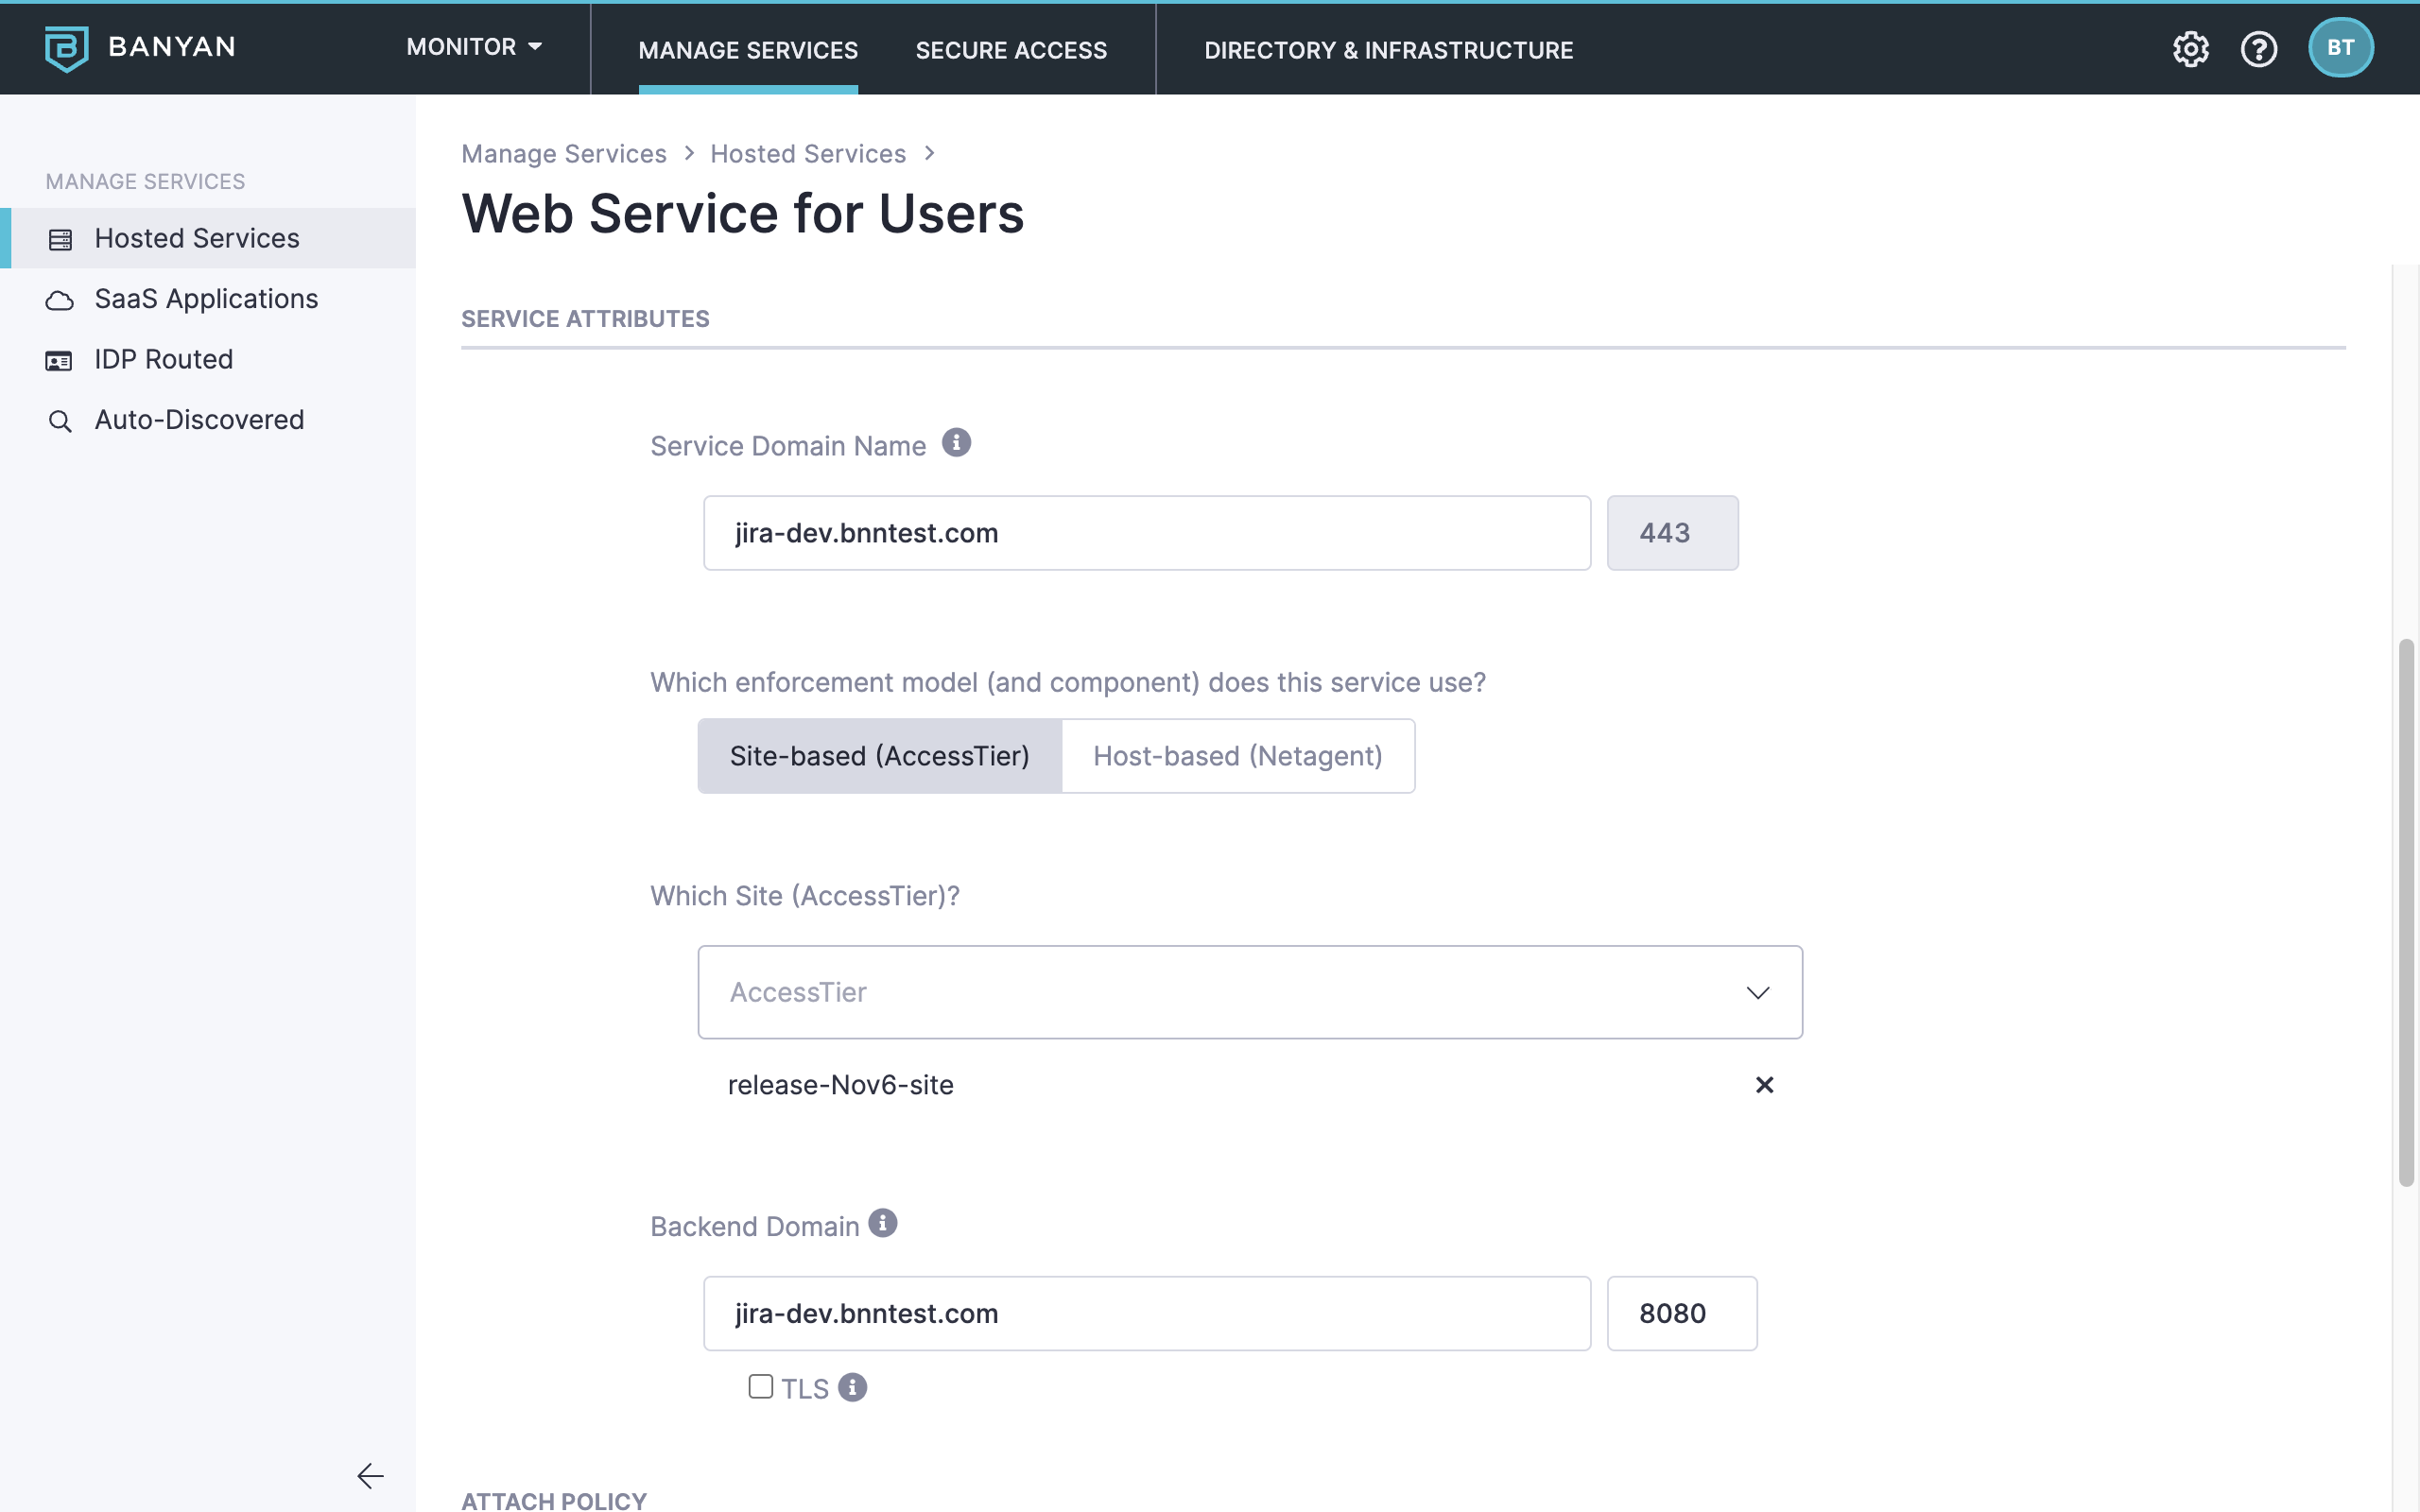
2.6 Configure the Service Attributes:
- Enter the Service Domain Name of the Access Tier behind which the hosted Jira service is deployed and leave the Port as
8443. - Set the enforcement model to Site-based (Access Tier), and then select the applicable Site (Access Tier).
- Enter the Backend Domain (or IP address) of the Jira host. Also, enter the Port on which these hosts are listening.
- Let the TLS checkbox remain unchecked.
2.7 Attach the policy we had previously created in Step 1, and then set enforcement mode to Enforcing.
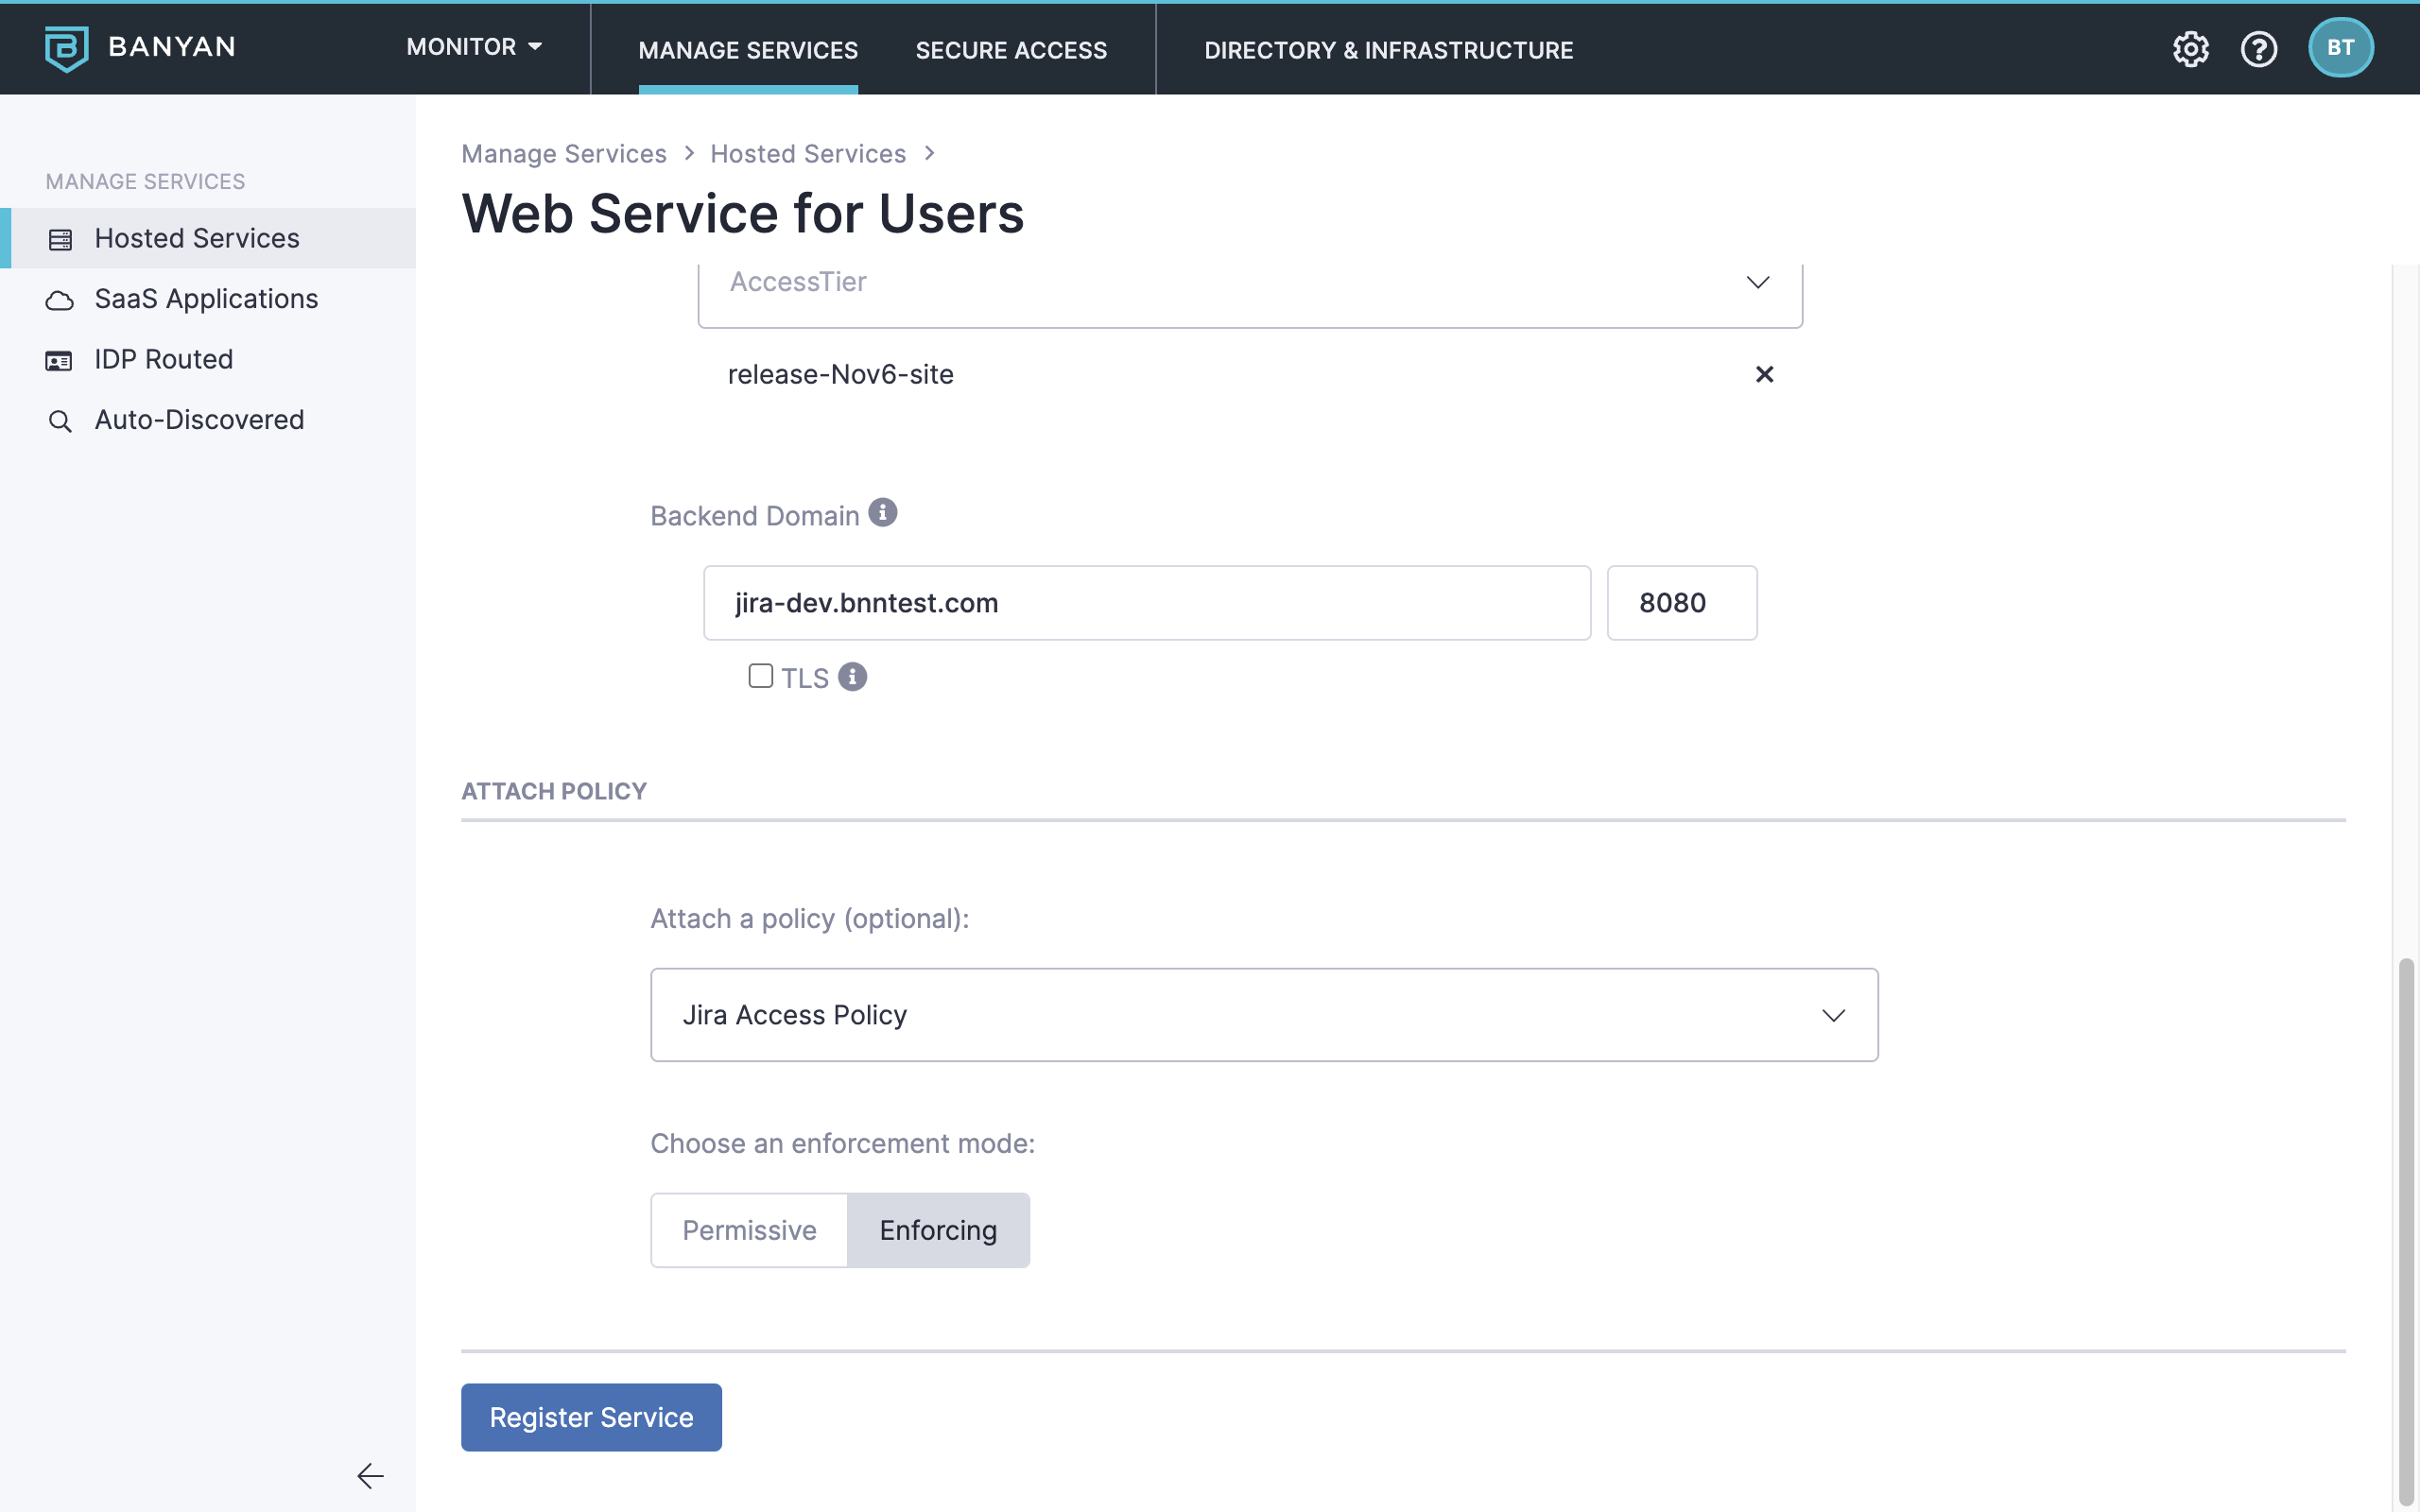
2.8 Click Register Service.
Step 3. Navigate to Jira and log in to your IdP
3.1 Now, you can navigate to Jira via the CSE App.
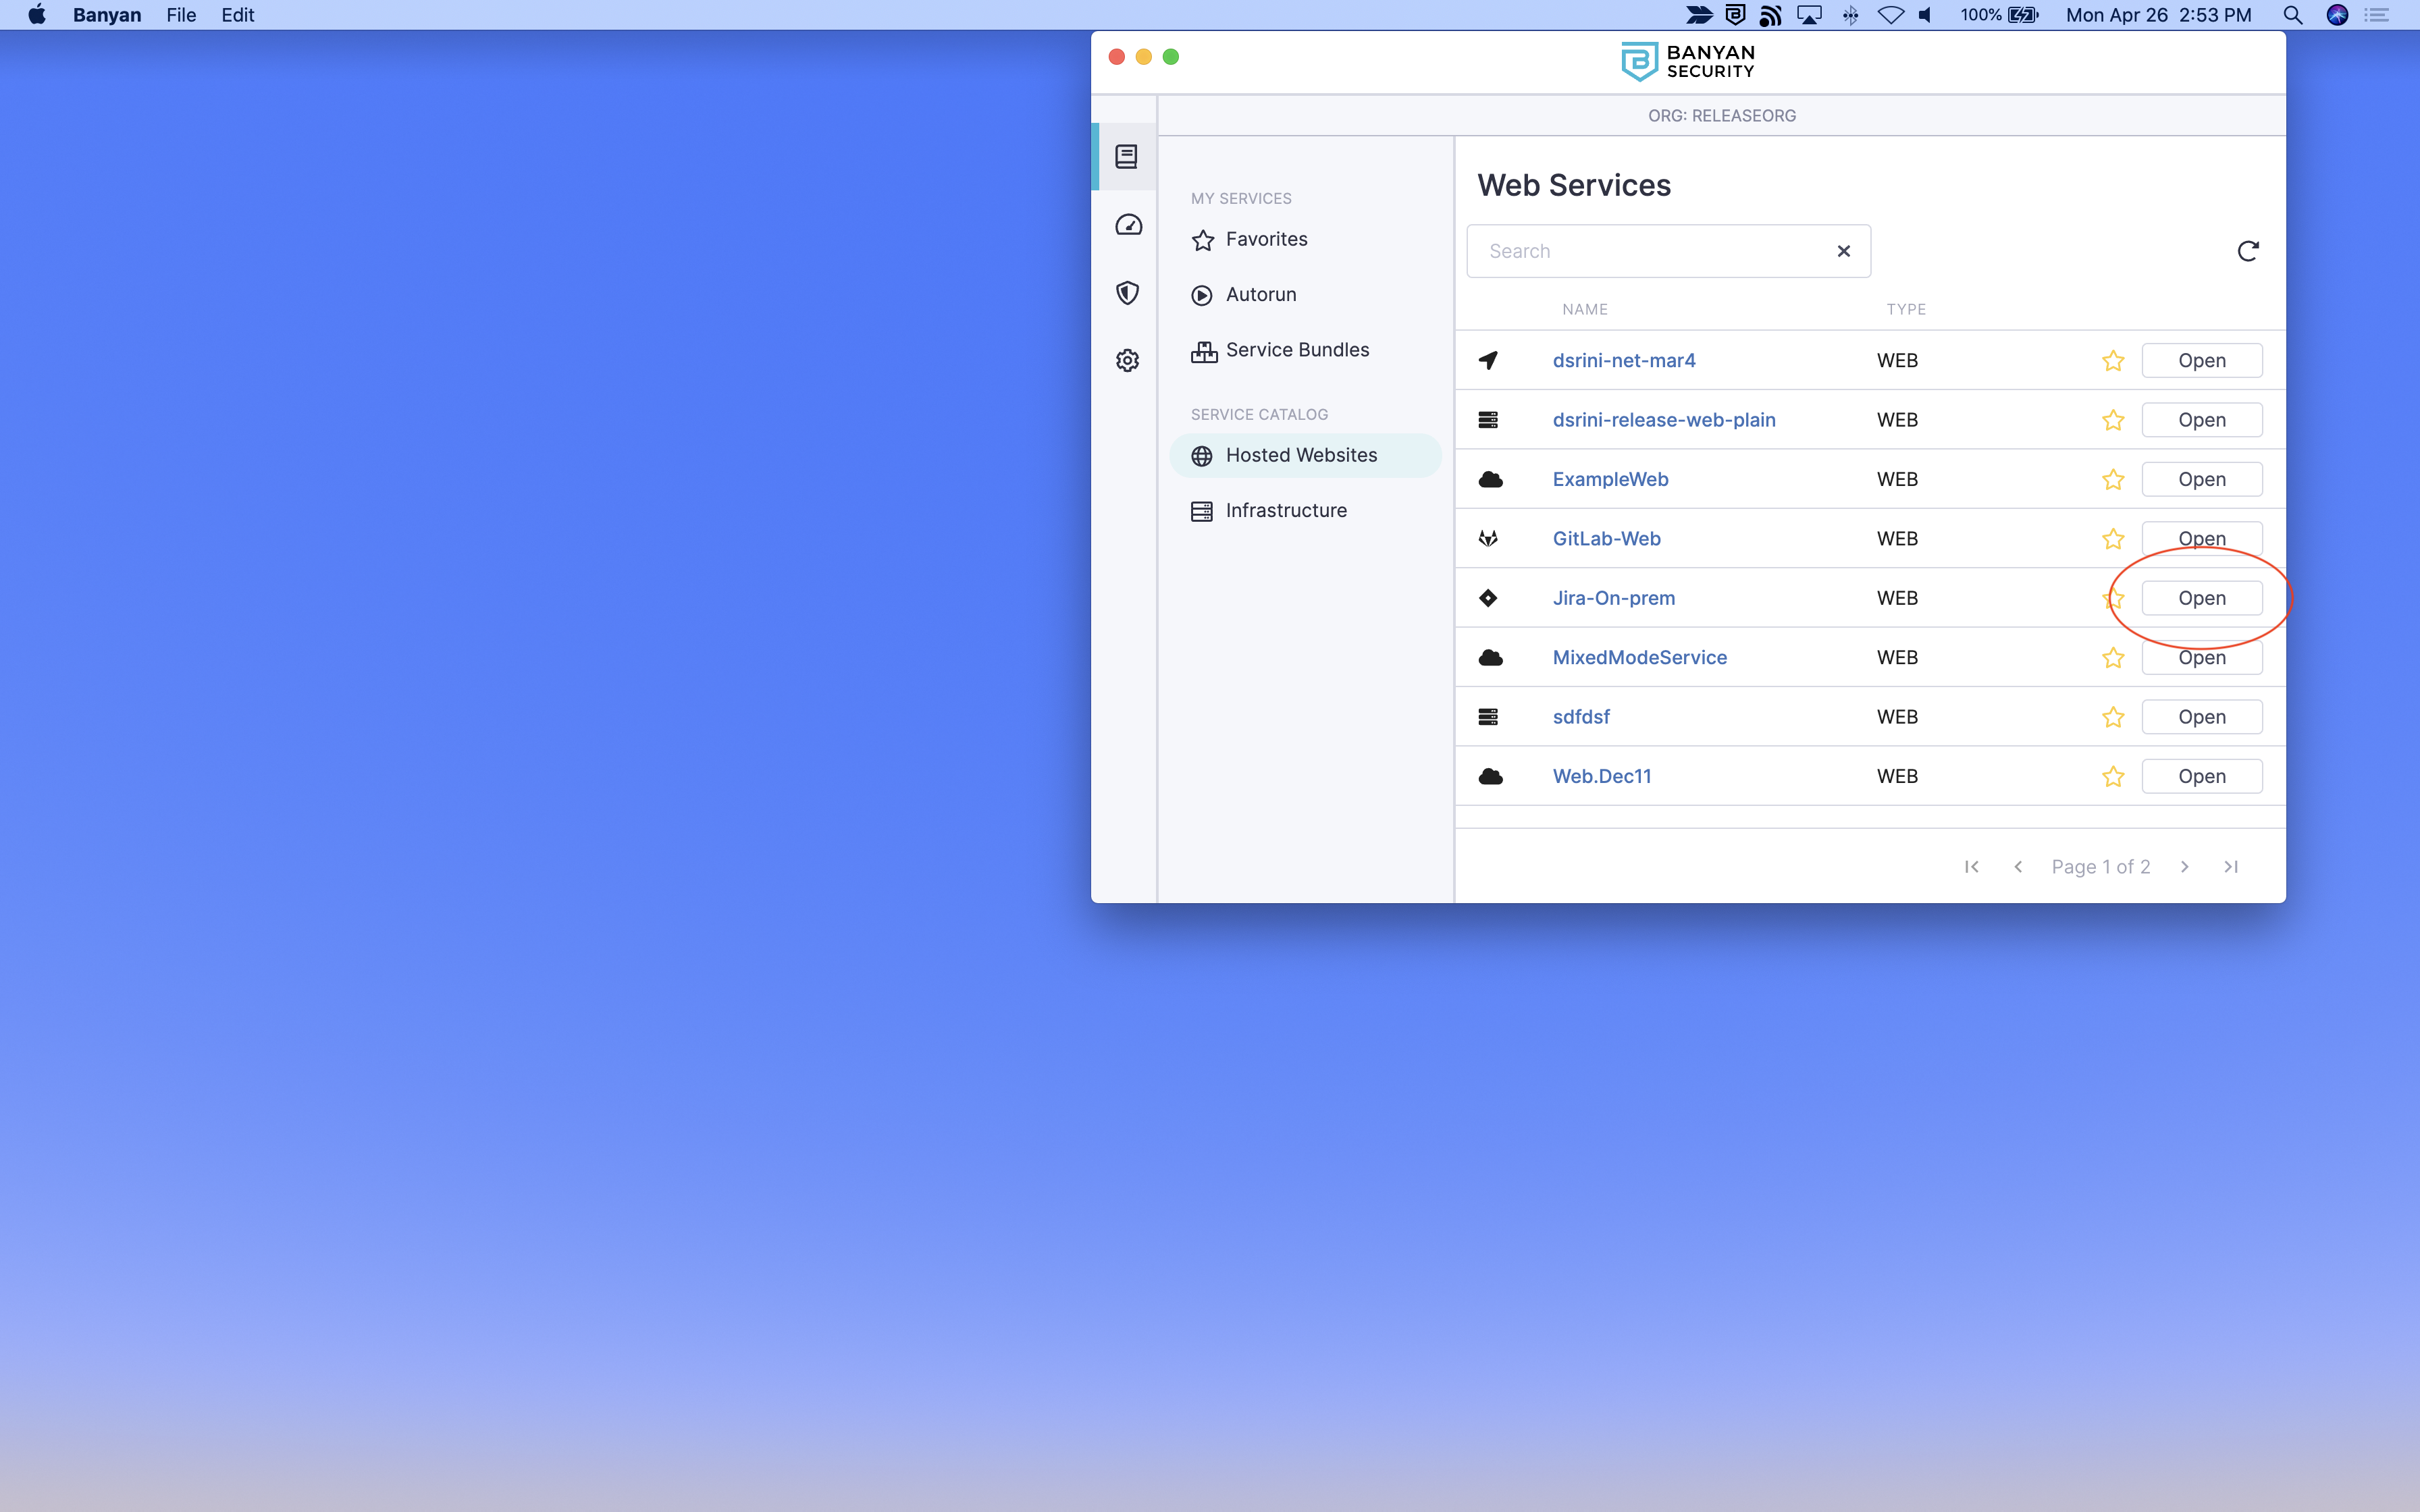
You will be taken to your Identity Provider to login while, behind the scenes, CSE is evaluating device posture and enforcing your security policies.