Discover and Publish Resources Hosted in Azure Cloud
- Updated on May 31, 2024
Overview
SonicWall Cloud Secure Edge (CSE) automatically discovers Azure Cloud resources that your end users need access to. You can publish these discovered resources as CSE services.
Prerequisites
Before completing the steps below, ensure you have installed and configured the Python clients needed to interact with the CSE and Azure APIs.
See the pybanyan docs for detailed instructions on Azure.
Run the test-azure subcommand to ensure you’re correctly authenticated and authorized.
$> banyan cloud-resource test-azure {azure-resource-group}
--> Azure configuration test passed. Found 4 resources.
Steps
At a high level, you will complete the following:
- Step 1. Tag your resources in Azure
- Step 2. Sync resources into Banyan
- Step 3. Select discovered resources to publish
- Step 4. Publish services
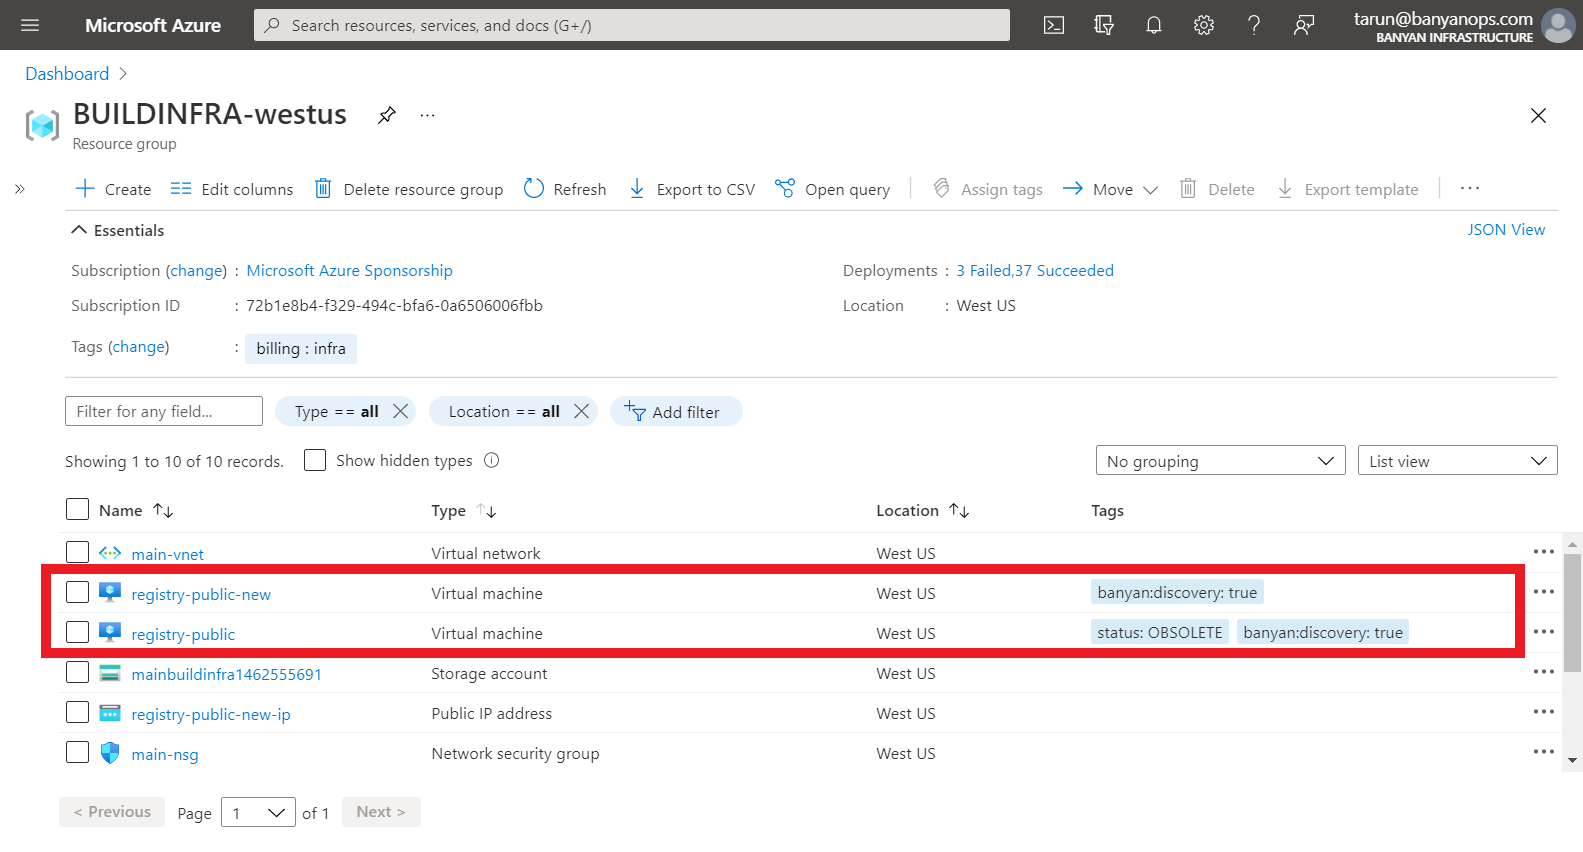
Step 1. Tag your resources in Azure
In the Azure portal, add tags to the resources you need CSE to discover. In this guide, we use the tag banyan:discovery to label resources that should be discovered by CSE, but you can also use a custom tag for this purpose.
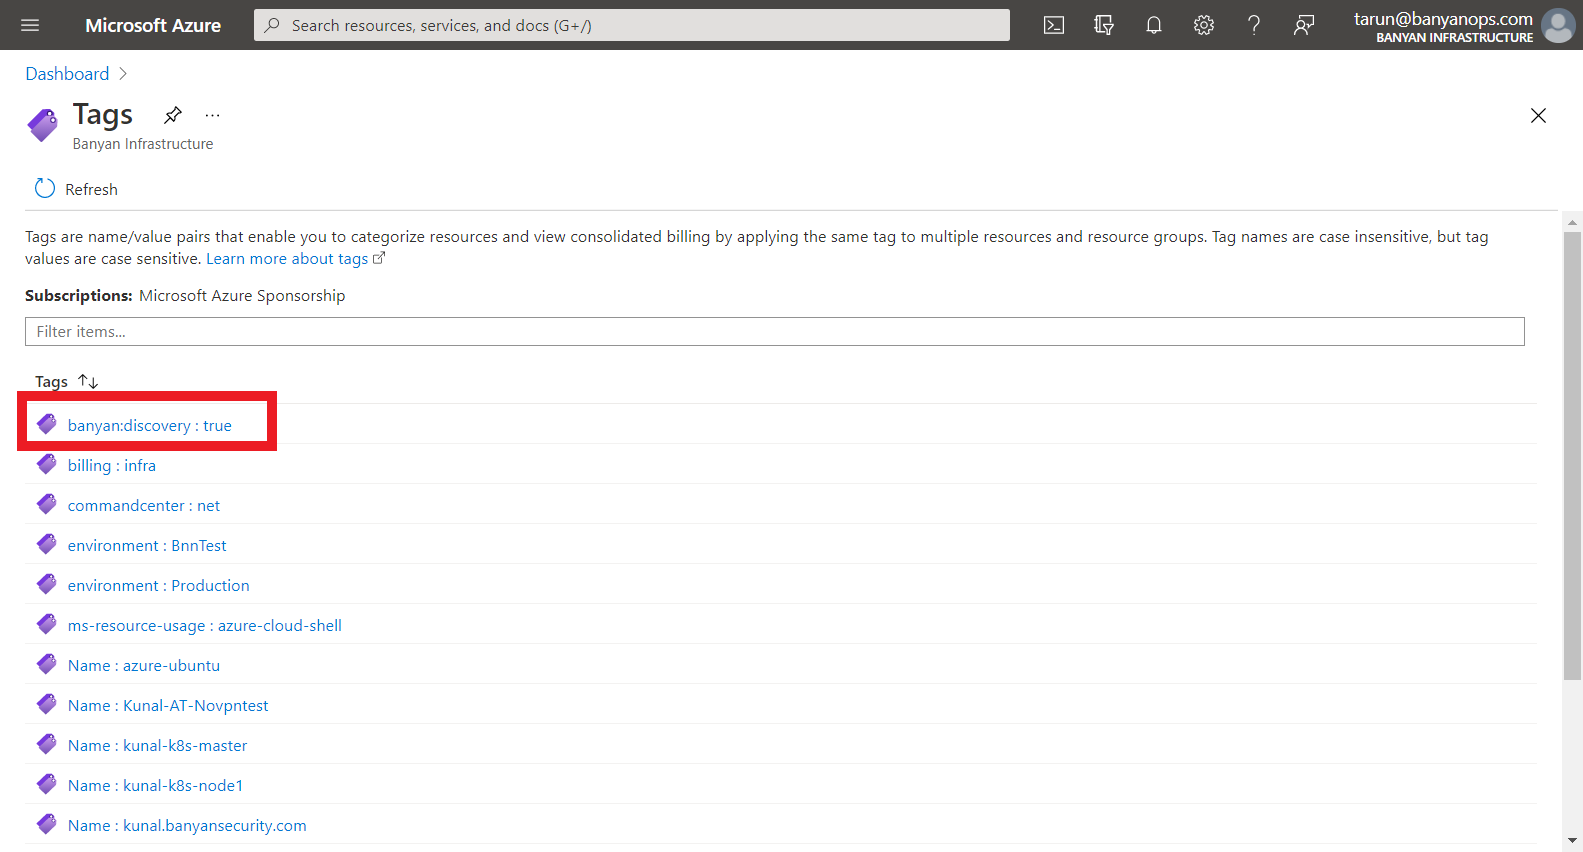
In the Azure portal menu, search for the Tags service to view the resources you have tagged.
Step 2. Sync resources into CSE
Now that your resources are tagged for discovery, use the pybanyan sync-azure subcommand to get the resource metadata from Azure and submit them via the CSE (formerly Banyan) API.
$> banyan cloud-resource sync-azure all {azure-resource-group} --tag_name banyan:discovery

--> Getting list of Azure VM resources:

--> Getting list of Azure LB resources:

type    name          public_dns_name    public_ip     private_dns_name    private_ip    ports         provider    account    region      tags
------  ------------  -----------------  ------------  ------------------  ------------  ------------  ----------  ---------  --------  ------
vm      td-ubuntu                        20.49.9.195                       10.1.0.4      []            azure       TD-PLAY    eastus2        1
lb      td-lb                                                              10.1.0.5      ['443/Tcp']   azure       TD-PLAY    eastus2        1
lb      td-public-lb                     20.109.80.81                                    ['8443/Tcp']  azure       TD-PLAY    eastus2        1


--> Filtering for new Azure resources:

type    name          public_dns_name    public_ip     private_dns_name    private_ip    ports         provider    account    region      tags
------  ------------  -----------------  ------------  ------------------  ------------  ------------  ----------  ---------  --------  ------
vm      td-ubuntu                        20.49.9.195                       10.1.0.4      []            azure       TD-PLAY    eastus2        1
lb      td-public-lb                     20.109.80.81                                    ['8443/Tcp']  azure       TD-PLAY    eastus2        1


--> Syncing into CSE Cloud Resource inventory:

--> Added Azure resource id(name): /subscriptions/e400a3cc-5252-4402-abcd-9258b32b8107/resourceGroups/TD-PLAY/providers/Microsoft.Compute/virtualMachines/td-ubuntu(td-ubuntu)

--> Added Azure resource id(name): /subscriptions/e400a3cc-5252-4402-abcd-9258b32b8107/resourceGroups/TD-PLAY/providers/Microsoft.Network/loadBalancers/td-public-lb(td-public-lb)

--> Sync with Azure successful.
You can specify the resource_type to be all or a specific supported resource_type - EC2, RDS, ELB, etc. Check pybanyan help for additional filtering options.
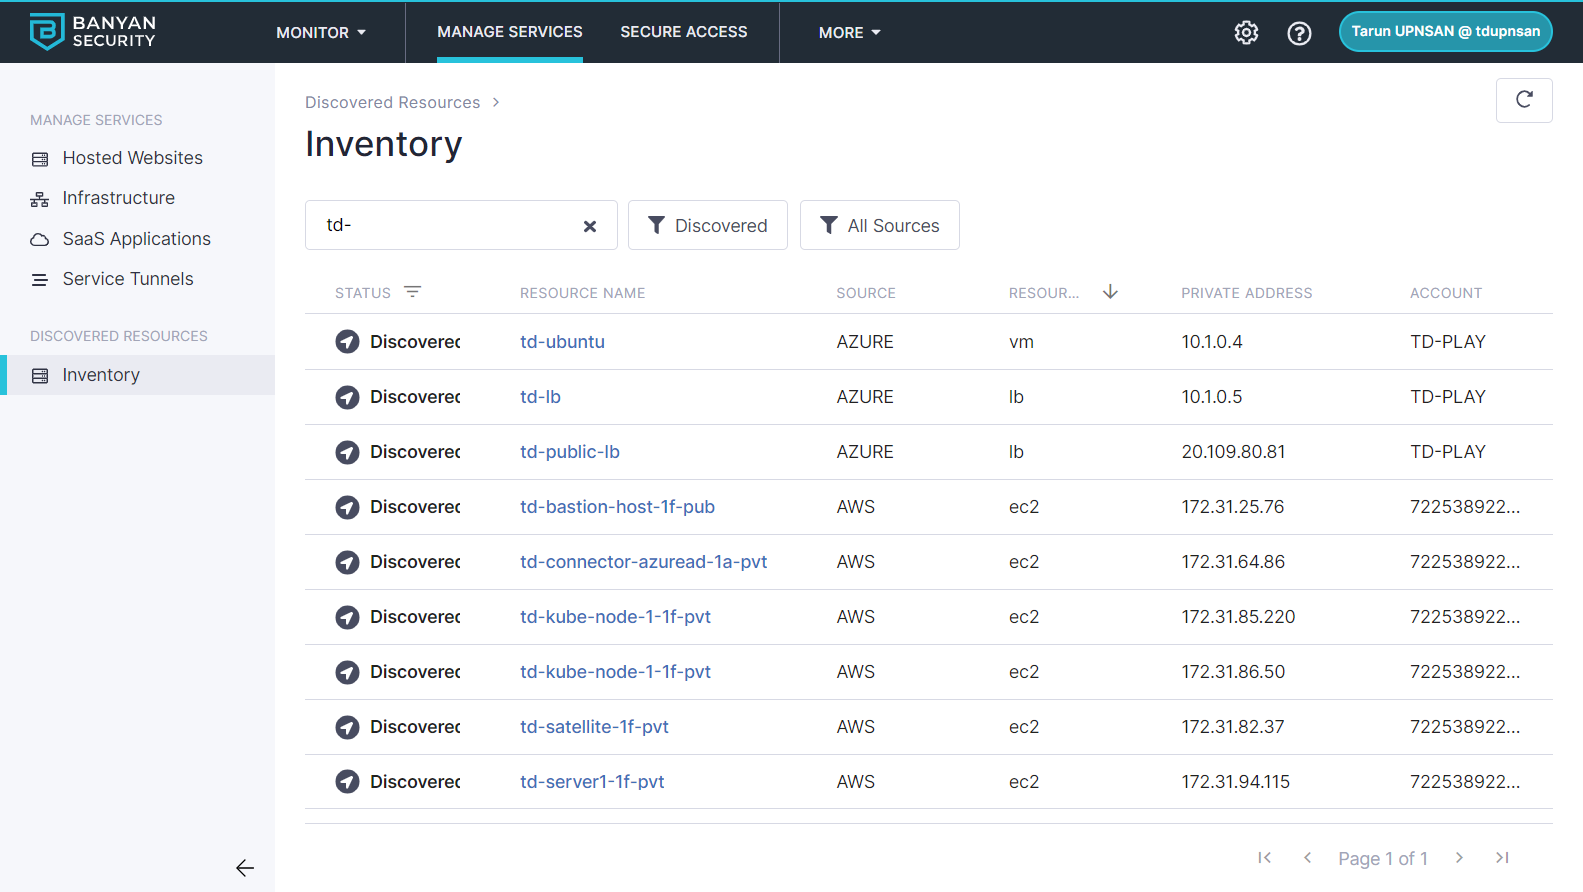
Step 3. Select discovered resources to publish
Once your cloud resources are synchronized, you will be able to view them in the Manage Services > Discovered Resources > Inventory section in the Banyan Command Center.
Select an individual resource to see more details, such as Private IP Address, Ports and Tags.
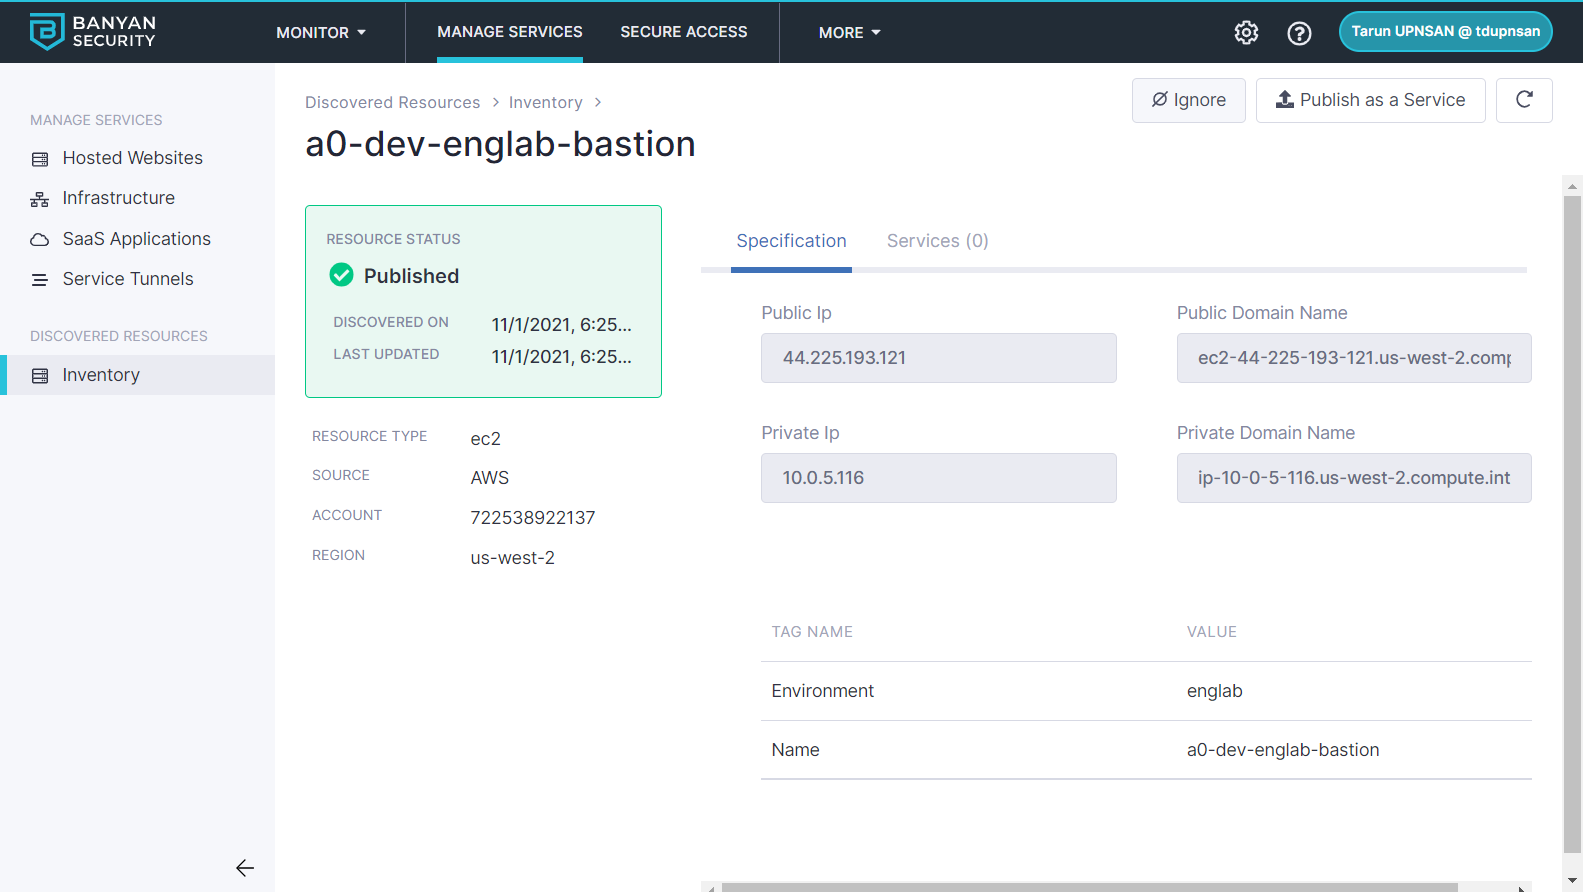
Step 4. Publish services
Click on the Publish icon to publish a Banyan service from of this discovered resource.
Select the type of service you wish to create, populate the required fields - such as service domain, access tier, etc - and attach a policy.

Congrats! You have discovered your Azure resources and published them for your end-users. You can repeat this process as often as you need.